On-Screen Display Menus
When you press the Menu button, the Main Menu (shown on the previous page) appears on the screen. Use the ▲ or ▼ button to move to an item, then press Enter to select it.
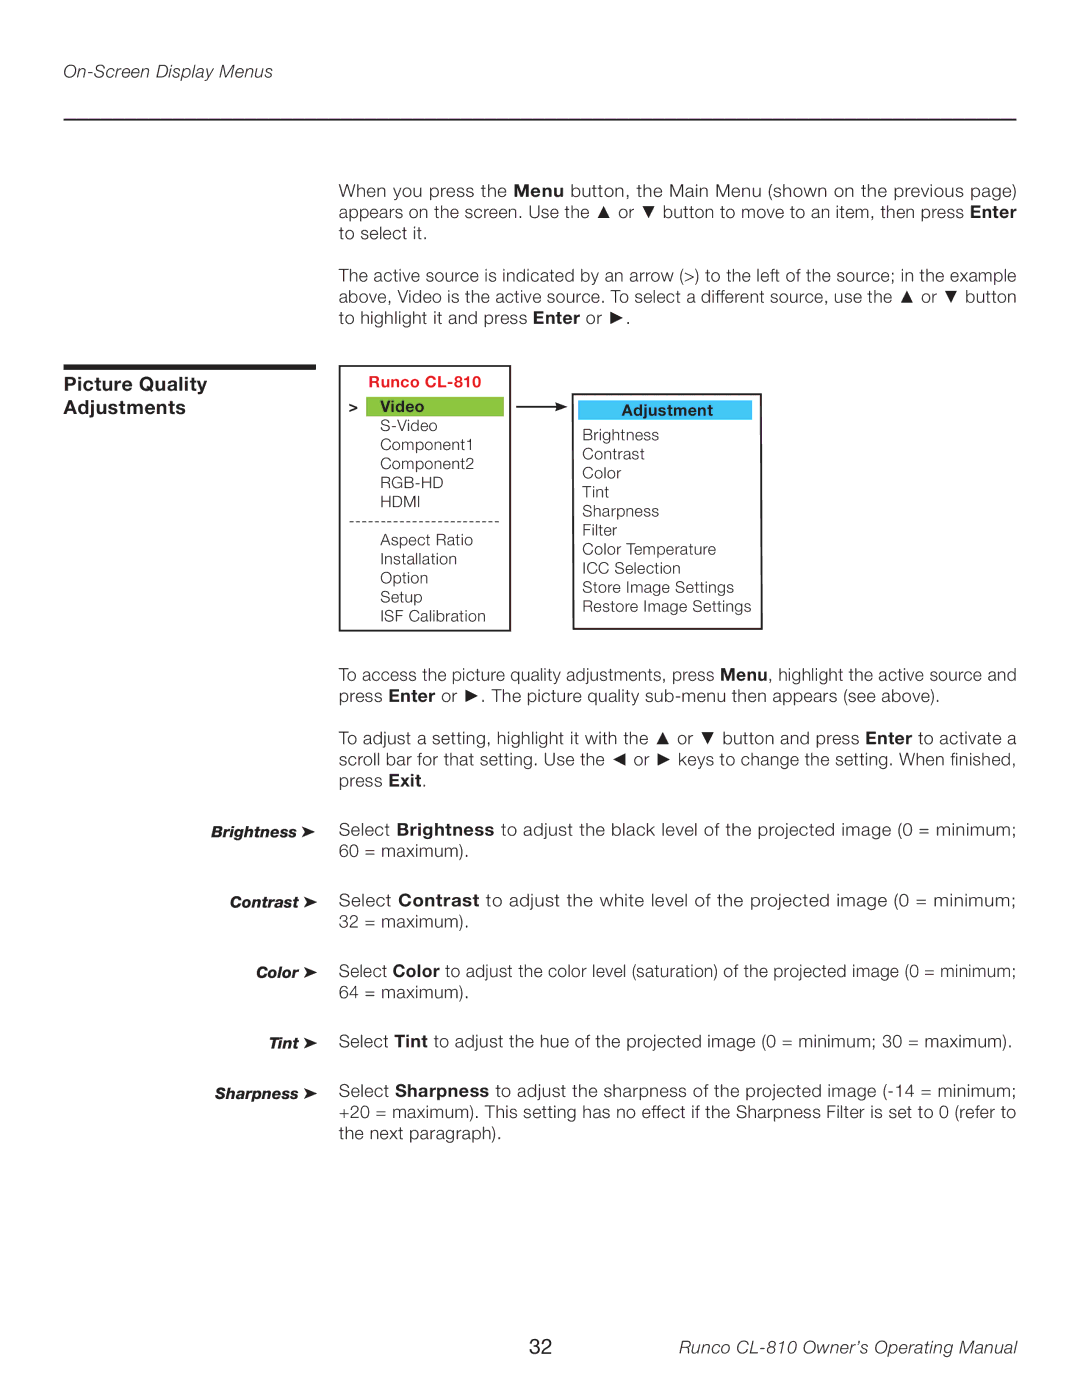
The active source is indicated by an arrow (>) to the left of the source; in the example above, Video is the active source. To select a different source, use the ▲ or ▼ button to highlight it and press Enter or ►.
Picture Quality Adjustments
Runco CL-810
>Video
Component2
Aspect Ratio
Installation Option Setup
ISF Calibration
Adjustment
Brightness
Contrast
Color
Tint
Sharpness
Filter
Color Temperature
ICC Selection
Store Image Settings
Restore Image Settings
Brightness ➤
Contrast ➤
Color ➤
Tint ➤
Sharpness ➤
To access the picture quality adjustments, press Menu, highlight the active source and press Enter or ►. The picture quality
To adjust a setting, highlight it with the ▲ or ▼ button and press Enter to activate a scroll bar for that setting. Use the ◄ or ► keys to change the setting. When finished, press Exit.
Select Brightness to adjust the black level of the projected image (0 = minimum; 60 = maximum).
Select Contrast to adjust the white level of the projected image (0 = minimum; 32 = maximum).
Select Color to adjust the color level (saturation) of the projected image (0 = minimum; 64 = maximum).
Select Tint to adjust the hue of the projected image (0 = minimum; 30 = maximum).
Select Sharpness to adjust the sharpness of the projected image
32 | Runco |