Connecting a Printer Cable
For Local Printing
To print from your computer in a local environment, you need to connect your printer to the computer with either a parallel interface cable or a Universal Serial Bus (USB) cable.
If you are a Macintosh user, you can use only a USB cable.
NOTES: You only need to connect one of cables mentioned above. Do not use the parallel and the USB cables at the same time.
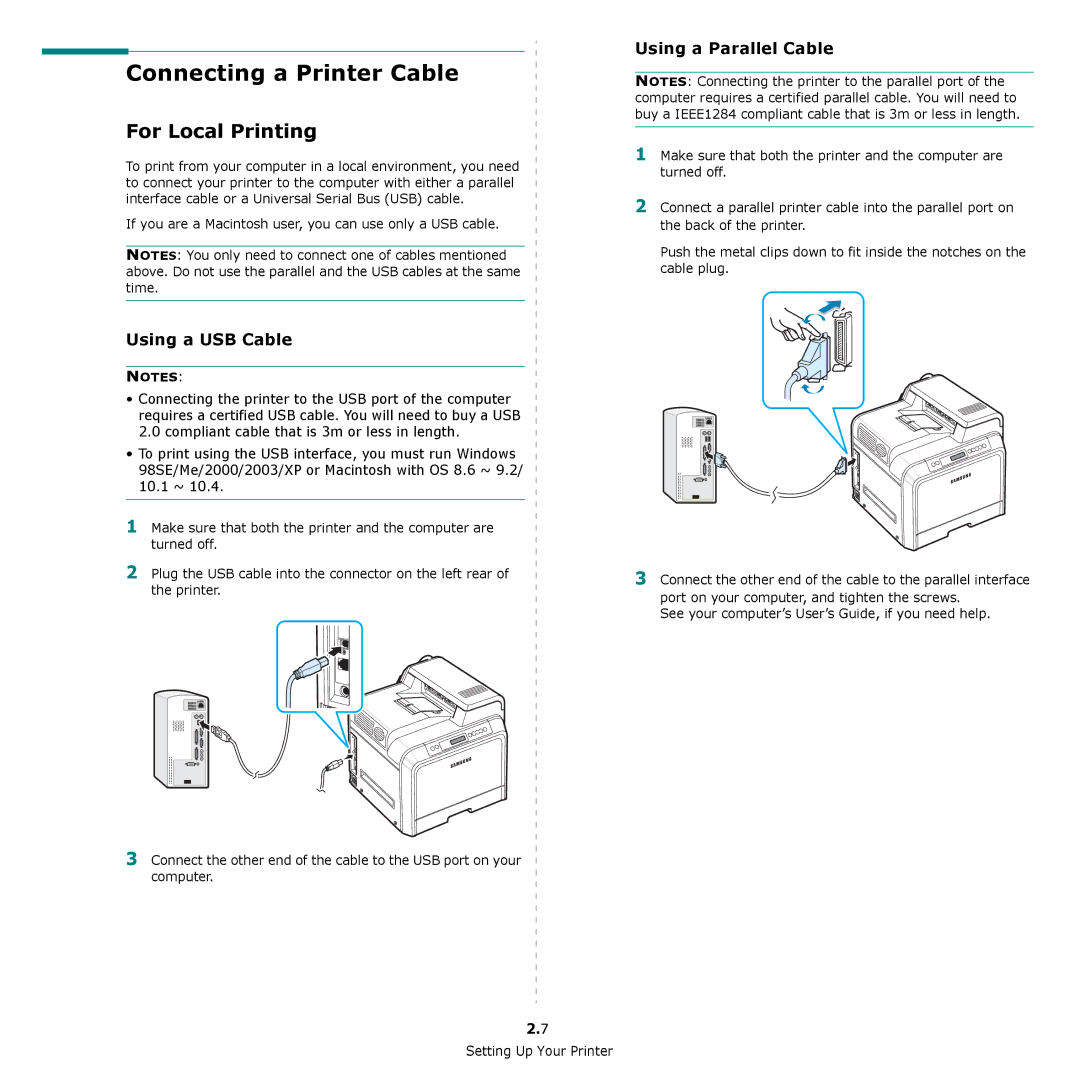
Using a USB Cable
NOTES:
•Connecting the printer to the USB port of the computer requires a certified USB cable. You will need to buy a USB 2.0 compliant cable that is 3m or less in length.
• To print using the USB interface, you must run Windows 98SE/Me/2000/2003/XP or Macintosh with OS 8.6 ~ 9.2/
10.1~ 10.4.
1Make sure that both the printer and the computer are turned off.
2Plug the USB cable into the connector on the left rear of the printer.
3Connect the other end of the cable to the USB port on your computer.
2.7
Setting Up Your Printer
Using a Parallel Cable
NOTES: Connecting the printer to the parallel port of the computer requires a certified parallel cable. You will need to buy a IEEE1284 compliant cable that is 3m or less in length.
1Make sure that both the printer and the computer are turned off.
2Connect a parallel printer cable into the parallel port on the back of the printer.
Push the metal clips down to fit inside the notches on the cable plug.
3Connect the other end of the cable to the parallel interface
port on your computer, and tighten the screws. See your computer’s User’s Guide, if you need help.