Printing a Network Configuration Page
The Network Configuration page shows how the network interface card on your printer is configured. The default settings which are suitable for most applications are enabled.
1In ready mode, press the Menu button (![]() ) until you see “Network” on the bottom line of the display.
) until you see “Network” on the bottom line of the display.
2Press the Enter button (![]() ) to access the menu.
) to access the menu.
3Press the scroll button ( ![]() or
or ![]() ) until “Print Net CFG” displays on the bottom line.
) until “Print Net CFG” displays on the bottom line.
4Press the Enter button ( ![]() ).
).
The Network Configuration page prints out.
Setting Network Protocols
When you first install the printer, all supported network protocols are enabled. If a network protocol is enabled, the printer may actively transmit on the network even when the protocol is not in use. This may increase network traffic slightly. To eliminate unnecessary traffic, you can disable unused protocols.
1In ready mode, press the Menu button ( ![]() ) until you see “Network” on the bottom line of the display. Press the Enter button (
) until you see “Network” on the bottom line of the display. Press the Enter button ( ![]() ) to access the menu.
) to access the menu.
2 Press the Enter button ( ![]() ) when “Config Network” displays on the bottom line.
) when “Config Network” displays on the bottom line.
3Press the scroll button ( ![]() or
or ![]() ) until “Yes” displays, and press the Enter button (
) until “Yes” displays, and press the Enter button ( ![]() ). Then press the Upper Level button (
). Then press the Upper Level button (![]() ).
).
4Press the scroll button ( ![]() or
or ![]() ) until you see the desired protocol on the bottom line.
) until you see the desired protocol on the bottom line.
You can choose between “Config TCP” and “Netware”.
5Press the Enter button ( ![]() ).
).
6Press the scroll button ( ![]() or
or ![]() ) to change the setting.
) to change the setting.
If you selected “Config TCP”, change the setting to “No” (disable) or “Yes” (enable).
If you selected “Netware”, change the setting to “Off” (disable) or “On” (enable).
7Press the Enter button ( ![]() ) to save the selection.
) to save the selection.
8Press the On Line/Continue button (![]() ) to return to ready mode.
) to return to ready mode.
8.2
Configuring TCP/IP
Your printer can be set up on a variety of TCP/IP networks. There are several ways in which your printer can be assigned a TCP/IP address, depending on your network.
•Static Addressing: TCP/IP address is assigned manually by the system administrator.
•Dynamic Addressing BOOTP/DHCP (default): TCP/IP address is assigned automatically by the server.
Static Addressing
To enter the TCP/IP address from your printer’s control panel, take the following steps:
1In ready mode, press the Menu button ( ![]() ) until you see “Network” on the bottom line of the display. Press the Enter button (
) until you see “Network” on the bottom line of the display. Press the Enter button ( ![]() ) to access the menu.
) to access the menu.
2Press the Enter button ( ![]() ) when “Config Network” displays on the bottom line.
) when “Config Network” displays on the bottom line.
3Press the scroll button ( ![]() or
or ![]() ) until “Yes” displays, and press the Enter button (
) until “Yes” displays, and press the Enter button (![]() ).
).
4Press the Upper Level button (![]() ), then use the scroll button (
), then use the scroll button ( ![]() ).
).
5Press the Enter button ( ![]() ) when “Config TCP” displays.
) when “Config TCP” displays.
6Press the scroll button ( ![]() or
or ![]() ) until “Yes” displays, and press the Enter button (
) until “Yes” displays, and press the Enter button (![]() ).
).
7Press the Upper Level button (![]() ), then use the scroll button (
), then use the scroll button ( ![]() ).
).
8Press the Enter button ( ![]() ) when “IP Get Method” displays.
) when “IP Get Method” displays.
9Press the scroll button (![]() or
or ![]() ) until “Static” displays, and press the Enter button (
) until “Static” displays, and press the Enter button (![]() ).
).
10Press the Upper Level button (![]() ), then use the scroll button (
), then use the scroll button ( ![]() ).
).
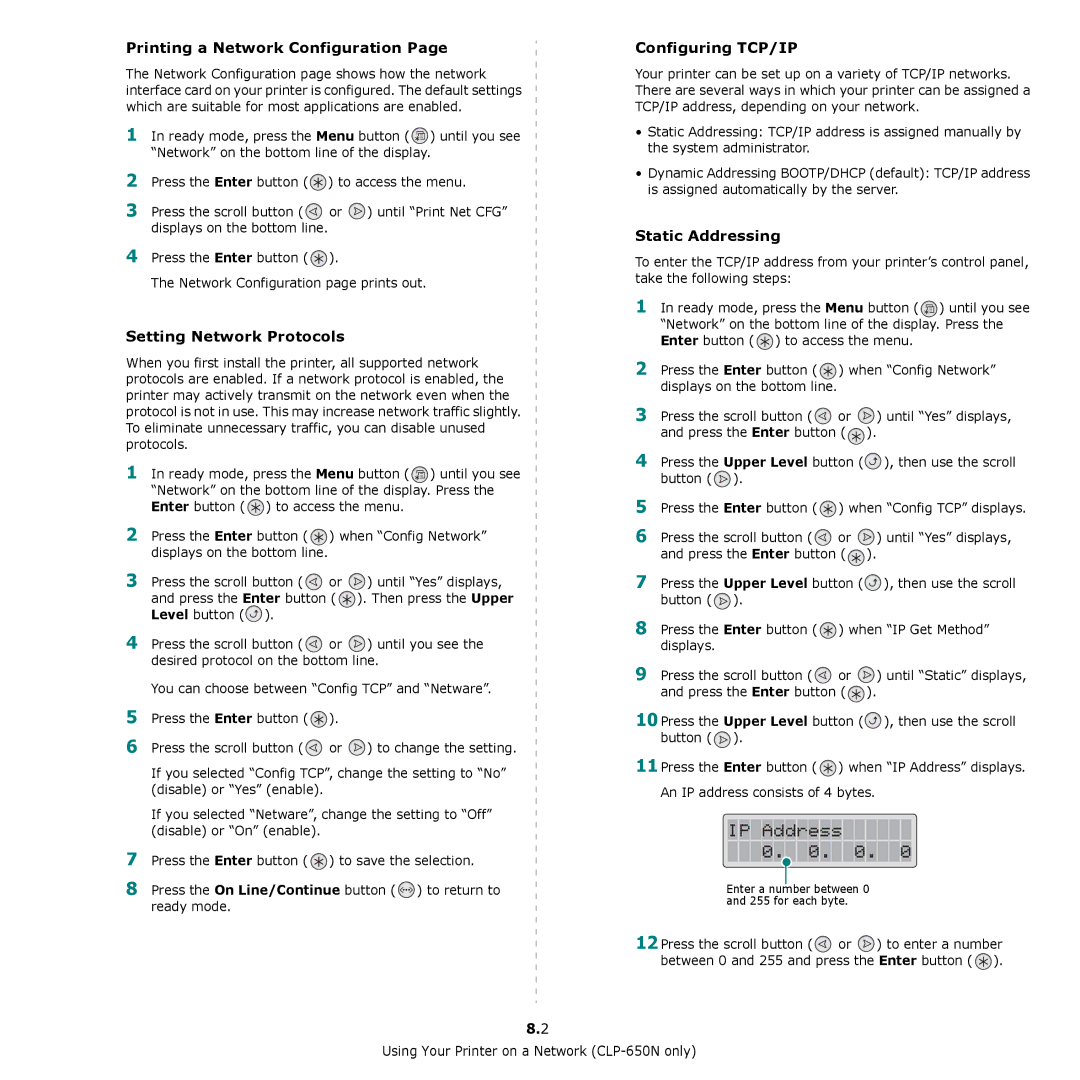
11Press the Enter button ( ![]() ) when “IP Address” displays. An IP address consists of 4 bytes.
) when “IP Address” displays. An IP address consists of 4 bytes.
Enter a number between 0 and 255 for each byte.
12Press the scroll button (![]() or
or ![]() ) to enter a number between 0 and 255 and press the Enter button (
) to enter a number between 0 and 255 and press the Enter button ( ![]() ).
).
Using Your Printer on a Network