Layout Menu
Use the Layout menu to define all settings relating to output.
(*: the default setting)
Item | Explanation |
|
|
Graphics Menu
Use the Graphics menu to change settings affecting the quality of the printed characters and images.
(*: the default setting)
Item | Explanation |
|
|
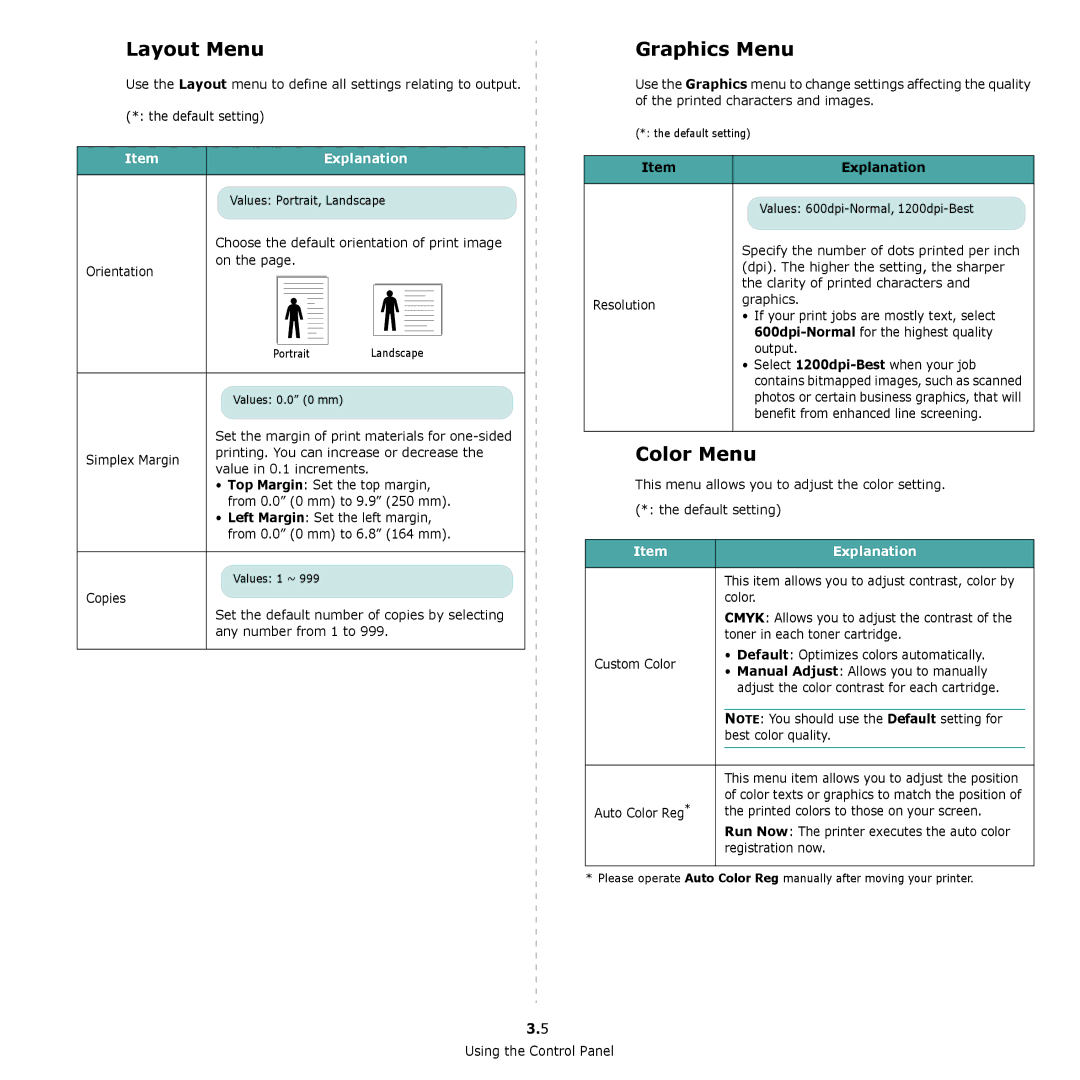
Orientation
Values: Portrait, Landscape
Choose the default orientation of print image on the page.
Portrait Landscape
| Values: | |
| Specify the number of dots printed per inch | |
| (dpi). The higher the setting, the sharper | |
| the clarity of printed characters and | |
Resolution | graphics. | |
• If your print jobs are mostly text, select | ||
| ||
| ||
| output. | |
| • Select | |
| contains bitmapped images, such as scanned |
| Values: 0.0” (0 mm) | |
| Set the margin of print materials for | |
Simplex Margin | printing. You can increase or decrease the | |
value in 0.1 increments. | ||
|
•Top Margin: Set the top margin, from 0.0” (0 mm) to 9.9” (250 mm).
•Left Margin: Set the left margin, from 0.0” (0 mm) to 6.8” (164 mm).
Values: 1 ~ 999
Copies
Set the default number of copies by selecting any number from 1 to 999.
photos or certain business graphics, that will |
benefit from enhanced line screening. |
Color Menu
This menu allows you to adjust the color setting. (*: the default setting)
Item |
|
| Explanation | |
|
|
|
| |
|
| This item allows you to adjust contrast, color by | ||
|
| color. | ||
|
| CMYK: Allows you to adjust the contrast of the | ||
|
| toner in each toner cartridge. | ||
Custom Color |
| • | Default: Optimizes colors automatically. | |
| • | Manual Adjust: Allows you to manually | ||
|
| |||
|
|
| adjust the color contrast for each cartridge. | |
|
|
| ||
|
| NOTE: You should use the Default setting for |
| |
|
| best color quality. | ||
|
|
|
| |
|
|
| ||
|
| This menu item allows you to adjust the position | ||
Auto Color Reg* |
| of color texts or graphics to match the position of | ||
| the printed colors to those on your screen. | |||
|
| Run Now: The printer executes the auto color | ||
|
| registration now. | ||
|
|
|
|
|
* Please operate Auto Color Reg manually after moving your printer.
3.5
Using the Control Panel