DIGITAL VIDEO RECORDER
GBGB
System Information | 11SCSI HDD BACKUP |
10 |
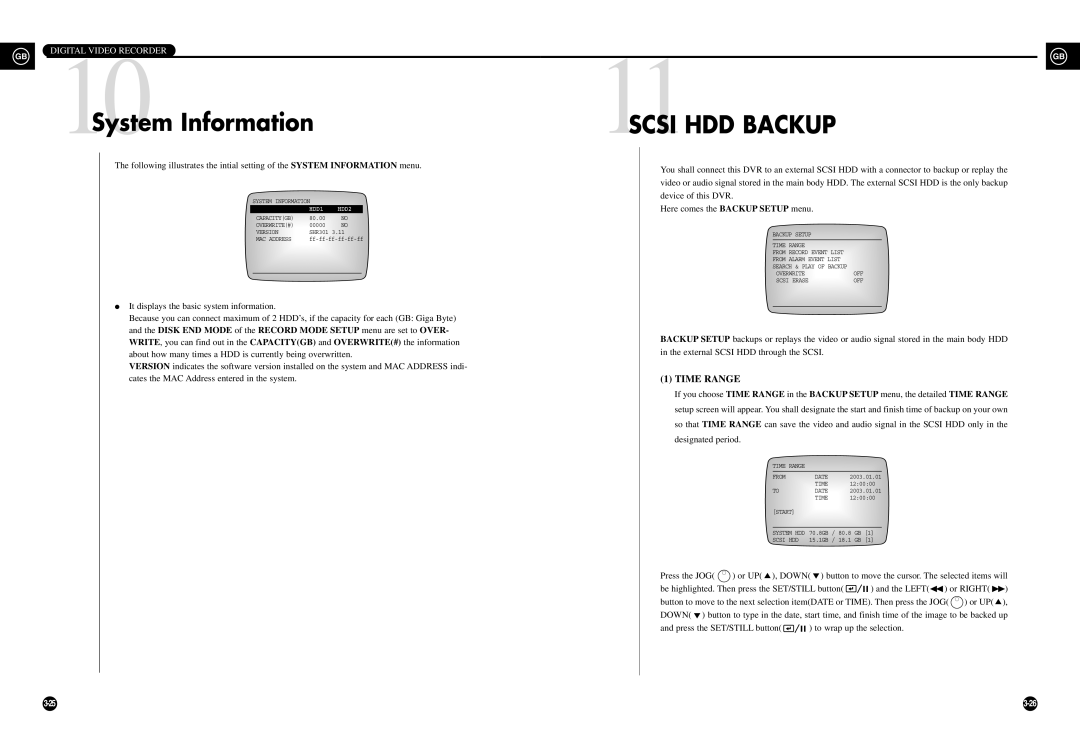
The following illustrates the intial setting of the SYSTEM INFORMATION menu.
SYSTEM INFORMATION |
| |
| HDD1 | HDD2 |
CAPACITY(GB) | 80.00 | NO |
OVERWRITE(#) | 00000 | NO |
VERSION | SHR301 3.11 | |
MAC ADDRESS | ||
●It displays the basic system information.
Because you can connect maximum of 2 HDD’s, if the capacity for each (GB: Giga Byte) and the DISK END MODE of the RECORD MODE SETUP menu are set to OVER- WRITE, you can find out in the CAPACITY(GB) and OVERWRITE(#) the information about how many times a HDD is currently being overwritten.
VERSION indicates the software version installed on the system and MAC ADDRESS indi- cates the MAC Address entered in the system.
You shall connect this DVR to an external SCSI HDD with a connector to backup or replay the video or audio signal stored in the main body HDD. The external SCSI HDD is the only backup device of this DVR.
Here comes the BACKUP SETUP menu.
BACKUP SETUP
TIME RANGE |
|
FROM RECORD EVENT LIST |
|
FROM ALARM EVENT LIST |
|
SEARCH & PLAY OF BACKUP |
|
OVERWRITE | OFF |
SCSI ERASE | OFF |
BACKUP SETUP backups or replays the video or audio signal stored in the main body HDD in the external SCSI HDD through the SCSI.
(1)TIME RANGE
If you choose TIME RANGE in the BACKUP SETUP menu, the detailed TIME RANGE setup screen will appear. You shall designate the start and finish time of backup on your own so that TIME RANGE can save the video and audio signal in the SCSI HDD only in the designated period.
TIME RANGE
FROM | DATE | 2003.01.01 |
| TIME | 12:00:00 |
TO | DATE | 2003.01.01 |
| TIME | 12:00:00 |
[START]
SYSTEM HDD | 70.8GB | / | 80.8 | GB | [1] |
SCSI HDD | 15.1GB | / | 18.1 | GB | [1] |
Press the JOG( ![]() ) or UP(
) or UP( ![]() ), DOWN(
), DOWN( ![]() ) button to move the cursor. The selected items will
) button to move the cursor. The selected items will
be highlighted. Then press the SET/STILL button( ![]()
![]()
![]() ) and the LEFT(
) and the LEFT(![]() ) or RIGHT(
) or RIGHT( ![]() ) button to move to the next selection item(DATE or TIME). Then press the JOG(
) button to move to the next selection item(DATE or TIME). Then press the JOG( ![]() ) or UP(
) or UP( ![]() ), DOWN(
), DOWN( ![]() ) button to type in the date, start time, and finish time of the image to be backed up
) button to type in the date, start time, and finish time of the image to be backed up
and press the SET/STILL button( ![]()
![]()
![]() ) to wrap up the selection.
) to wrap up the selection.
