SNC-L200, SNC-L200P specifications
The Samsung SNC-L200P is an advanced security camera that combines high-performance features with cutting-edge technology to provide a reliable surveillance solution for various applications. Tailored for both indoor and outdoor environments, this camera delivers superior image quality, advanced analytics, and robust connectivity options.One of the standout features of the SNC-L200P is its impressive image resolution. With a high-definition capability, the camera captures sharp, detailed footage under a variety of lighting conditions. This ensures that even the smallest details are visible, enhancing the overall effectiveness of your security monitoring. The camera is equipped with advanced low-light performance, allowing it to maintain clarity during nighttime or in dimly lit settings.
The SNC-L200P integrates intelligent video analytics, which enhances its surveillance capabilities. Features such as motion detection, intrusion detection, and line crossing detection provide additional security measures by alerting users to potential threats in real time. These analytics can be customized to suit specific monitoring needs, allowing for increased flexibility in security management.
Connectivity is another key characteristic of the SNC-L200P. The camera supports both wired and wireless connectivity options, making it easy to integrate into existing networks. This versatility ensures that users can deploy the camera in various locations without the constraints of traditional cabling.
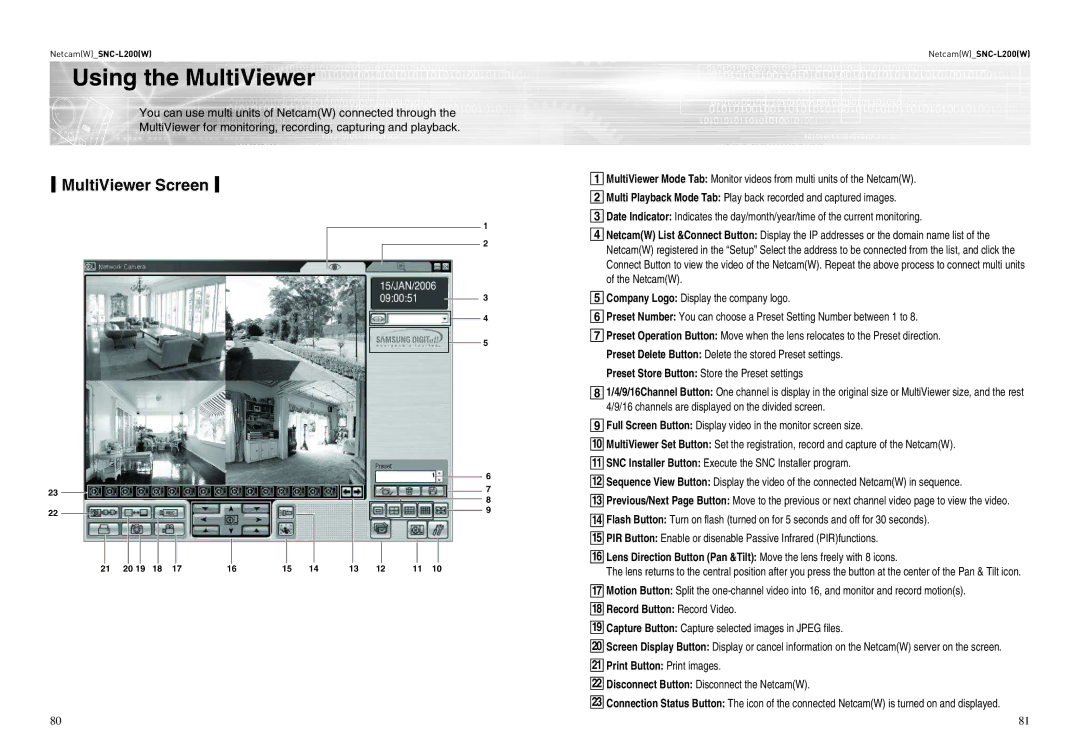
Additionally, the camera is designed with user-friendly software that facilitates easy setup and configuration. The intuitive interface allows users to quickly adjust settings, view live feeds, and access recorded footage. Remote viewing capability ensures that users can monitor their property from anywhere using mobile devices or computers, providing peace of mind whether at home or on the go.
Durability is also a critical aspect of the SNC-L200P. Constructed with weather-resistant materials, the camera is well-suited for outdoor installations. This ensures reliable operation even in challenging environmental conditions, making it a robust choice for comprehensive security coverage.
Overall, the Samsung SNC-L200P stands out for its exceptional image quality, intelligent video analytics, flexible connectivity options, and durable design. It represents a powerful solution for both residential and commercial security needs, providing users with the tools necessary to ensure the safety and security of their premises.

