3.2. Installation
3.2.4. Installing the SNP-1000A on a Ceiling
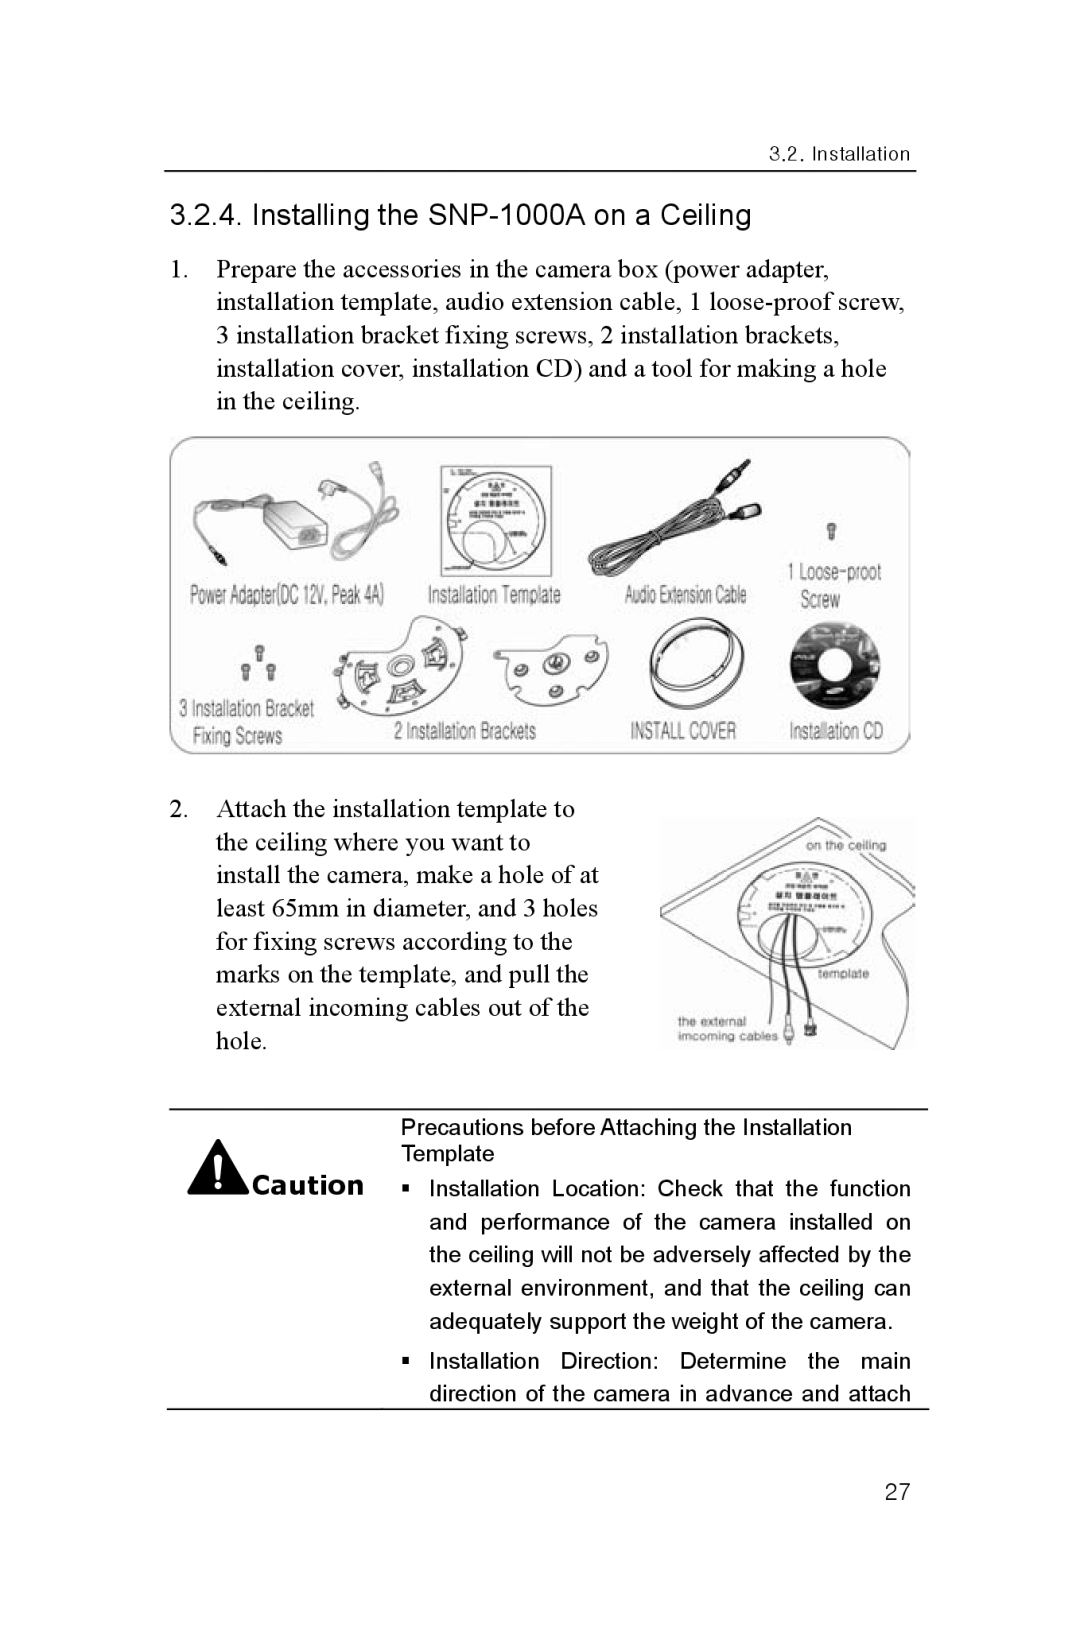
1.Prepare the accessories in the camera box (power adapter, installation template, audio extension cable, 1
2.Attach the installation template to the ceiling where you want to install the camera, make a hole of at least 65mm in diameter, and 3 holes for fixing screws according to the marks on the template, and pull the external incoming cables out of the hole.
Precautions before Attaching the Installation Template
Caution Installation Location: Check that the function and performance of the camera installed on the ceiling will not be adversely affected by the external environment, and that the ceiling can adequately support the weight of the camera.
Installation Direction: Determine the main direction of the camera in advance and attach
27