•Using the <Schedule> Function
Using the <Schedule> function, you can manage your projectors more efficiently.
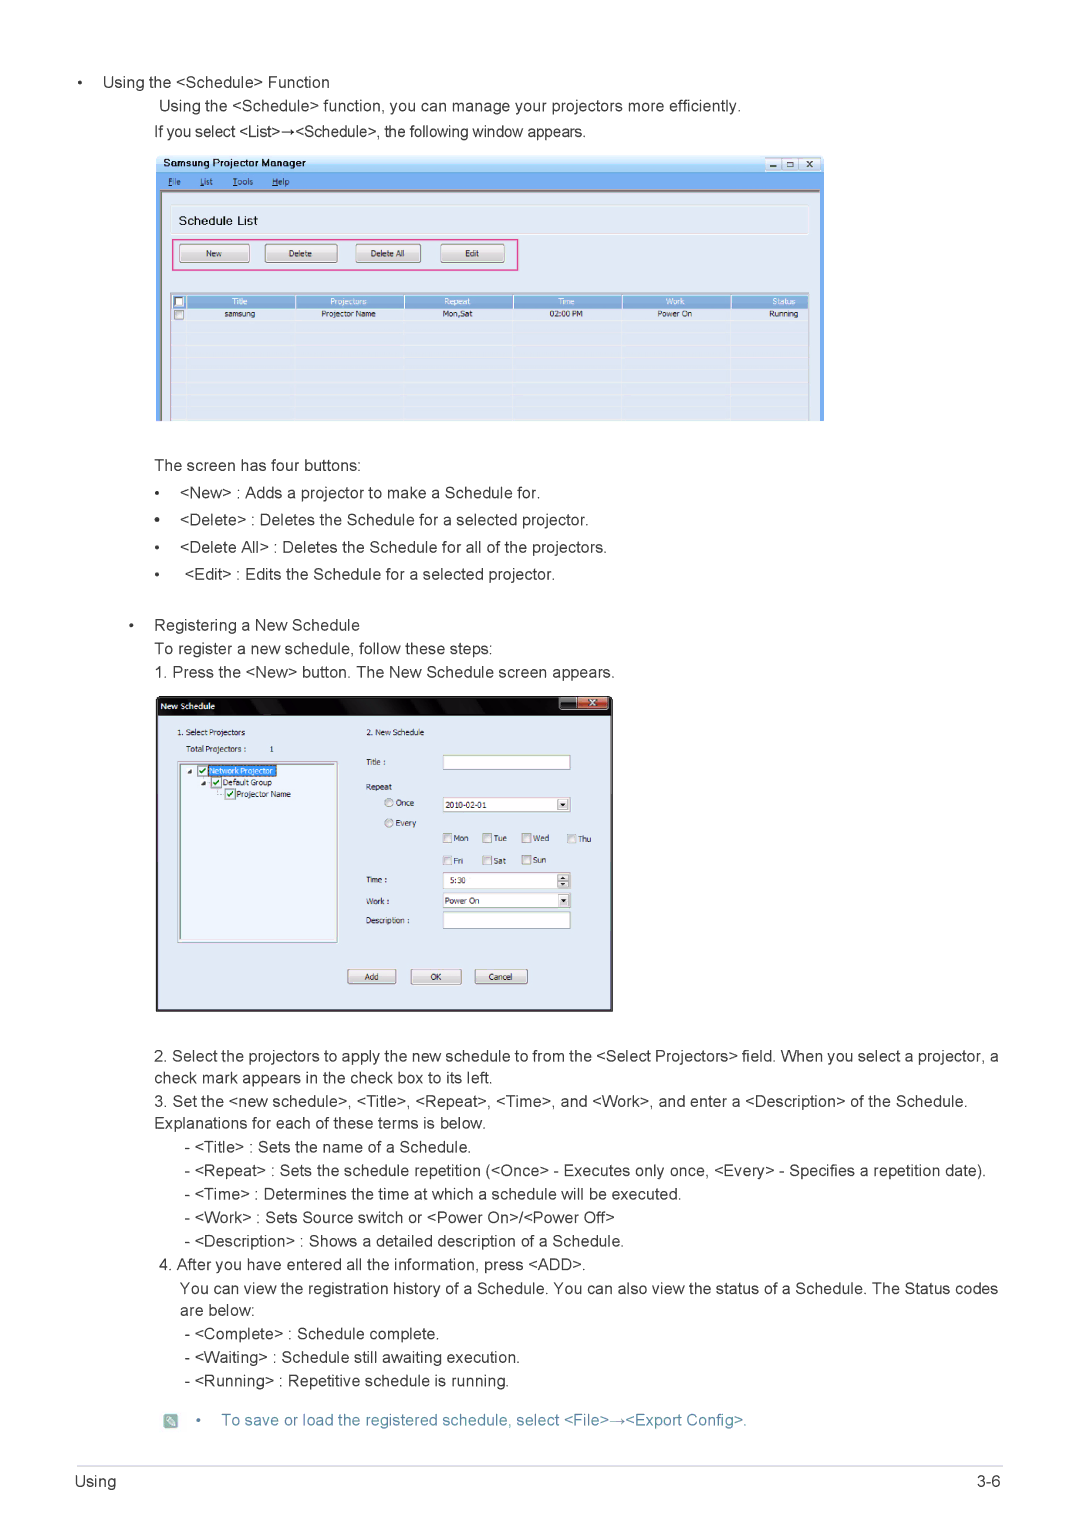
If you select <List>→<Schedule>, the following window appears.
The screen has four buttons:
•<New> : Adds a projector to make a Schedule for.
•<Delete> : Deletes the Schedule for a selected projector.
•<Delete All> : Deletes the Schedule for all of the projectors.
•<Edit> : Edits the Schedule for a selected projector.
•Registering a New Schedule
To register a new schedule, follow these steps:
1. Press the <New> button. The New Schedule screen appears.
2.Select the projectors to apply the new schedule to from the <Select Projectors> field. When you select a projector, a check mark appears in the check box to its left.
3.Set the <new schedule>, <Title>, <Repeat>, <Time>, and <Work>, and enter a <Description> of the Schedule. Explanations for each of these terms is below.
-<Title> : Sets the name of a Schedule.
-<Repeat> : Sets the schedule repetition (<Once> - Executes only once, <Every> - Specifies a repetition date).
-<Time> : Determines the time at which a schedule will be executed.
-<Work> : Sets Source switch or <Power On>/<Power Off>
-<Description> : Shows a detailed description of a Schedule.
4.After you have entered all the information, press <ADD>.
You can view the registration history of a Schedule. You can also view the status of a Schedule. The Status codes are below:
-<Complete> : Schedule complete.
-<Waiting> : Schedule still awaiting execution.
-<Running> : Repetitive schedule is running.
![]() • To save or load the registered schedule, select <File>→<Export Config>.
• To save or load the registered schedule, select <File>→<Export Config>.
Using |