3-5 Using the Screen Adjustment Menu (OSD: On Screen Display)
The Screen Adjustment Menu (OSD: On Screen Display) Structure
To access the Menu, press the Menu button on the product or on the remote. To move in the menu, press the arrow buttons. Menu selections with an arrow on the far right have
|
|
| MENU |
|
|
|
|
|
|
|
|
|
|
|
|
|
|
|
| Input |
| Source List | Edit Name |
|
|
|
|
|
|
|
|
| |||
|
|
|
|
|
|
|
| |
|
|
|
|
|
|
|
|
|
|
| Picture |
| Mode | Size | Position | Digital NR | Black Level |
|
|
| ||||||
|
|
|
|
|
|
|
| |
|
|
|
| Overscan | Film Mode | PC | Zoom |
|
|
|
|
|
|
|
|
|
|
|
| Setup |
| Install | Lamp Mode | Auto Keystone | Background | |
|
|
| ||||||
|
|
| ||||||
|
|
|
|
|
|
|
|
|
|
|
|
| Test Pattern | Video Type | Caption | Network | Reset |
|
|
|
|
|
|
|
|
|
|
| Option |
| Language | Menu Option | Sound | Filter Check | Auto Power On |
|
|
| ||||||
|
|
|
|
|
|
| Time |
|
|
|
|
|
|
|
|
|
|
|
|
|
| Sleep Timer | Melody | Security | Panel Lock | Information |
|
|
|
|
|
|
|
|
|

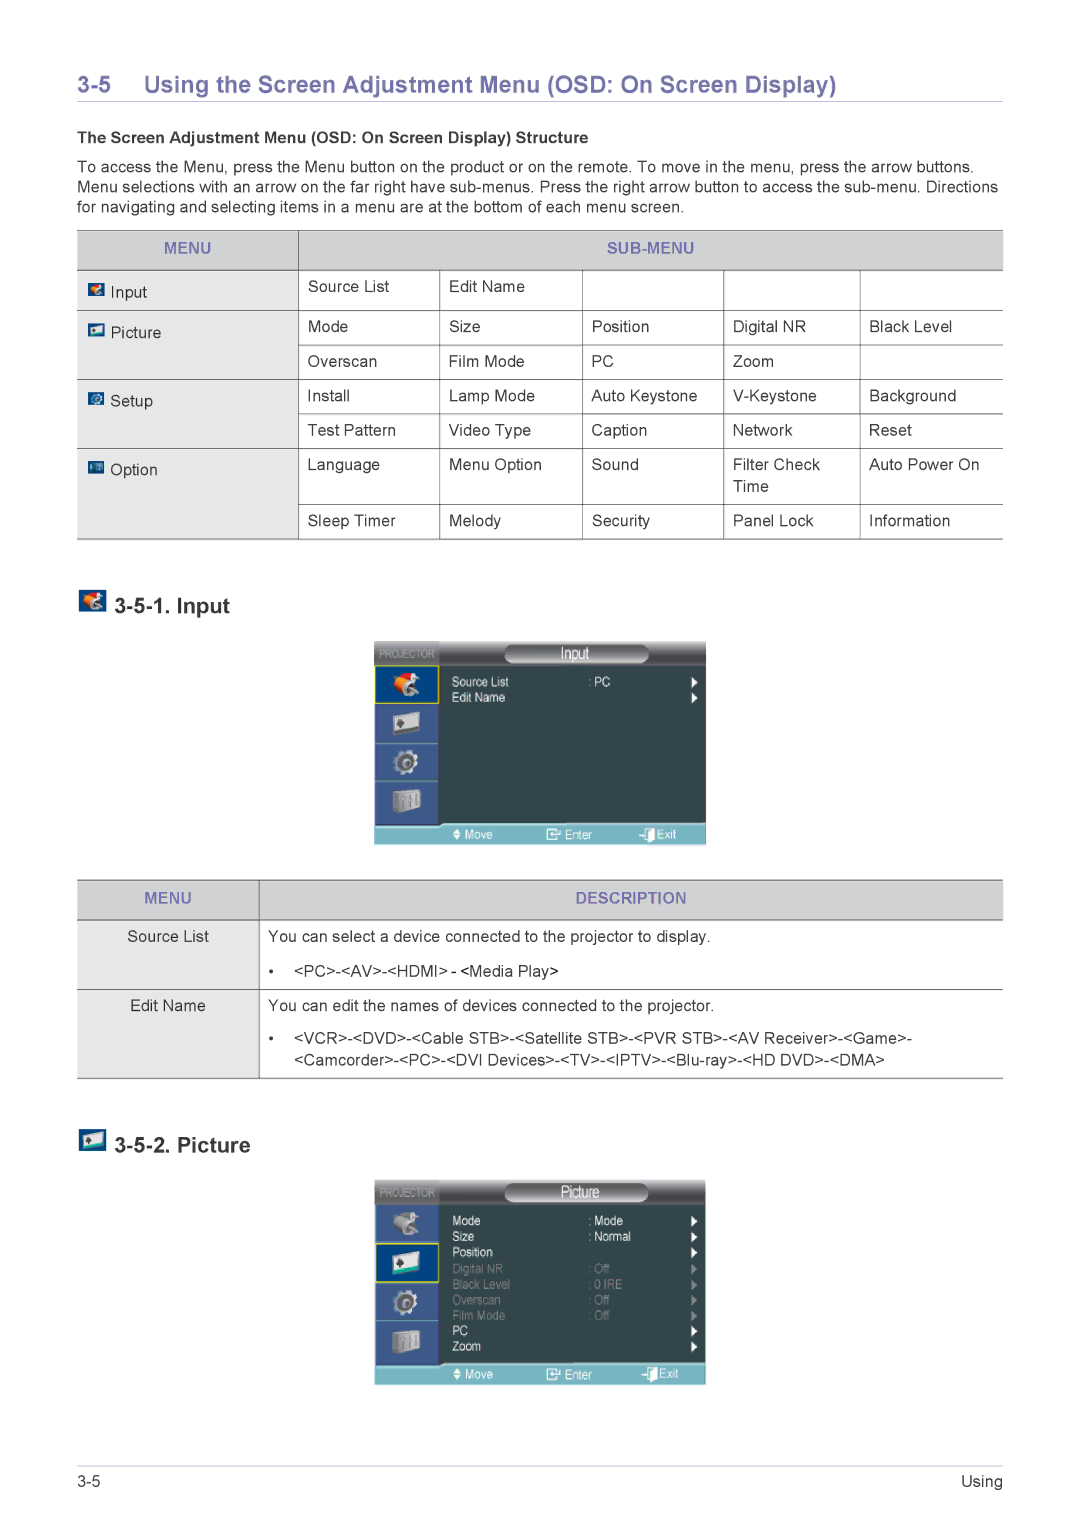
3-5-1. Input
MENU | DESCRIPTION |
|
|
Source List | You can select a device connected to the projector to display. |
| • |
|
|
Edit Name | You can edit the names of devices connected to the projector. |
| • |
| |
|
|

3-5-2. Picture
Using |
