PLC-WL2503A specifications
The Sanyo PLC-WL2503A is a cutting-edge projector designed to cater to the diverse needs of both professional and educational environments. With its compact design and advanced features, it stands out as a reliable option for users seeking high-quality visual performance.One of the main features of the PLC-WL2503A is its impressive brightness output, reaching up to 2500 lumens. This high brightness level ensures that presentations and videos remain clear and vibrant even in well-lit environments. Coupled with a native XGA (1024 x 768) resolution, the projector delivers sharp and detailed images that enhance the professional look of any presentation.
The PLC-WL2503A utilizes advanced DLP (Digital Light Processing) technology, which provides exceptional color accuracy and consistency. This technology is known for its ability to produce vivid colors and deep blacks, making it an excellent choice for video playback and graphic presentations. Additionally, DLP technology allows for a longer lifespan of the projector's light source, resulting in reduced maintenance costs over time.
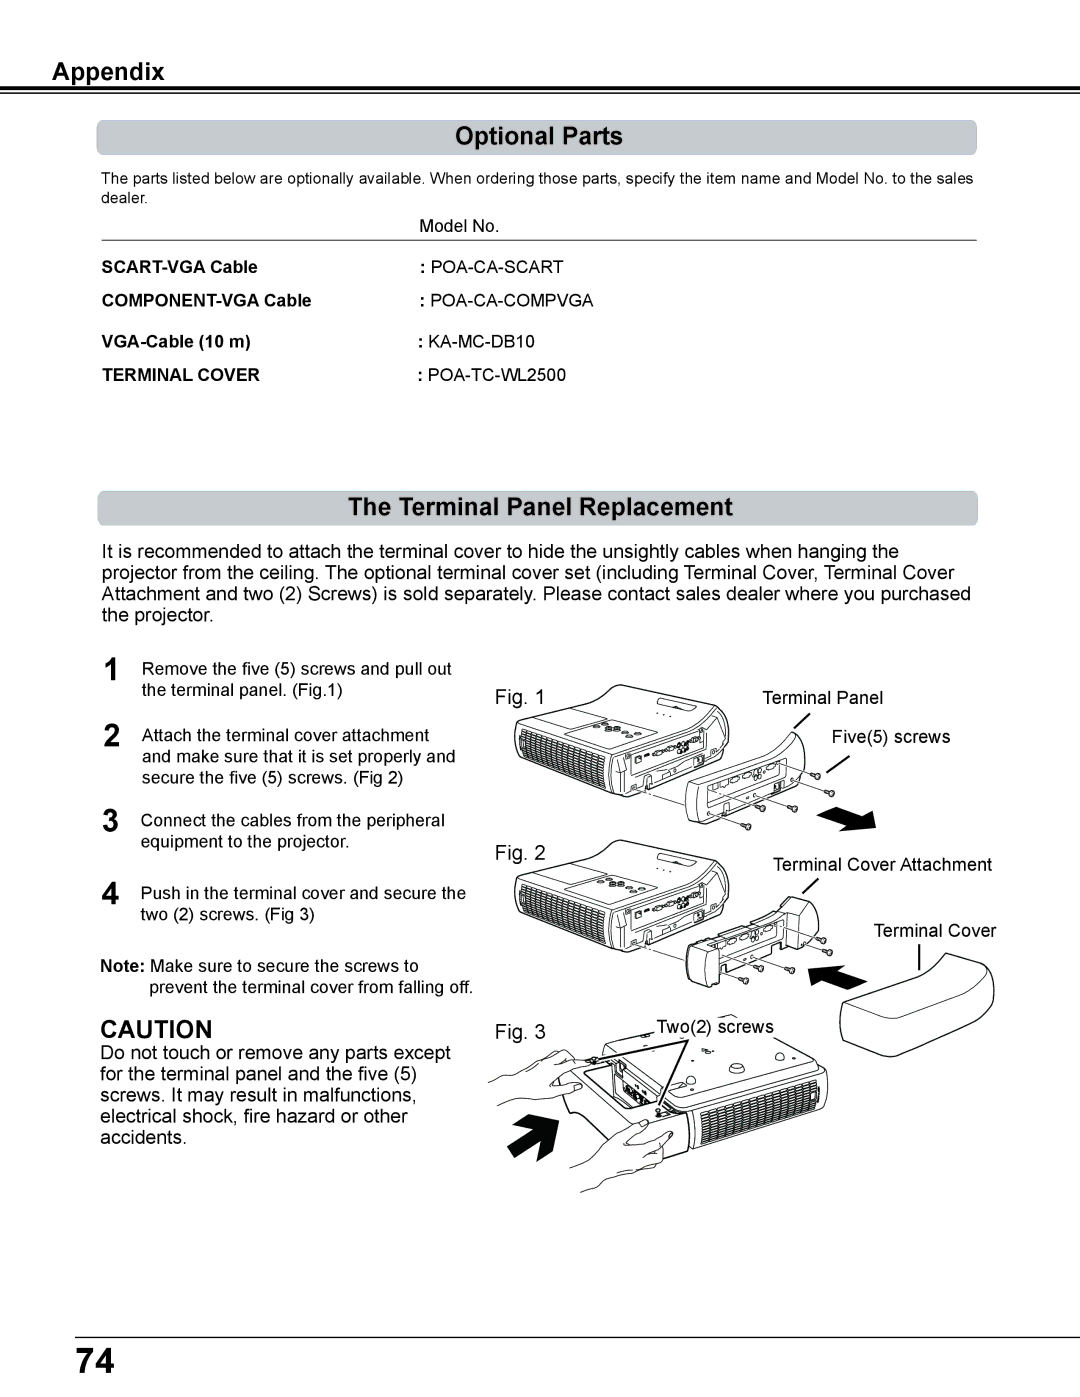
Another notable characteristic is the projector's versatility in connectivity options. The Sanyo PLC-WL2503A offers various input ports, including HDMI, VGA, and composite video, enabling easy connection to multiple devices such as laptops, DVD players, and gaming consoles. This flexibility ensures that users can seamlessly switch between different source devices without hassle.
In terms of usability, the PLC-WL2503A is designed with user-friendly features, including a straightforward interface and remote control. The integrated lens shift and keystone correction functionalities allow for easy adjustment of the image, enabling users to achieve optimal projection angles and alignment. This feature is especially beneficial in classroom and conference settings where space constraints can often pose challenges.
Furthermore, the projector boasts a lightweight and portable design, making it easy to transport to various locations. This is particularly advantageous for professionals who frequently travel for presentations or educational staff who move between classrooms.
The Sanyo PLC-WL2503A also incorporates eco-friendly technologies, such as an energy-saving mode that reduces power consumption while extending the life of the lamp. This focus on sustainability reflects a growing trend in technology to minimize environmental impact without compromising performance.
In conclusion, the Sanyo PLC-WL2503A combines impressive brightness, advanced DLP technology, versatile connectivity, and user-friendly features, making it an excellent choice for users in need of a reliable and efficient projector. Whether for business presentations or educational purposes, the PLC-WL2503A stands out as a powerful tool that delivers exceptional visual experiences.

