Basic Operation
How to Operate the On-Screen Menu
The projector can be adjusted or set via the
1 | Press the MENU button on the top control or the |
remote control to display the | |
2 | Use the Point ▲▼ buttons to highlight or select a main |
menu item. Press the Point ► or the SELECT button | |
| to access the submenu items. (The selected item is |
| highlighted in orange.) |
3 | Use the Point ▲▼ buttons to select the desired |
submenu item and press the SELECT button to set or | |
| access the selected item. |
4 | Use the Point ▲▼◄► buttons to adjust the setting or |
switch between each option and press the SELECT | |
| button to activate it and return to the submenu. |
5 | Press the Point ◄ button to return to the main menu. |
Press the MENU button to exit the |
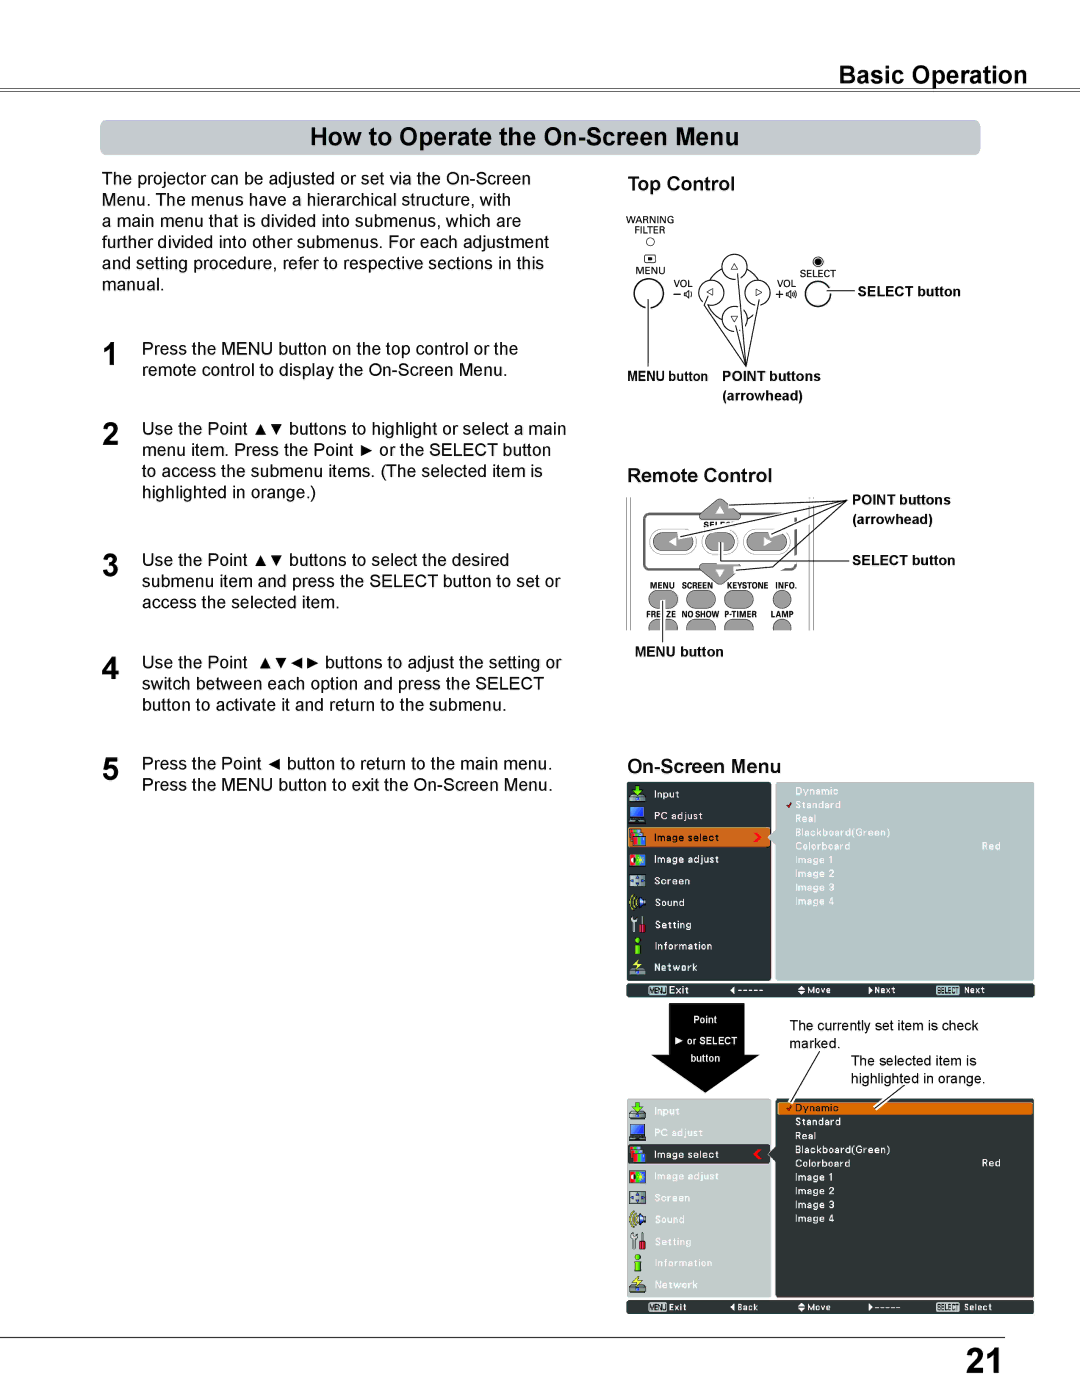
Top Control
![]()
![]()
![]()
![]()
![]() SELECT button
SELECT button
MENU button POINT buttons (arrowhead)
Remote Control
POINT buttons (arrowhead)
SELECT button
MENU button
On-Screen Menu
Point
►or SELECT button
The currently set item is check marked.
The selected item is highlighted in orange.
21