Video Input
Input Source Selection (Component, RGB Scart
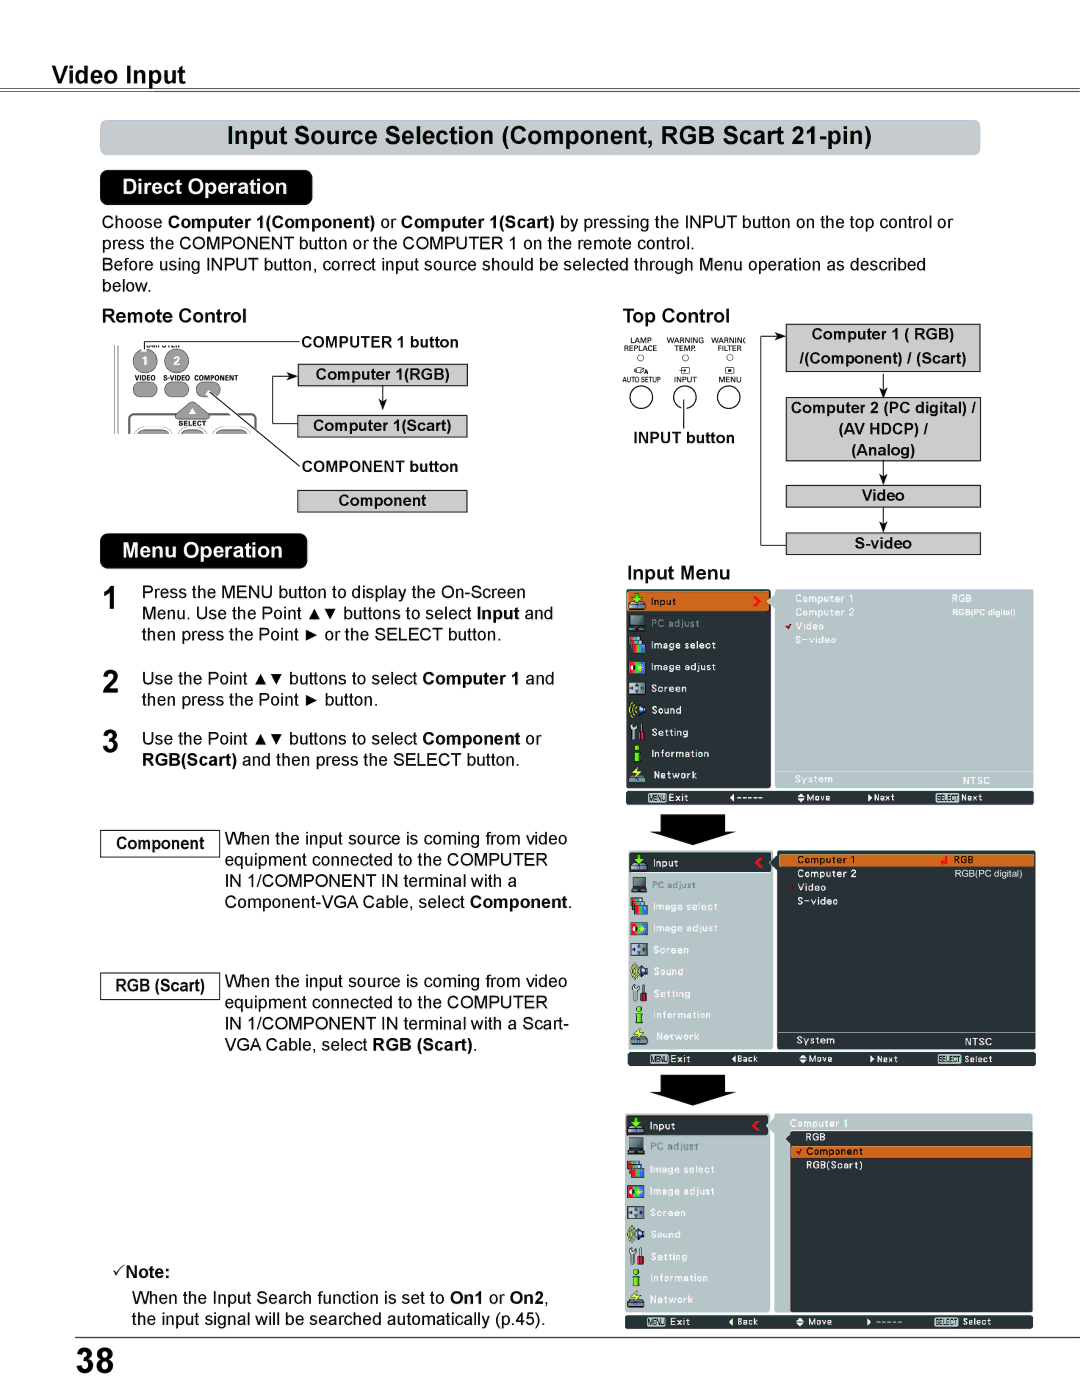
Direct Operation
Choose Computer 1(Component) or Computer 1(Scart) by pressing the INPUT button on the top control or press the COMPONENT button or the COMPUTER 1 on the remote control.
Before using INPUT button, correct input source should be selected through Menu operation as described below.
Remote Control
COMPUTER 1 button
Computer 1(RGB)
|
|
| Computer 1(Scart) |
|
|
|
|
| |
|
|
| COMPONENT button | |
|
|
|
|
|
|
|
| Component |
|
| Menu Operation | |||
1 | Press the MENU button to display the | |||
Menu. Use the Point ▲▼ buttons to select Input and | ||||
| then press the Point ► or the SELECT button. | |||
2 | Use the Point ▲▼ buttons to select Computer 1 and | |||
| then press the Point ► button. | |||
3 | Use the Point ▲▼ buttons to select Component or | |||
| RGB(Scart) and then press the SELECT button. | |||
Top Control
INPUT button
Input Menu
Computer 1 ( RGB)
/(Component) / (Scart)
Computer 2 (PC digital) /
(AV HDCP) /
(Analog)
Video
RGB(PC digital)
Component
RGB (Scart)
When the input source is coming from video equipment connected to the COMPUTER
IN 1/COMPONENT IN terminal with aRGB(PC digital)
When the input source is coming from video equipment connected to the COMPUTER IN 1/COMPONENT IN terminal with a Scart- VGA Cable, select RGB (Scart).
Note:
When the Input Search function is set to On1 or On2, the input signal will be searched automatically (p.45).
38