Setting
Shutter
Shutter function is available to block out light to the screen, so that the screen can be used for the other presenters.
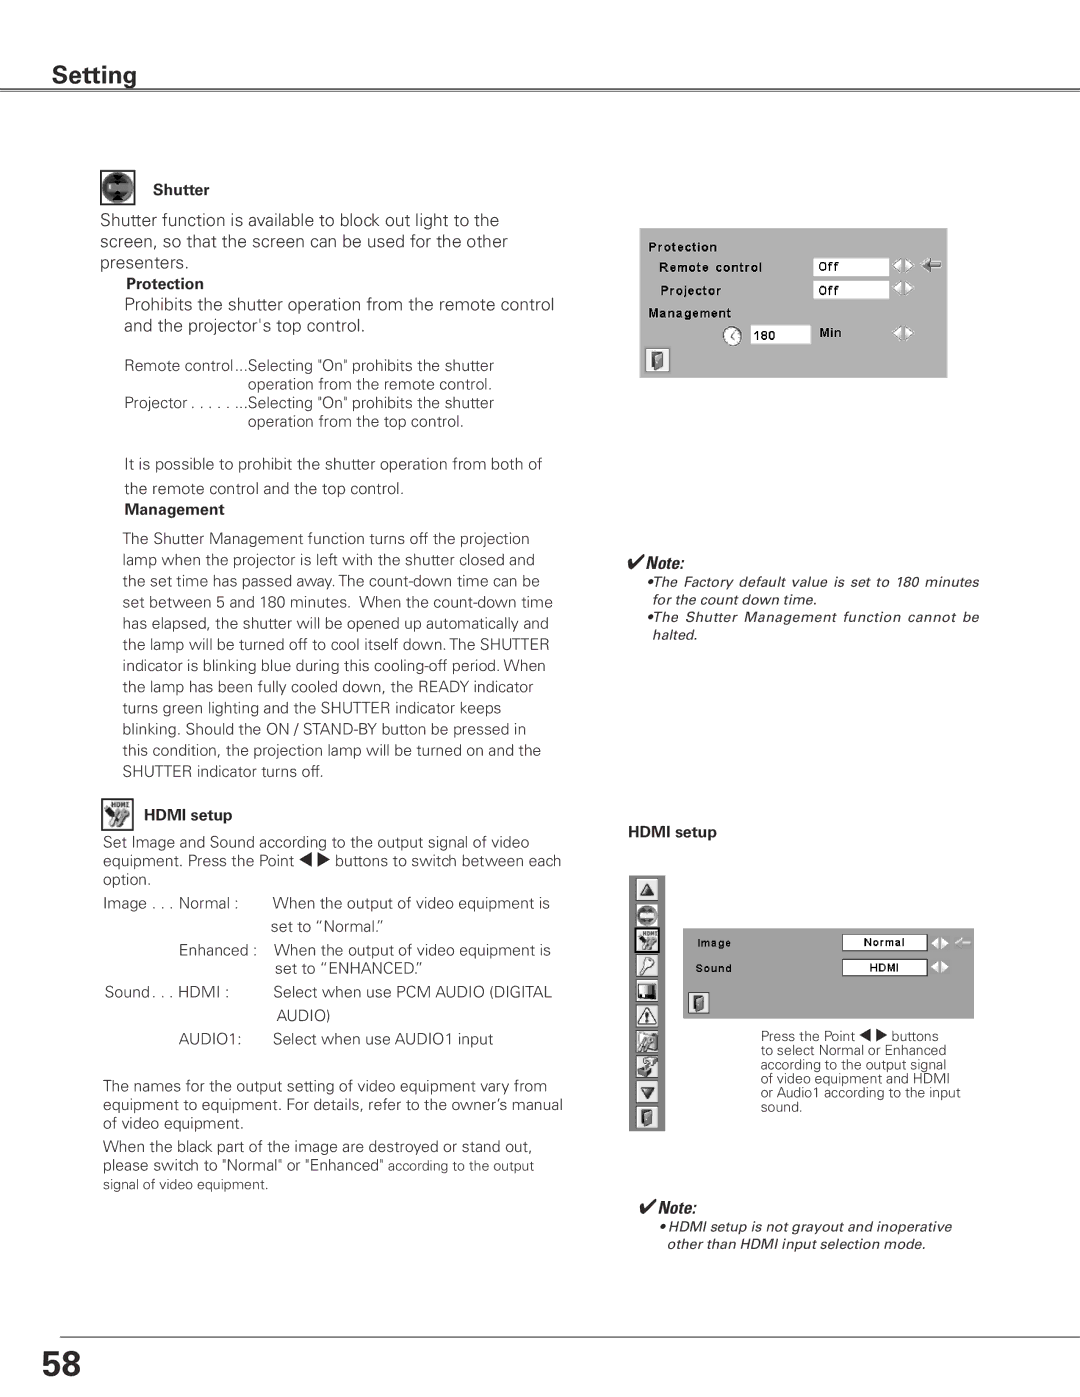
Protection
Prohibits the shutter operation from the remote control and the projector's top control.
Remote control...Selecting "On" prohibits the shutter operation from the remote control.
Projector . . . . . ...Selecting "On" prohibits the shutter operation from the top control.
It is possible to prohibit the shutter operation from both of the remote control and the top control.
Management
The Shutter Management function turns off the projection lamp when the projector is left with the shutter closed and the set time has passed away. The
HDMI setup
Set Image and Sound according to the output signal of video equipment. Press the Point 7 8 buttons to switch between each option.
Image . . Normal : | When the output of video equipment is |
| set to “Normal.” |
Enhanced : When the output of video equipment is | |
| set to “ENHANCED.” |
Sound . HDMI : | Select when use PCM AUDIO (DIGITAL |
| AUDIO) |
AUDIO1: | Select when use AUDIO1 input |
The names for the output setting of video equipment vary from equipment to equipment. For details, refer to the owner’s manual of video equipment.
When the black part of the image are destroyed or stand out, please switch to "Normal" or "Enhanced" according to the output
signal of video equipment.
✔Note:
•The Factory default value is set to 180 minutes for the count down time.
•The Shutter Management function cannot be halted.
HDMI setup
Press the Point 7 8 buttons to select Normal or Enhanced according to the output signal of video equipment and HDMI or Audio1 according to the input sound.
✔Note:
•HDMI setup is not grayout and inoperative other than HDMI input selection mode.
58
