4.Make sure the beer tap faucet is in the closed (faucet handle pointing straight back) position before connecting the Keg Tap to the beer keg. Pull the pull handle out and push down until it locks into position. Listen for the "click" of the pull handle when it shifts into the final downward position. (see fig. 4) This will open the beer and CO2 gas valves. Open
pressure gauge reads 8 psi. The keg is now tapped.
fig. 4
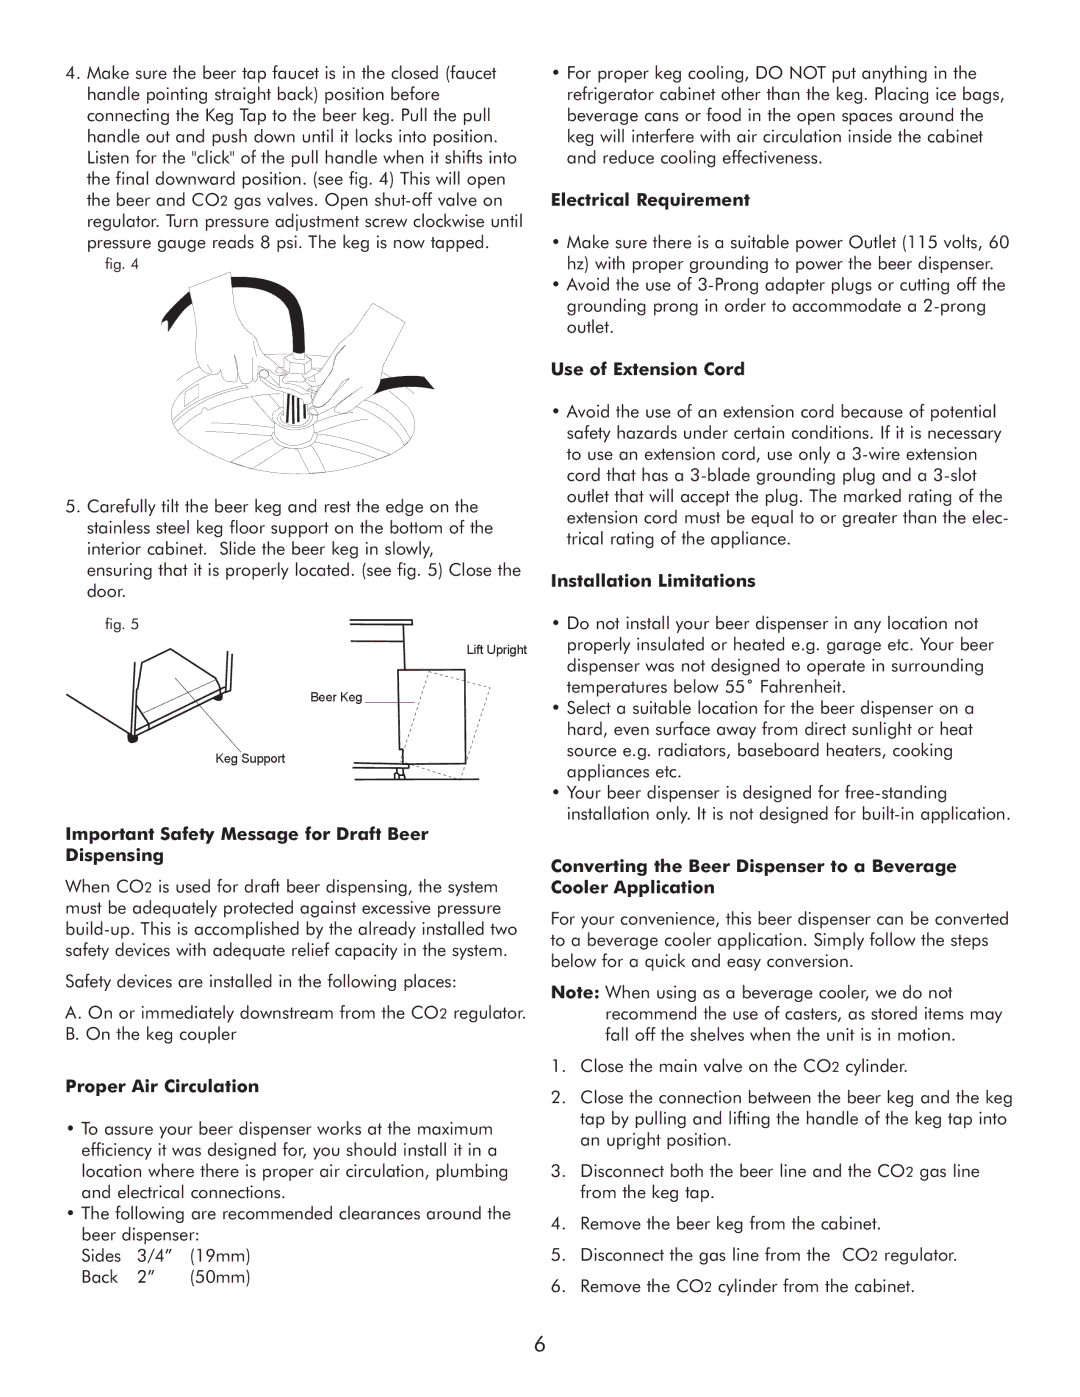
5.Carefully tilt the beer keg and rest the edge on the stainless steel keg floor support on the bottom of the interior cabinet. Slide the beer keg in slowly, ensuring that it is properly located. (see fig. 5) Close the door.
fig. 5
Lift Upright
Beer Keg
Keg Support
Important Safety Message for Draft Beer Dispensing
When CO2 is used for draft beer dispensing, the system must be adequately protected against excessive pressure
Safety devices are installed in the following places:
A. On or immediately downstream from the CO2 regulator. B. On the keg coupler
Proper Air Circulation
•To assure your beer dispenser works at the maximum efficiency it was designed for, you should install it in a location where there is proper air circulation, plumbing and electrical connections.
•The following are recommended clearances around the beer dispenser:
Sides 3/4” (19mm) Back 2” (50mm)
•For proper keg cooling, DO NOT put anything in the refrigerator cabinet other than the keg. Placing ice bags, beverage cans or food in the open spaces around the keg will interfere with air circulation inside the cabinet and reduce cooling effectiveness.
Electrical Requirement
•Make sure there is a suitable power Outlet (115 volts, 60 hz) with proper grounding to power the beer dispenser.
•Avoid the use of
Use of Extension Cord
•Avoid the use of an extension cord because of potential safety hazards under certain conditions. If it is necessary to use an extension cord, use only a
Installation Limitations
•Do not install your beer dispenser in any location not properly insulated or heated e.g. garage etc. Your beer dispenser was not designed to operate in surrounding temperatures below 55˚ Fahrenheit.
•Select a suitable location for the beer dispenser on a hard, even surface away from direct sunlight or heat source e.g. radiators, baseboard heaters, cooking appliances etc.
•Your beer dispenser is designed for
Converting the Beer Dispenser to a Beverage Cooler Application
For your convenience, this beer dispenser can be converted to a beverage cooler application. Simply follow the steps below for a quick and easy conversion.
Note: When using as a beverage cooler, we do not recommend the use of casters, as stored items may fall off the shelves when the unit is in motion.
1.Close the main valve on the CO2 cylinder.
2.Close the connection between the beer keg and the keg tap by pulling and lifting the handle of the keg tap into an upright position.
3.Disconnect both the beer line and the CO2 gas line from the keg tap.
4.Remove the beer keg from the cabinet.
5.Disconnect the gas line from the CO2 regulator.
6.Remove the CO2 cylinder from the cabinet.
6