Operating the Self-Cleaning Oven
Before a Self-Cleaning Cycle
Step 1 : Remove the broiler pan, broiler rack, all cook- ware and any aluminum foil from the
withstand the high cleaning temperatures_ (Oven shelves may be left in oven. Note: Shelves will discol- or during the
Step 2: Wipe up heavy soil on the oven bottom.
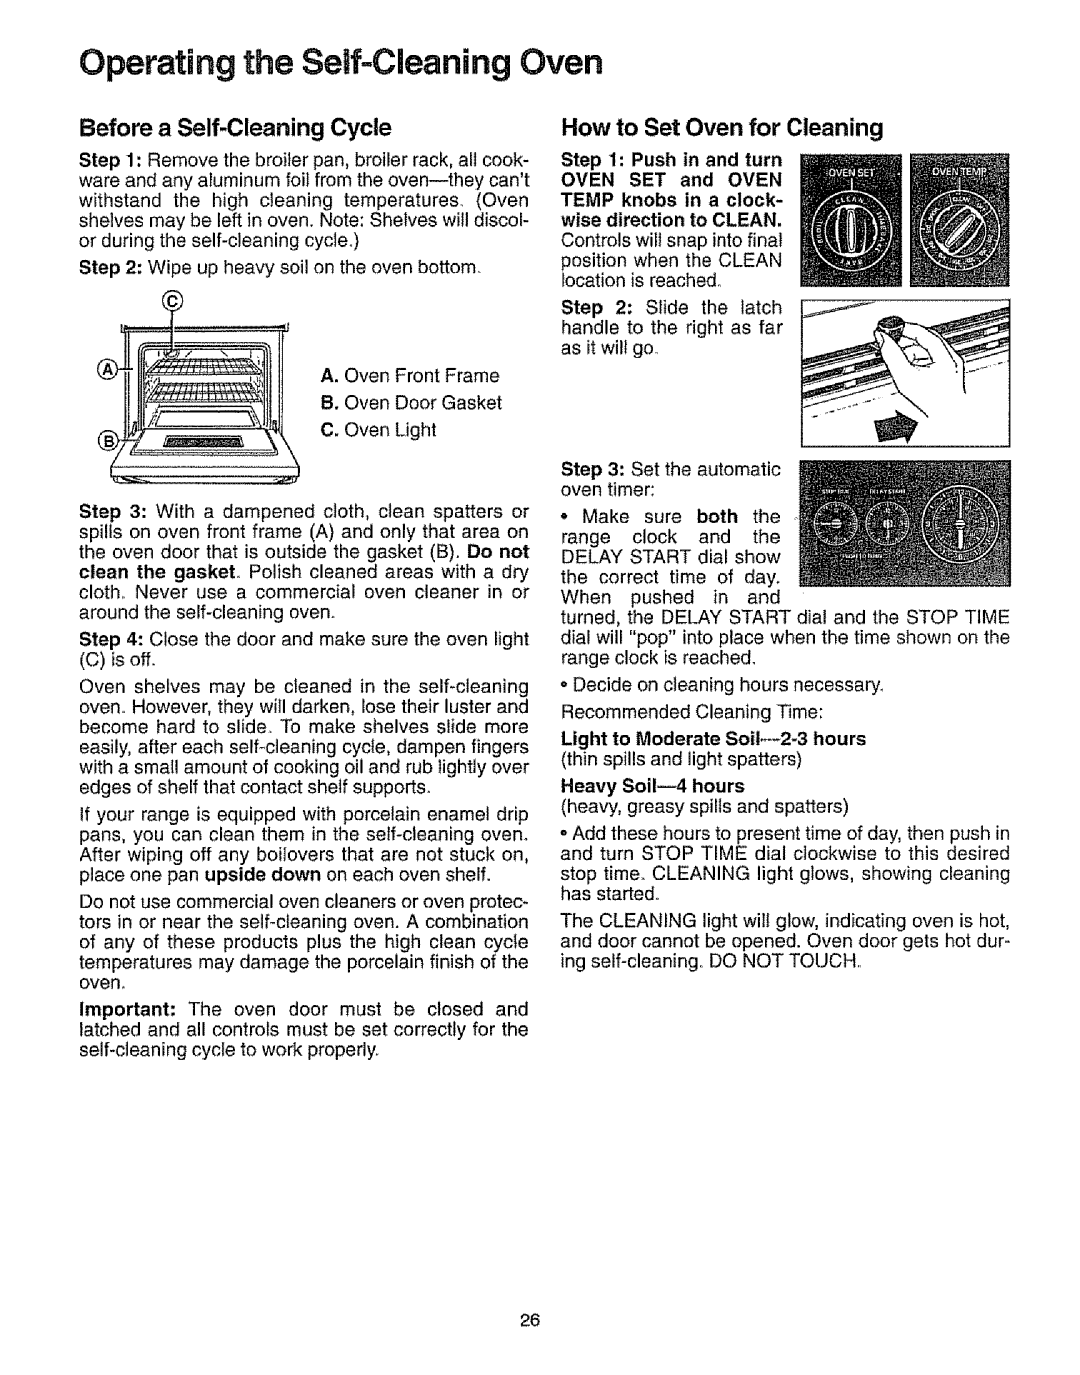
A. Oven Front Frame
B. Oven Door Gasket
C. Oven Light
Step 3: With a dampened cloth, clean spatters or spills on oven front frame (A) and only that area on the oven door that is outside the gasket (B). Do not clean the gasket, Polish cleaned areas with a dry
cloth. Never use a commercial oven cleaner in or around the
Step 4: Close the door and make sure the oven light
(C) is off.
Oven shelves may be cleaned in the
easily, after each
If your range is equipped with porcelain enamel drip pans, you can clean them in the
Do not use commercial oven cleaners or oven protec- tors in or near the
important: The oven door must be closed and latched and all controls must be set correctly for the
How to Set Oven for Cleaning
Step 1: Push in and turn
OVEN SET and OVEN TEMP knobs in a clock- wise direction to CLEAN.
Controls will snap into final
position when the CLEAN location is reached,
Step 2: Slide the latch handle to the right as far as it will goo
Step 3: Set the automatic oven timer:
•Make sure both the
range clock and the DELAY START dial show
the correct time of day.
When pushed in and
turned, the DELAY START dial and the STOP TIME dial will "pop" into place when the time shown on the range clock is reached.
o Decide on cleaning hours necessary_
Recommended Cleaning Time:
Light to Moderate
Heavy
(heavy, greasy spills and spatters)
o Add these hours to present time of day, then push in and turn STOP TIME dial clockwise to this desired
stop time., CLEANING light glows, showing cleaning has started..
The CLEANING light will glow, indicating oven is hot, and door cannot be opened. Oven door gets hot dur- ing
26