Installation Instructions (continued)
Step :3
Convert The Oven Burner Orifice
For LP Gas
Oven Burner:
1.Remove oven door, kick panel, oven bottom and burner baffle, The burner orifice spud is located behind a metal shield at the center bottom of range°
2. Remove metal shield and use a 1/2" wrench to turn the burner orifice spud clockwise° Tighten spud only "until it is snug with the base. To prevent leakage, do not overtighten spud or loosen spud after it is snug.
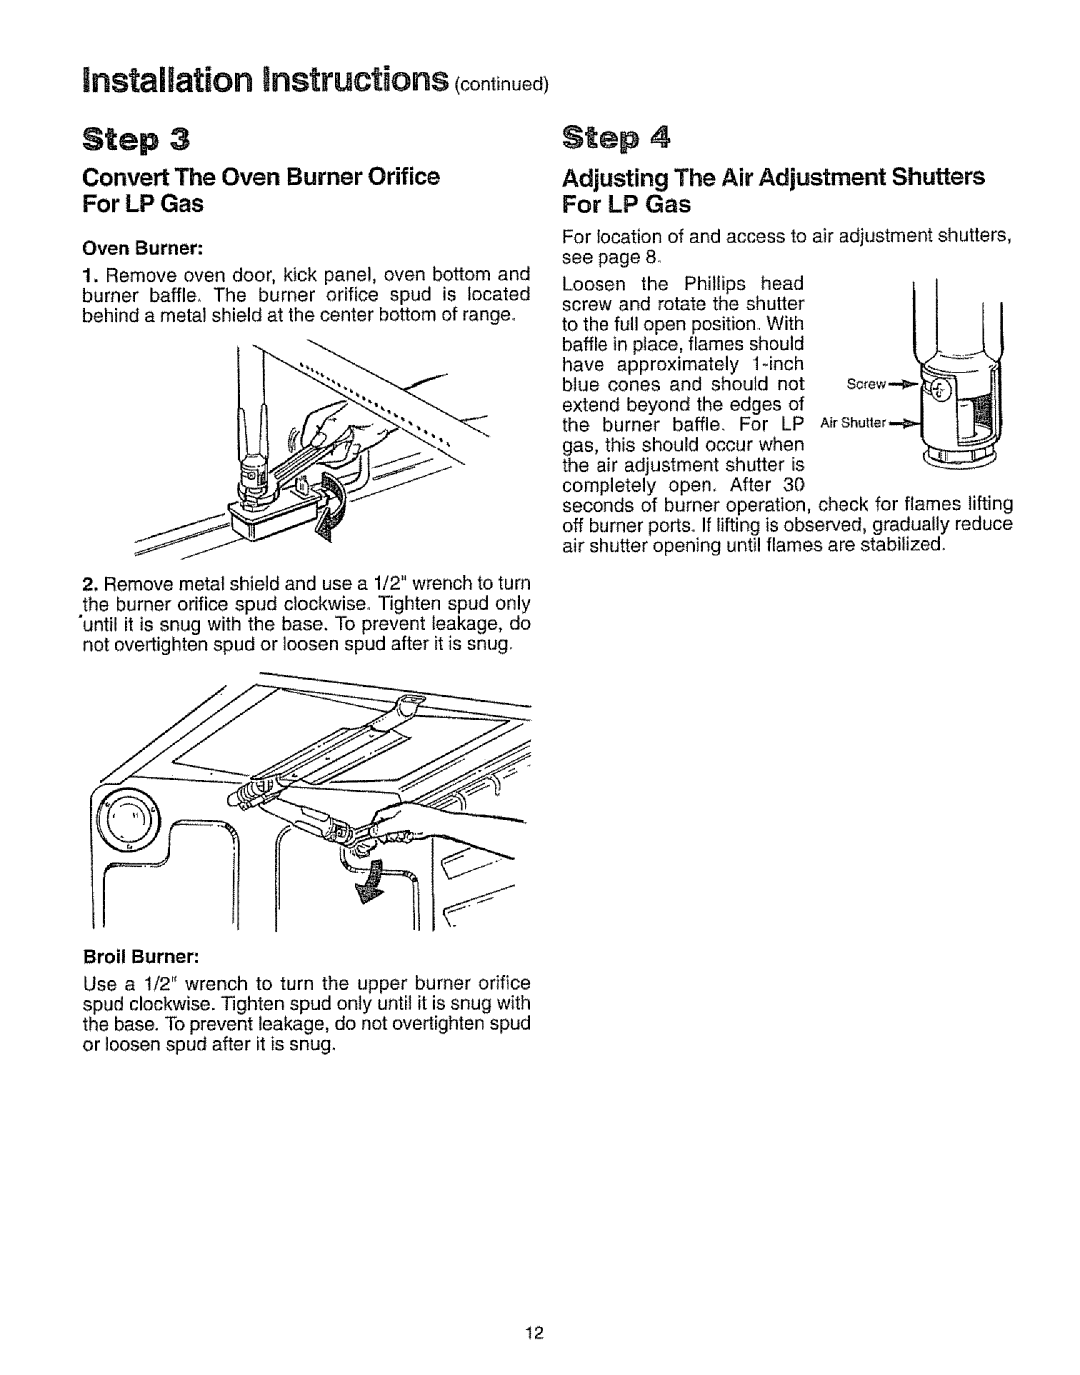
Step 4
Adjusting The Air Adjustment Shutters For LP Gas
For location of and access to air adjustment shutters,
see | page | 8.. |
|
|
|
|
Loosen | the | Phillips | head |
| ||
screw and rotate the shutter |
| |||||
to the full open position. With |
| |||||
baffle in place, flames should |
| |||||
have | approximately | ___._ .t | ||||
blue | cones | and should | not | |||
extend beyond the edges of | ) t._== | |||||
| ||||||
the burner baffle. For LP |
| |||||
gas, this should occur when |
| |||||
the air adjustment shutter is |
| |||||
completely |
| open,, After | 30 |
| ||
seconds of burner operation, check for flames lifting off burner ports. If lifting is observed, gradually reduce air shutter opening until flames are stabilized.
Broil Burner:
Use a 1/2" wrench to turn the upper burner orifice spud clockwise. Tighten spud only until it is snug with the base. To prevent leakage, do not overtighten spud or loosen spud after it is snug.
I2