Cleaning the Print Head
Maintenance
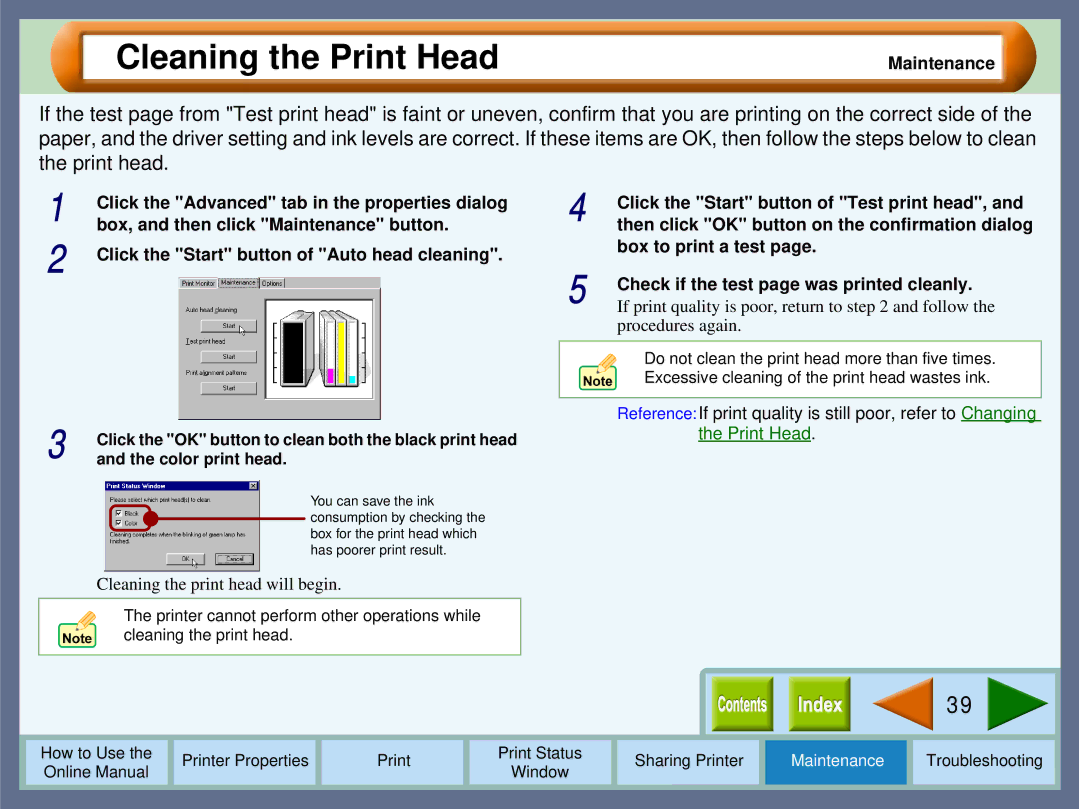
If the test page from "Test print head" is faint or uneven, confirm that you are printing on the correct side of the paper, and the driver setting and ink levels are correct. If these items are OK, then follow the steps below to clean the print head.
1 | Click the "Advanced" tab in the properties dialog |
box, and then click "Maintenance" button. | |
2 | Click the "Start" button of "Auto head cleaning". |
3 | Click the "OK" button to clean both the black print head | ||
and the color print head. | |||
|
|
| You can save the ink |
|
|
| consumption by checking the |
|
|
| |
|
|
| box for the print head which |
|
|
| has poorer print result. |
Cleaning the print head will begin.
The printer cannot perform other operations while cleaning the print head.
4 | Click the "Start" button of "Test print head", and |
then click "OK" button on the confirmation dialog | |
| box to print a test page. |
5 | Check if the test page was printed cleanly. |
If print quality is poor, return to step 2 and follow the |
procedures again.
Do not clean the print head more than five times.
Excessive cleaning of the print head wastes ink.
Reference:If print quality is still poor, refer to Changing the Print Head.
 39
39 
How to Use the |
| Printer Properties |
|
| Print Status | Sharing Printer | Maintenance | Troubleshooting | |
Online Manual |
|
|
| Window | |||||
|
|
|
|
|
|
|
| ||
|
|
|
|
|
|
|
|
|
|
