6. Scan to E-mail Using the E-mail Key
Use the
Important:
To use Scan to
♦If you need to change the
1
2
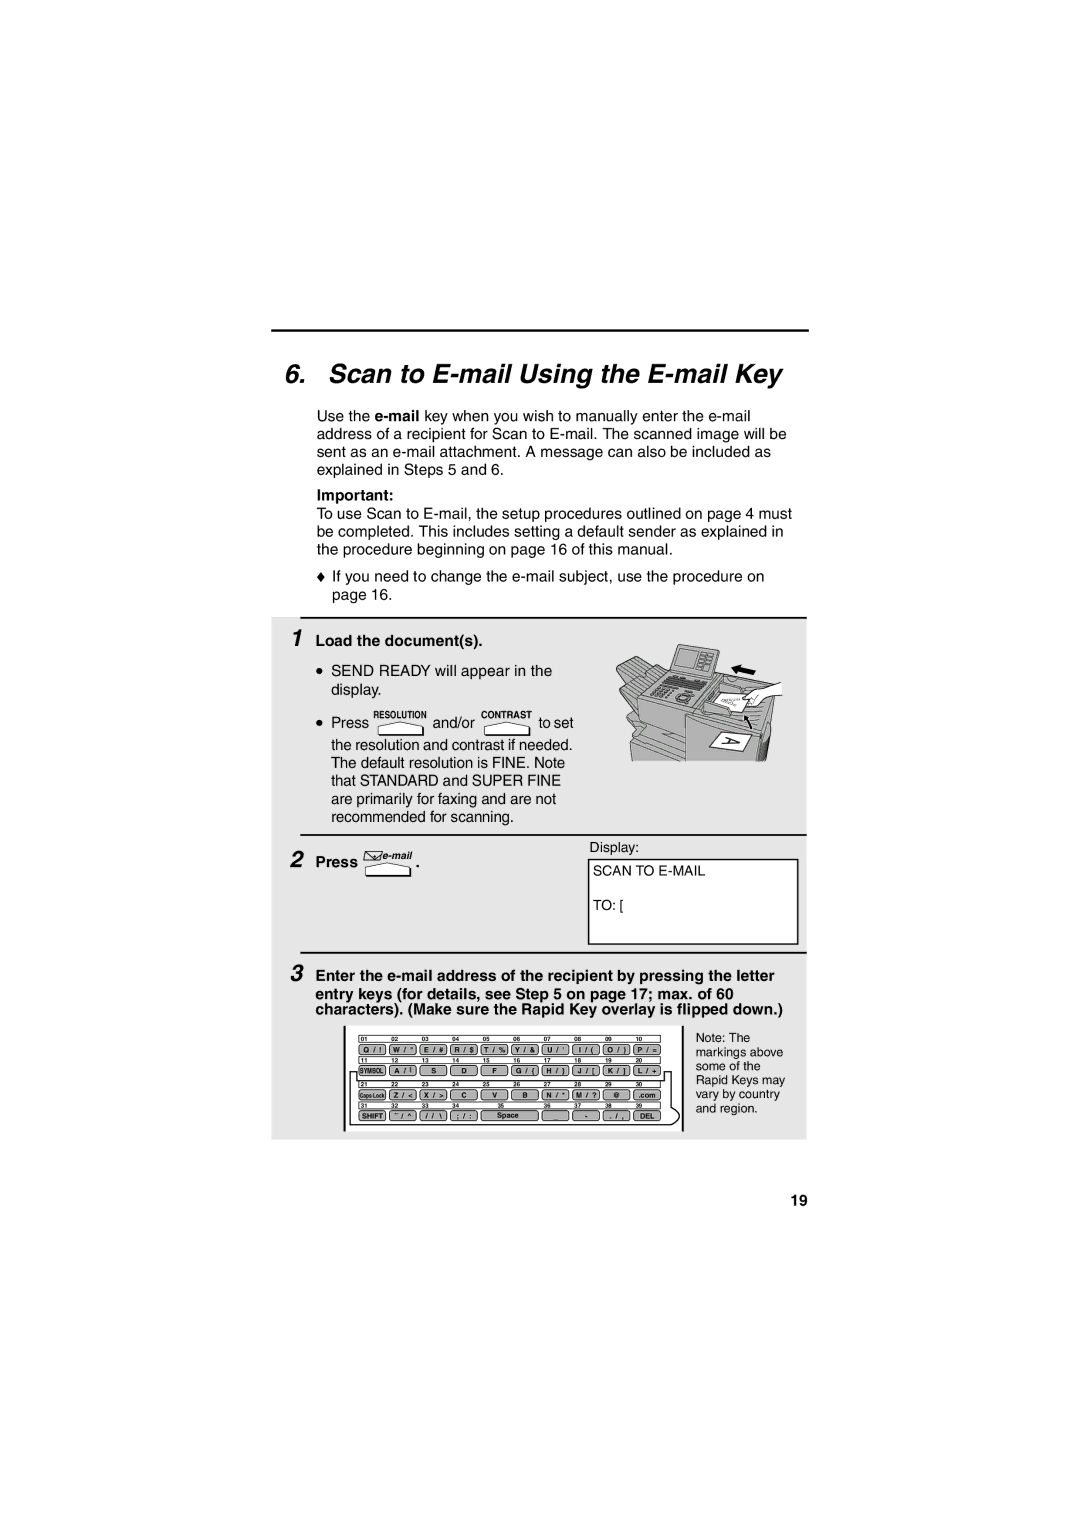
Load the document(s).
• SEND READY will appear in the display.
• Press RESOLUTION and/or CONTRAST to set
the resolution and contrast if needed. The default resolution is FINE. Note that STANDARD and SUPER FINE are primarily for faxing and are not recommended for scanning.
Press | Display: | |||
| SCAN TO |
| ||
|
|
|
| |
|
|
| TO: [ |
|
|
|
|
|
|
3 Enter the
entry keys (for details, see Step 5 on page 17; max. of 60 characters). (Make sure the Rapid Key overlay is flipped down.)
01 | 02 |
| 03 | 04 | 05 | 06 | 07 | 08 | 09 |
| 10 |
Q / ! | W / " | E / # | R / $ T / % Y / & | U / ' | I / ( | O / ) | P / = | ||||
11 | 12 |
| 13 | 14 | 15 | 16 | 17 | 18 | 19 |
| 20 |
SYMBOL | A / | S | D | F | G / { | H / } | J / [ | K / | ] | L / + | |
21 | 22 |
| 23 | 24 | 25 | 26 | 27 | 28 | 29 |
| 30 |
Caps Lock | Z / < | X / > | C | V | B | N / * | M / ? | @ |
| .com | |
31 | 32 |
| 33 | 34 |
| 35 | 36 | 37 | 38 |
| 39 |
SHIFT | / | ^ | / / \ | ; / : |
| Space | _ | - | . / | , | DEL |
Note: The markings above some of the Rapid Keys may vary by country and region.
19