IM-DR400E Advanced Recording (continued)
Useful Features -Advanced Recording-
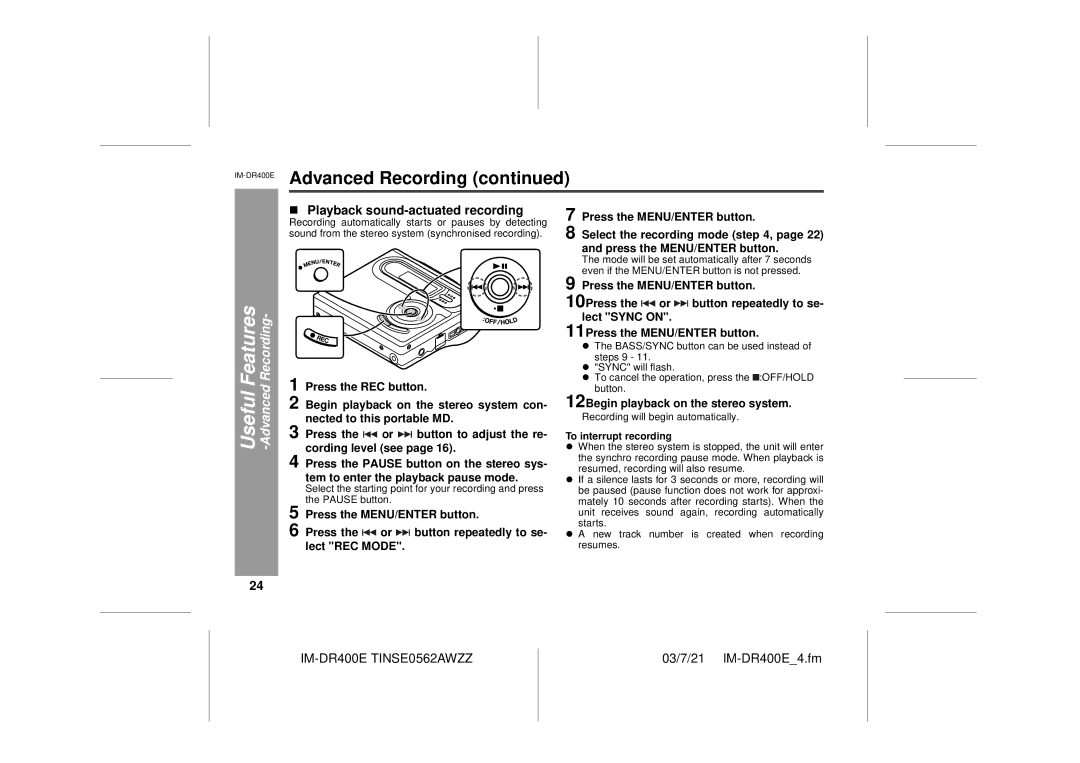
!Playback sound-actuated recording
Recording automatically starts or pauses by detecting sound from the stereo system (synchronised recording).
1 Press the REC button.
2 Begin playback on the stereo system con- nected to this portable MD.
3 Press the ![]() or
or ![]() button to adjust the re- cording level (see page 16).
button to adjust the re- cording level (see page 16).
4 Press the PAUSE button on the stereo sys- tem to enter the playback pause mode.
Select the starting point for your recording and press the PAUSE button.
5 | Press the MENU/ENTER button. |
6 | Press the or button repeatedly to se- |
| lect "REC MODE". |
7
8 Select the recording mode (step 4, page 22) and press the MENU/ENTER button.
The mode will be set automatically after 7 seconds even if the MENU/ENTER button is not pressed.
9 Press the MENU/ENTER button.
10Press the ![]() or
or ![]() button repeatedly to se- lect "SYNC ON".
button repeatedly to se- lect "SYNC ON".
11Press the MENU/ENTER button.
"The BASS/SYNC button can be used instead of steps 9 - 11.
""SYNC" will flash.
"To cancel the operation, press the ![]() :OFF/HOLD button.
:OFF/HOLD button.
12Begin playback on the stereo system.
Recording will begin automatically.
To interrupt recording
"When the stereo system is stopped, the unit will enter the synchro recording pause mode. When playback is resumed, recording will also resume.
"If a silence lasts for 3 seconds or more, recording will be paused (pause function does not work for approxi- mately 10 seconds after recording starts). When the unit receives sound again, recording automatically starts.
"A new track number is created when recording resumes.
24
IM-DR400E TINSE0562AWZZ
03/7/21
