Using a PC
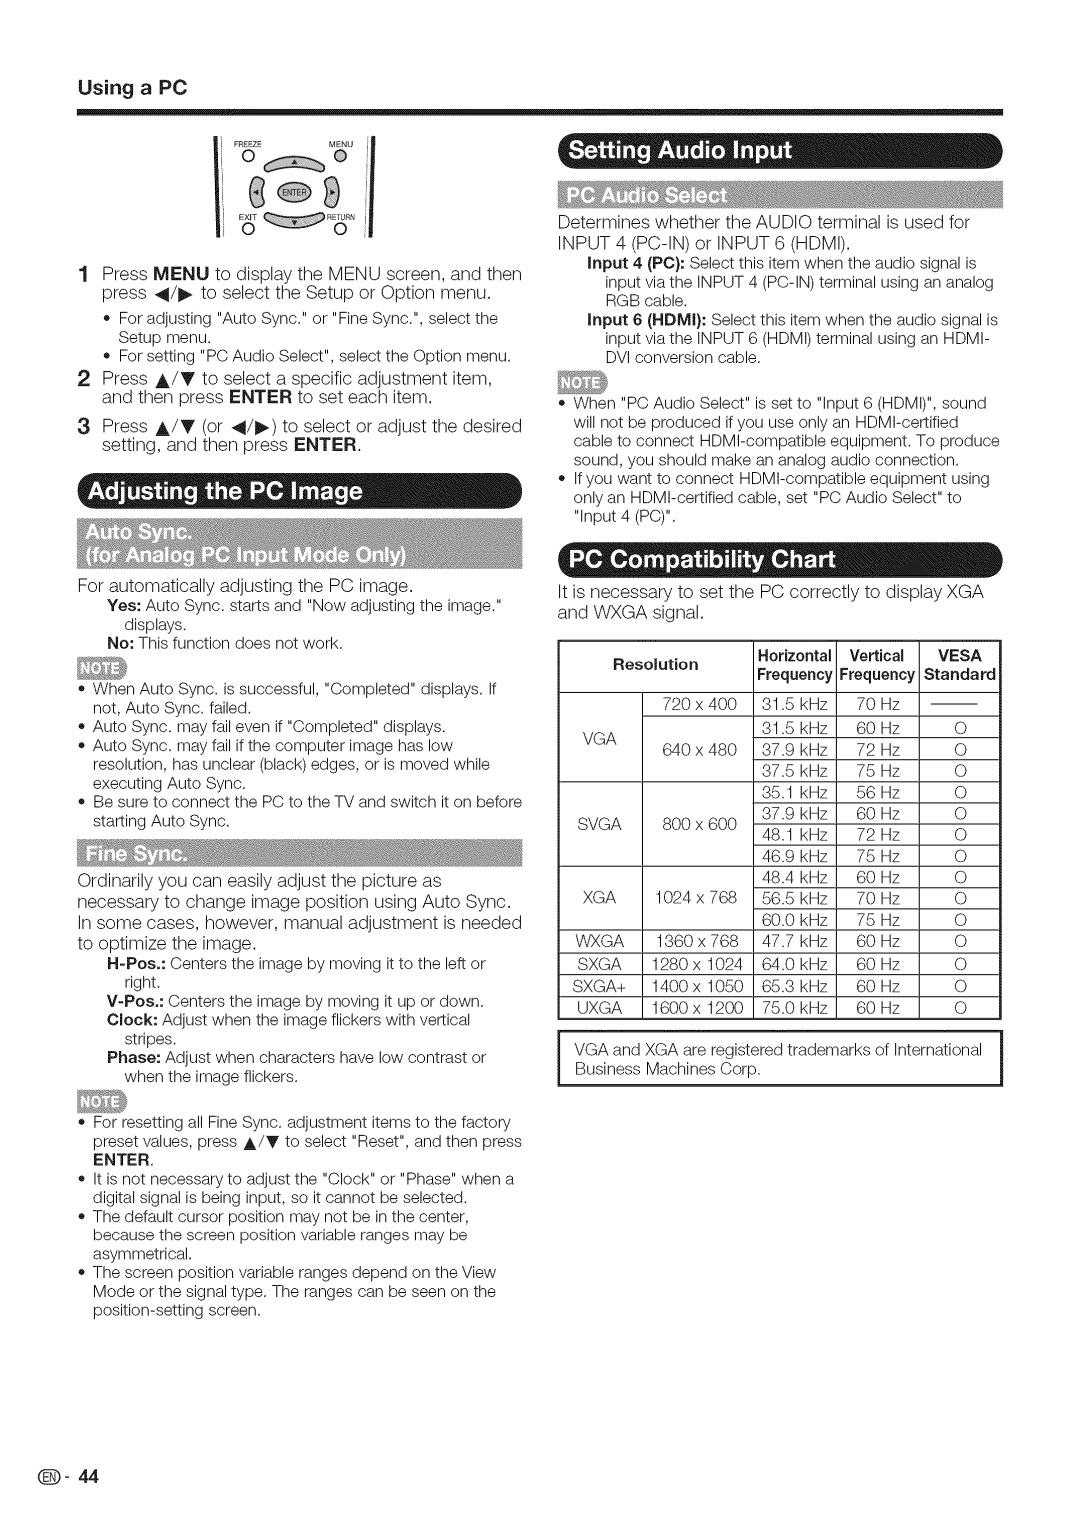
1Press MENU to display the MENU screen, and then press 4/1_ to select the Setup or Option menu.
. For adjusting "Auto Sync." or "FineSync.",select the Setup menu.
. For setting "PC Audio Select", select the Option menu.
2Press A/V to select a specific adjustment item, and then press ENTER to set each item.
3Press A/V (or 4/1_) to select or adjust the desired setting, and then press ENTER.
For automatically adjusting the PC image.
Yes: Auto Sync. starts and "Now adjusting the image." displays.
No: This function does not work.
. When Auto Sync. is successful, "Completed" displays. If not, Auto Sync. failed.
. Auto Sync. may fail even if "Completed" displays.
. Auto Sync. may fail if the computer image has low resolution, has unclear (black) edges, or is moved while executing Auto Sync.
. Be sure to connect the PC to the TV and switch it on before starting Auto Sync.
Ordinarily you can easily adjust the picture as necessary to change image position using Auto Sync. In some cases, however, manual adjustment is needed to optimize the image.
Clock: Adjust when the image flickers with vertical
stripes.
Phase: Adjust when characters have low contrast or when the image flickers.
. For resetting all Fine Sync. adjustment items to the factory preset values, press A/Y to select "Reset", and then press
ENTER.
o It is not necessary to adjust the "Clock" or "Phase" when a digital signal is being input, so it cannot be selected.
. The default cursor position may not be in the center, because the screen position variable ranges may be asymmetrical.
. The screen position variable ranges depend on the View Mode or the signal type. The ranges can be seen on the
Determines whether the AUDIO terminal is used for
INPUT 4
input 4 (PC}: Select this item when the audio signal is
input via the INPUT 4
input 6 (HDMI}: Select this item when the audio signal is input via the INPUT 6 (HDMI) terminal using an HDMI- DVI conversion cable.
. When "PC Audio Select" is set to "Input 6 (HDMI)", sound
will not be produced if you use only an
cable to connect
sound, you should make an analog audio connection.
. If you want to connect
only an
It is necessary to set the PC correctly to display XGA and WXGA signal.
Resolution | Horizontal | Vertical | VESA | ||||
Frequency | Frequency | Standard | |||||
|
| ||||||
| 720 x 400 | 31.5 | kHz | 70 | Hz |
| |
VGA |
| 31.5 | kHz | 60 | Hz | O | |
640 x 480 | 37.9 | kHz | 72 | Hz | O | ||
| |||||||
|
| 37.5 | kHz | 75 | Hz | O | |
|
| 35.1 | kHz | 56 | Hz | O | |
SVGA | 800 x 600 | 37.9 | kHz | 60 | Hz | O | |
48.1 | kHz | 72 | Hz | O | |||
|
| ||||||
|
| 46.9 | kHz | 75 | Hz | O | |
|
| 48.4 | kHz | 60 | Hz | O | |
XGA | 1024 x 768 | 56.5 kHz | 70 | Hz | O | ||
|
| 60.0 | kHz | 75 | Hz | O | |
WXGA | 1360 x 768 | 47.7 kHz | 60 | Hz | O | ||
SXGA | 1280 x 1024 | 64.0 kHz | 60 | Hz | O | ||
SXGA+ | 1400 x 1050 | 65.3 kHz | 60 | Hz | O | ||
UXGA | 1600 x 1200 | 75.0 kHz | 60 | Hz | O | ||
VGA and XGA are registered trademarks of International i
Business Machines Corp. | l |
Q- 44