Enjoying 3D image viewing
Preparing for the 3D glasses
NOTE
•The power turns off automatically when the 3D glasses are not operated in standby for approximately 15 seconds
Part Names |
| 1 Power button | |
| • | When the power button is pressed for 2 or more | |
|
| ||
|
|
| seconds with the power off, pairing with the TV starts. |
| n | • | When the power button is pressed for 2 or more |
|
| seconds with the power on, the power turns off. | |
|
|
| |
|
| • | When paired, the power will turn off if the power button |
|
|
| is pressed for 2 or more seconds. |
|
| • | When the 3D glasses are in 3D mode with the power on, |
|
|
| pressing the power button for less than 2 seconds will |
|
|
| turn the 3D glasses to 2D mode. |
|
| • | When the 3D glasses are in 2D mode with the power on, |
|
|
| pressing the power button for less than two seconds will |
|
|
| turn the 3D glasses to 3D mode. |
|
| • | When paired, the 3D glasses will be |
|
|
| power button is pressed for less than 2 seconds. |
o
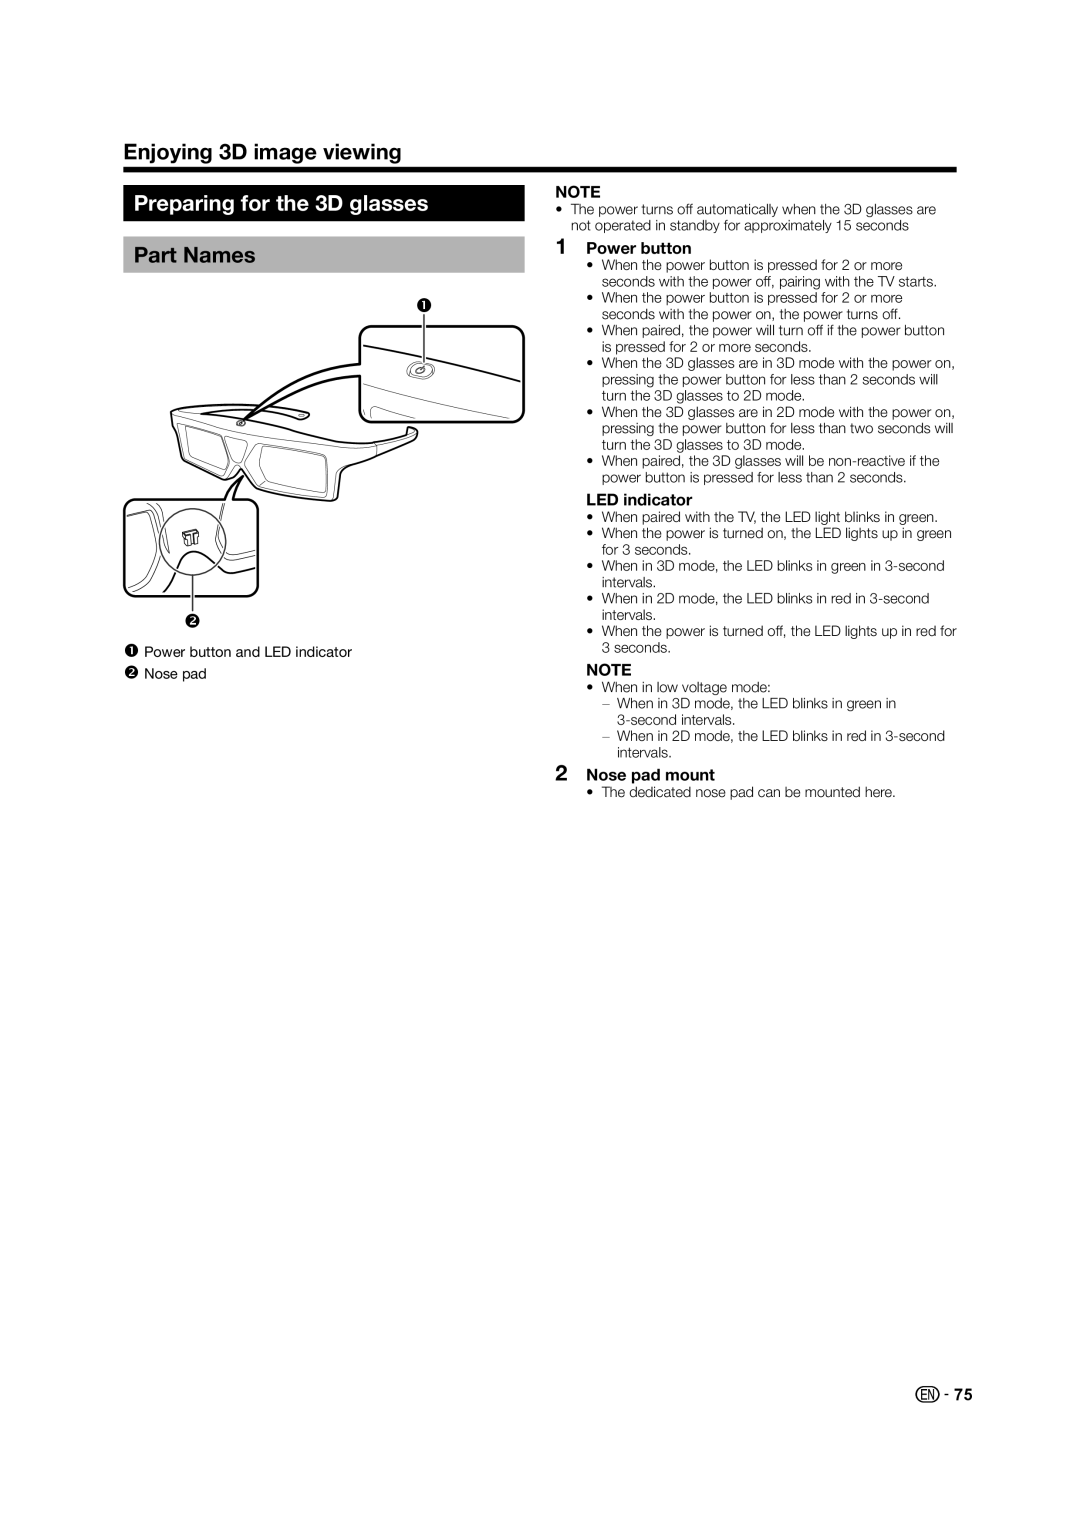
Power button and LED indicator
Nose pad
LED indicator
•When paired with the TV, the LED light blinks in green.
•When the power is turned on, the LED lights up in green for 3 seconds.
•When in 3D mode, the LED blinks in green in
•When in 2D mode, the LED blinks in red in
•When the power is turned off, the LED lights up in red for 3 seconds.
NOTE
•When in low voltage mode:
−When in 3D mode, the LED blinks in green in
−When in 2D mode, the LED blinks in red in
2Nose pad mount
• The dedicated nose pad can be mounted here.
![]() 75
75
