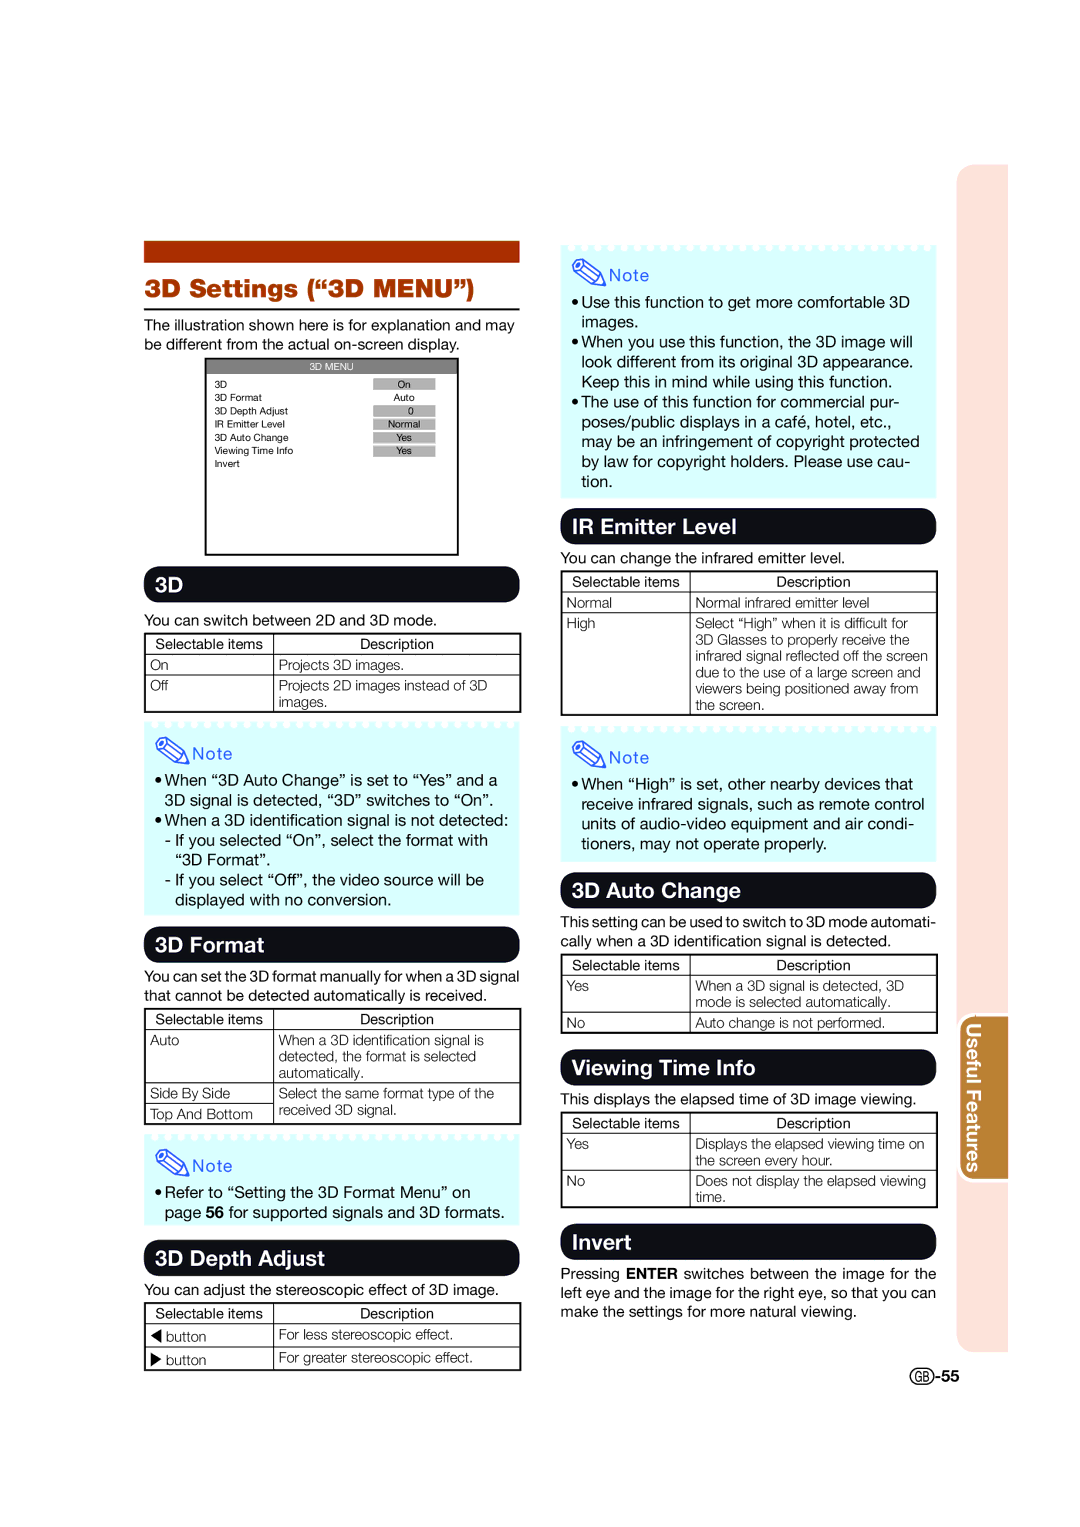
3D Settings (“3D MENU”)
The illustration shown here is for explanation and may be different from the actual
|
| 3D MENU | ||
|
|
|
| |
3D |
|
| On |
|
3D | Format |
| Auto | |
3D | Depth Adjust |
|
|
|
0 |
| |||
IR Emitter Level |
|
|
| |
| Normal | |||
3D Auto Change |
|
|
| |
| Yes | |||
Viewing Time Info |
|
|
| |
| Yes | |||
Invert |
|
|
| |
|
|
|
|
|
3D
You can switch between 2D and 3D mode.
Selectable items | Description |
On | Projects 3D images. |
Off | Projects 2D images instead of 3D |
| images. |
![]() Note
Note
•When “3D Auto Change” is set to “Yes” and a 3D signal is detected, “3D” switches to “On”.
•When a 3D identification signal is not detected:
-If you selected “On”, select the format with “3D Format”.
-If you select “Off”, the video source will be displayed with no conversion.
3D Format
You can set the 3D format manually for when a 3D signal that cannot be detected automatically is received.
Selectable items | Description | |
Auto | When a 3D identifi cation signal is | |
| detected, the format is selected | |
| automatically. | |
Side By Side | Select the same format type of the | |
| received 3D signal. | |
Top And Bottom | ||
|
![]() Note
Note
•Refer to “Setting the 3D Format Menu” on page 56 for supported signals and 3D formats.
3D Depth Adjust
You can adjust the stereoscopic effect of 3D image.
Selectable items | Description |
\ button | For less stereoscopic effect. |
button | For greater stereoscopic effect. |
![]() Note
Note
•Use this function to get more comfortable 3D images.
•When you use this function, the 3D image will look different from its original 3D appearance. Keep this in mind while using this function.
•The use of this function for commercial pur- poses/public displays in a café, hotel, etc., may be an infringement of copyright protected by law for copyright holders. Please use cau- tion.
IR Emitter Level
You can change the infrared emitter level.
Selectable items | Description |
Normal | Normal infrared emitter level |
High | Select “High” when it is diffi cult for |
| 3D Glasses to properly receive the |
| infrared signal refl ected off the screen |
| due to the use of a large screen and |
| viewers being positioned away from |
| the screen. |
![]() Note
Note
•When “High” is set, other nearby devices that receive infrared signals, such as remote control units of
3D Auto Change
This setting can be used to switch to 3D mode automati- cally when a 3D identification signal is detected.
Selectable items | Description |
| |
Yes | When a 3D signal is detected, 3D |
| |
| mode is selected automatically. |
| |
No | Auto change is not performed. | Useful | |
Viewing Time Info | |||
Features | |||
This displays the elapsed time of 3D image viewing. | |||
| |||
|
|
| |
Selectable items | Description |
| |
Yes | Displays the elapsed viewing time on |
| |
| the screen every hour. |
| |
No | Does not display the elapsed viewing |
| |
| time. |
| |
Invert
Pressing ENTER switches between the image for the left eye and the image for the right eye, so that you can make the settings for more natural viewing.
![]()
