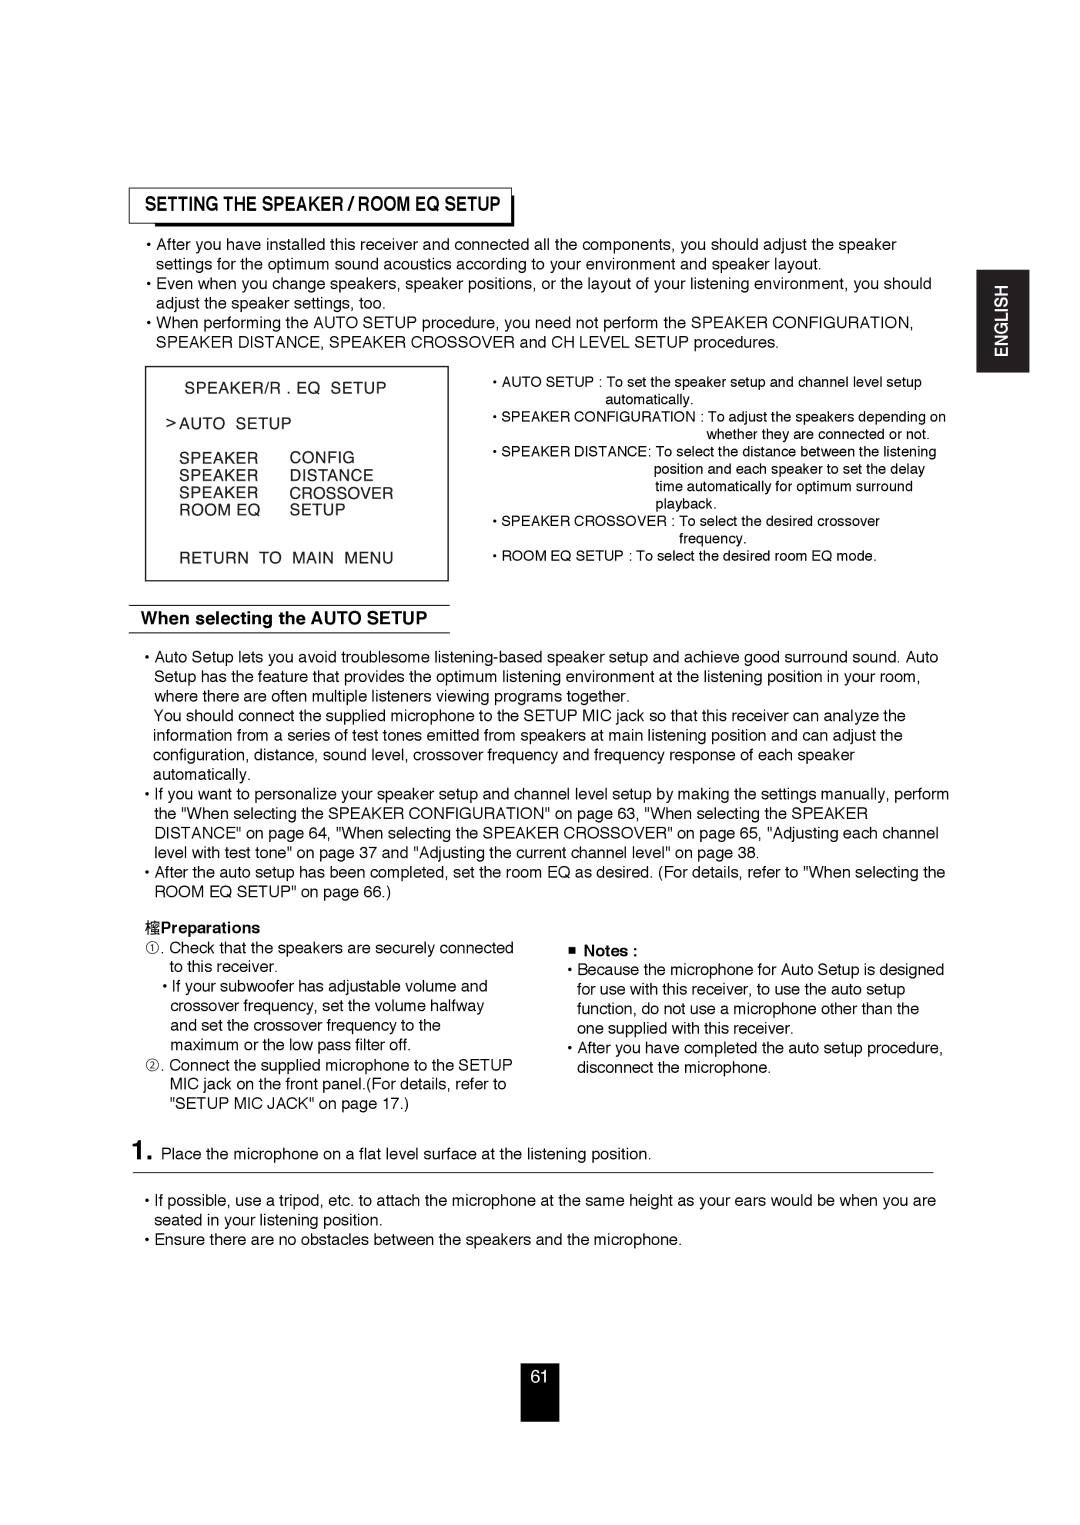
R-872 specifications
The Sherwood R-872 is a high-performance stereo receiver that offers an impressive combination of features, sound quality, and versatility, making it a valuable addition to any home audio system. Designed with an emphasis on audio fidelity and user convenience, the R-872 stands out as a reliable choice for both audiophiles and casual listeners alike.One of the main features of the Sherwood R-872 is its robust power output, capable of delivering 100 watts per channel into 8 ohms. This level of power ensures that it can drive a wide range of speakers, from bookshelf models to larger floor-standing units, providing a rich and immersive listening experience. The receiver's built-in amplifier also supports low total harmonic distortion (THD) levels, which guarantees clear and accurate sound reproduction, even at high volumes.
The R-872 is equipped with a variety of connectivity options, making it easy to integrate into modern home entertainment setups. It includes multiple analog inputs for connecting various audio sources, such as CD players, turntables, and streaming devices. Additionally, it features built-in Bluetooth, allowing users to wirelessly stream music from smartphones, tablets, and computers, enhancing its versatility as a central component of any audio system.
Another noteworthy characteristic of the Sherwood R-872 is its sophisticated digital signal processing (DSP) capabilities. With multiple sound presets and adjustable equalization settings, users can tailor the audio output to their preferences, whether they are enjoying music, movies, or gaming. The receiver also offers a convenient headphone output, catering to those who prefer a private listening experience.
In terms of design, the R-872 boasts a sleek and modern aesthetic with an intuitive interface. The front panel features a clear display that provides essential information about the current audio source, volume level, and other settings. The included remote control allows for easy operation from a distance, adding to the overall user-friendly experience.
In summary, the Sherwood R-872 is a versatile and powerful stereo receiver that excels in delivering high-quality audio while accommodating a range of input sources and personal preferences. With its solid performance, modern features, and elegant design, the R-872 is an excellent choice for anyone looking to enhance their home audio setup. Whether you're listening to your favorite albums or enjoying a thrilling movie soundtrack, the R-872 ensures an engaging and enjoyable audio experience.

