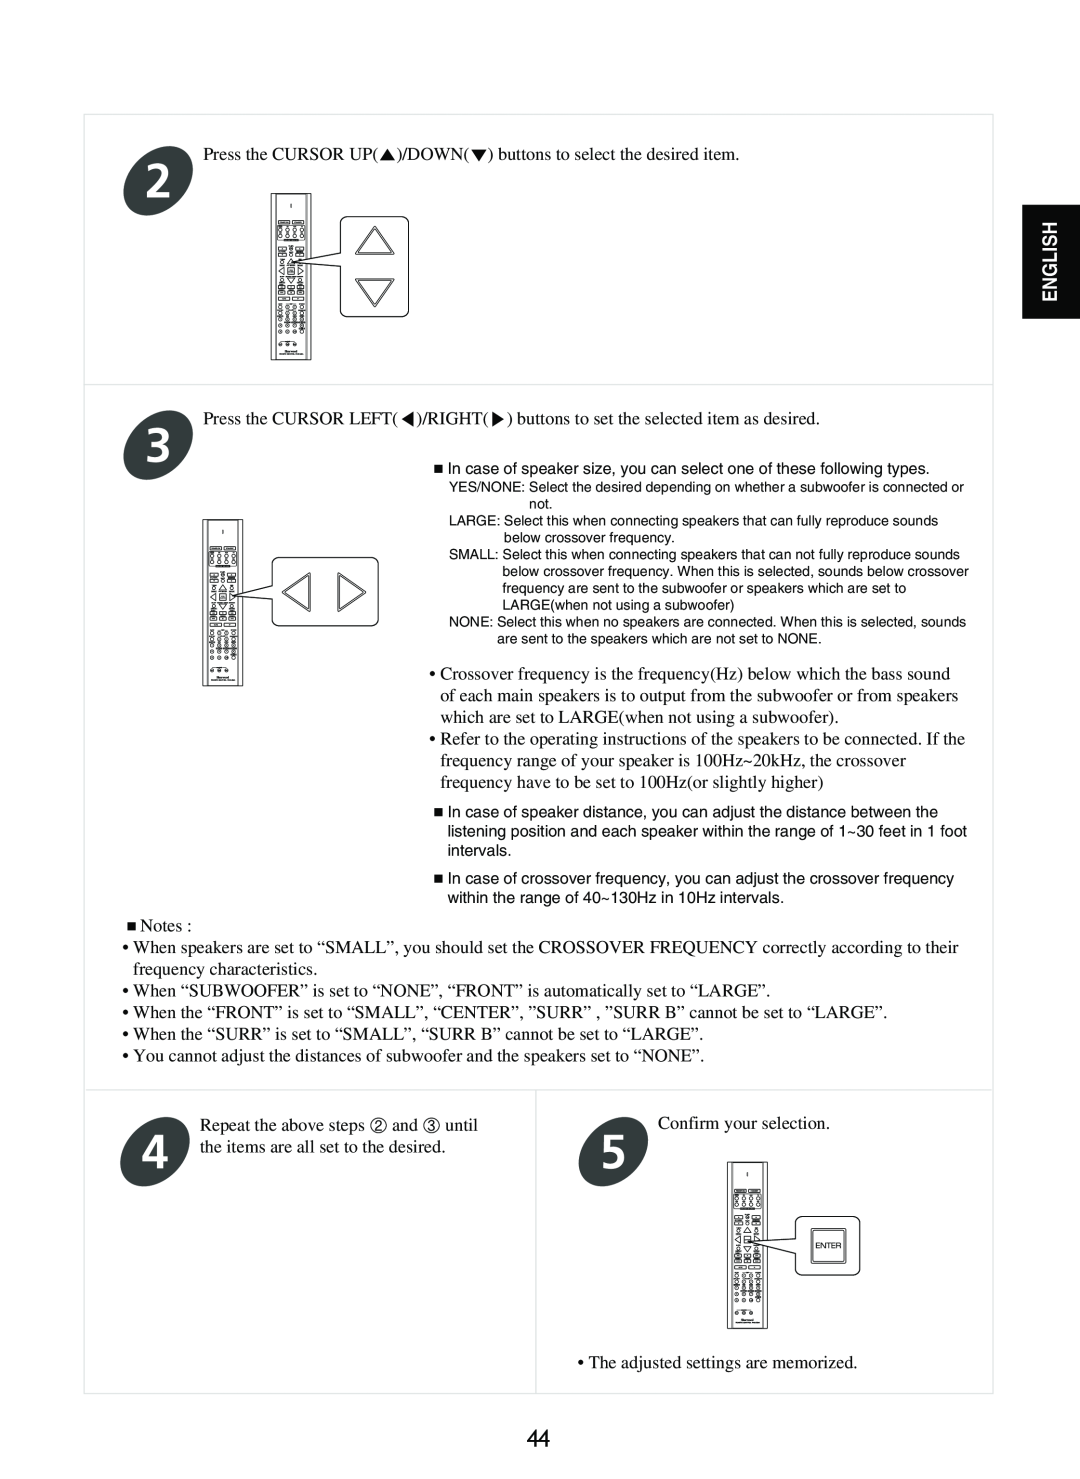
Press the CURSOR UP( )/DOWN( ) buttons to select the desired item.
2
Press the CURSOR LEFT( )/RIGHT( ) buttons to set the selected item as desired.
3
In case of speaker size, you can select one of these following types.
YES/NONE: Select the desired depending on whether a subwoofer is connected or not.
LARGE: Select this when connecting speakers that can fully reproduce sounds below crossover frequency.
SMALL: Select this when connecting speakers that can not fully reproduce sounds below crossover frequency. When this is selected, sounds below crossover frequency are sent to the subwoofer or speakers which are set to LARGE(when not using a subwoofer)
NONE: Select this when no speakers are connected. When this is selected, sounds are sent to the speakers which are not set to NONE.
• Crossover frequency is the frequency(Hz) below which the bass sound of each main speakers is to output from the subwoofer or from speakers which are set to LARGE(when not using a subwoofer).
•Refer to the operating instructions of the speakers to be connected. If the frequency range of your speaker is 100Hz~20kHz, the crossover frequency have to be set to 100Hz(or slightly higher)
In case of speaker distance, you can adjust the distance between the listening position and each speaker within the range of 1~30 feet in 1 foot intervals.
In case of crossover frequency, you can adjust the crossover frequency within the range of 40~130Hz in 10Hz intervals.
Notes :
•When speakers are set to “SMALL”, you should set the CROSSOVER FREQUENCY correctly according to their frequency characteristics.
•When “SUBWOOFER” is set to “NONE”, “FRONT” is automatically set to “LARGE”.
•When the “FRONT” is set to “SMALL”, “CENTER”, ”SURR” , ”SURR B” cannot be set to “LARGE”.
•When the “SURR” is set to “SMALL”, “SURR B” cannot be set to “LARGE”.
•You cannot adjust the distances of subwoofer and the speakers set to “NONE”.
4 | Repeat the above steps | and | until | Confirm your selection. |
the items are all set to the desired. | 5 | |||
|
|
|
| ENTER |
• The adjusted settings are memorized.
ENGLISH
44
