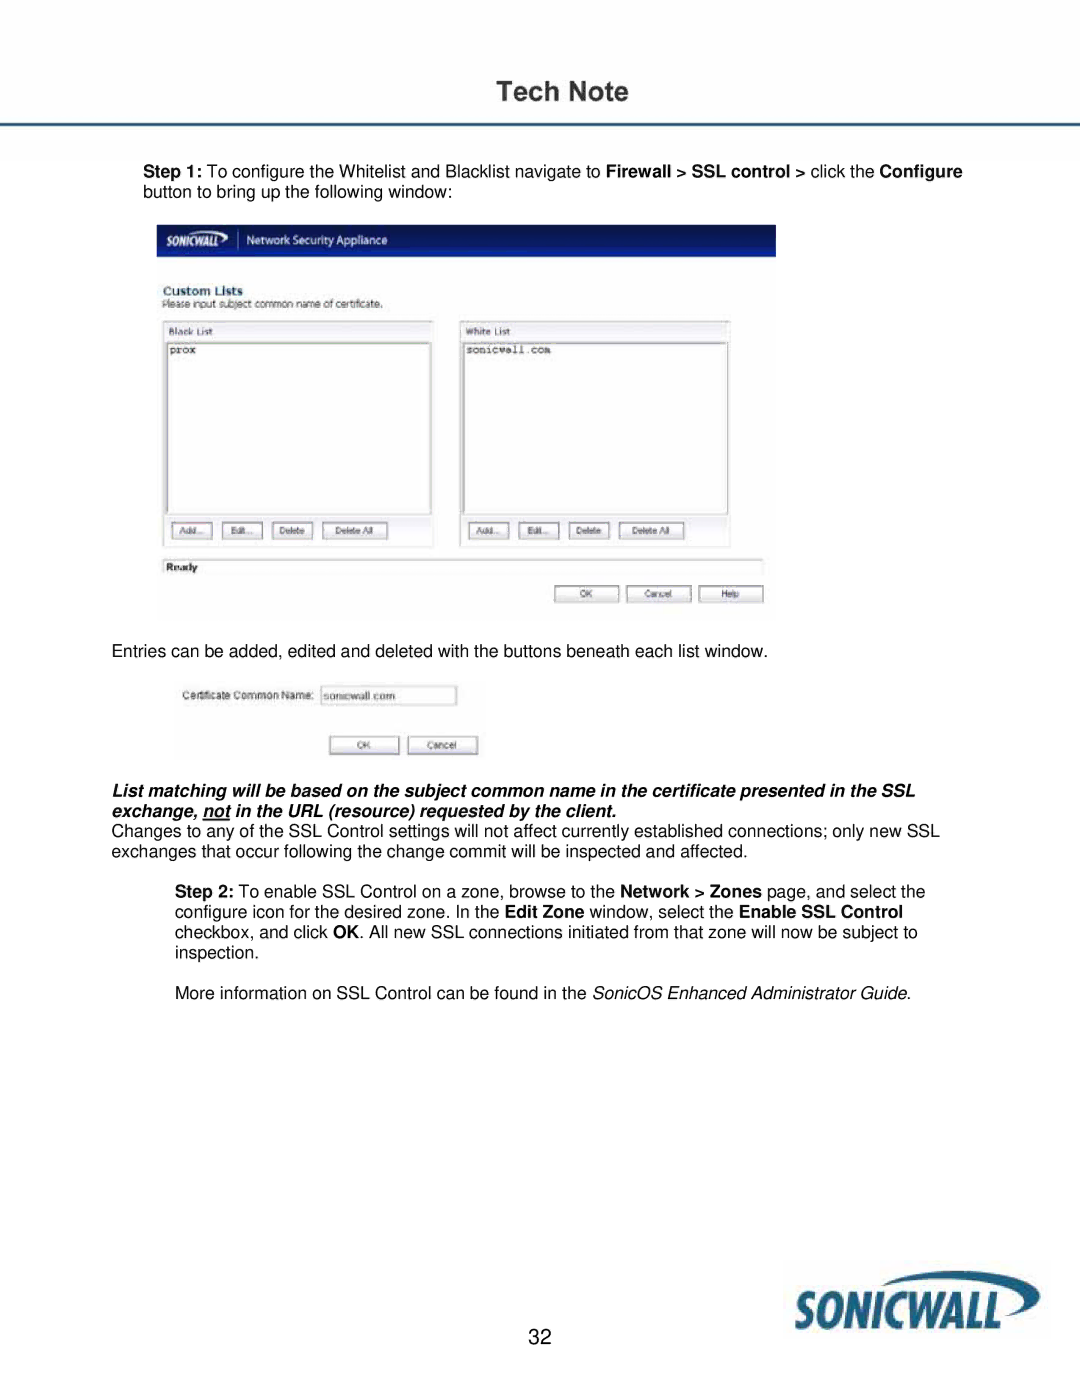
Step 1: To configure the Whitelist and Blacklist navigate to Firewall > SSL control > click the Configure button to bring up the following window:
Entries can be added, edited and deleted with the buttons beneath each list window.
List matching will be based on the subject common name in the certificate presented in the SSL exchange, not in the URL (resource) requested by the client.
Changes to any of the SSL Control settings will not affect currently established connections; only new SSL exchanges that occur following the change commit will be inspected and affected.
Step 2: To enable SSL Control on a zone, browse to the Network > Zones page, and select the configure icon for the desired zone. In the Edit Zone window, select the Enable SSL Control checkbox, and click OK. All new SSL connections initiated from that zone will now be subject to inspection.
More information on SSL Control can be found in the SonicOS Enhanced Administrator Guide.
32
