HCD-C5
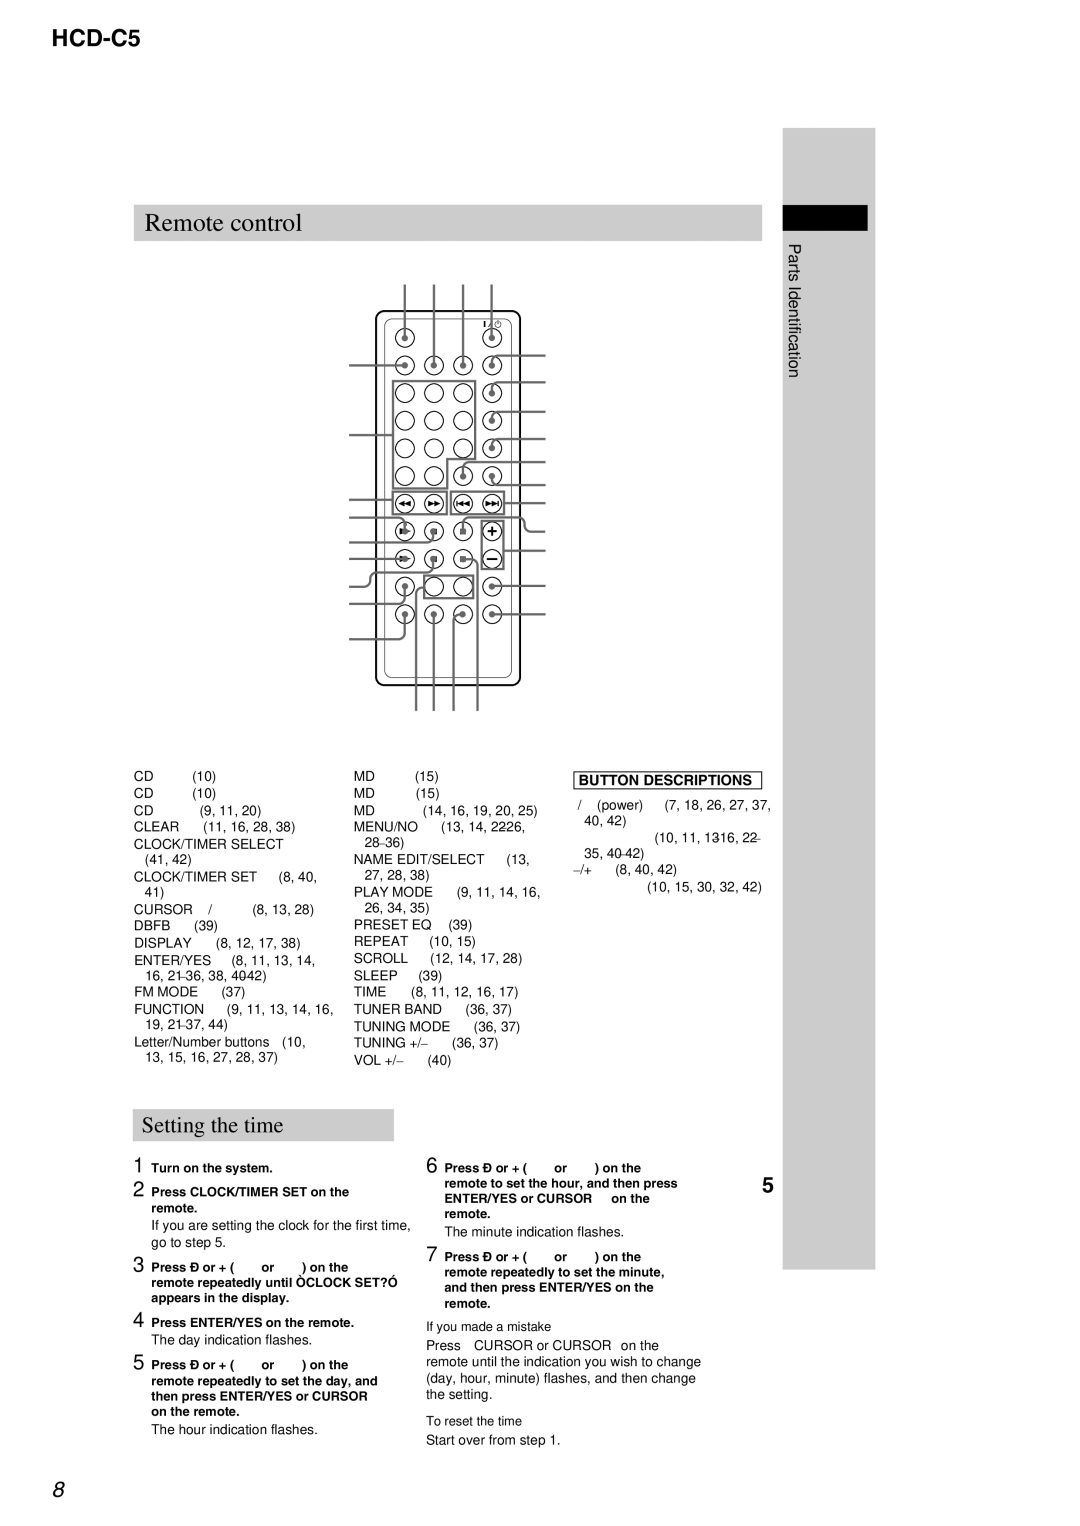
Remote control
wk
wj
wh wg wf wd ws wa
w;
1 2 3 4
5
6
7
8
9
0 qa
qs qd
qf qg
qlqkqjqh
Parts Identification
CD xqh (10) CD Xws (10)
CD Nwd (9, 11, 20) CLEAR 9 (11, 16, 28, 38) CLOCK/TIMER SELECT 6
(41, 42)
CLOCK/TIMER SET 7 (8, 40, 41)
CURSOR T/t wh (8, 13, 28) DBFB qf (39)
DISPLAY wk (8, 12, 17, 38) ENTER/YES 8 (8, 11, 13, 14,
16,
FUNCTION w; (9, 11, 13, 14, 16, 19,
Letter/Number buttons wj (10, 13, 15, 16, 27, 28, 37)
MD xqs (15) MD Xwf (15)
MD Nwg (14, 16, 19, 20, 25) MENU/NO q; (13, 14,
NAME EDIT/SELECT 3 (13, 27, 28, 38)
PLAY MODE qk (9, 11, 14, 16, 26, 34, 35)
PRESET EQ qg (39) REPEAT qj (10, 15) SCROLL 5 (12, 14, 17, 28) SLEEP 1 (39)
TIME 2 (8, 11, 12, 16, 17) TUNER BAND wa (36, 37) TUNING MODE qk (36, 37) TUNING +/– ql (36, 37) VOL +/– qd (40)
BUTTON DESCRIPTIONS
@/1(power) 4 (7, 18, 26, 27, 37, 40, 42)
.>qa (10, 11,
mM wh (10, 15, 30, 32, 42)
Setting the time
1 Turn on the system.
2 Press CLOCK/TIMER SET on the remote.
If you are setting the clock for the first time, go to step 5.
3 Press – or + (. or >) on the remote repeatedly until “CLOCK SET?” appears in the display.
4 Press ENTER/YES on the remote.
The day indication flashes.
5 Press – or + (. or >) on the remote repeatedly to set the day, and then press ENTER/YES or CURSORt on the remote.
The hour indication flashes.
6 Press – or + (. or >) on the
remote to set the hour, and then press5 ENTER/YES or CURSORt on the
remote.
The minute indication flashes.
7 Press – or + (. or >) on the remote repeatedly to set the minute, and then press ENTER/YES on the remote.
If you made a mistake
Press TCURSOR or CURSORton the remote until the indication you wish to change (day, hour, minute) flashes, and then change the setting.
To reset the time
Start over from step 1.
8
