HCD-C5
[CD Aging Mode]
Procedure:
1.Press the ?/1 button to turn the power on.
2.Press the FUNCTION z button to set the CD function, and insert a disc.
3.Press three buttons of VOL
4.The message “Eject” is displayed, a disc is ejected and in- serted again automatically.
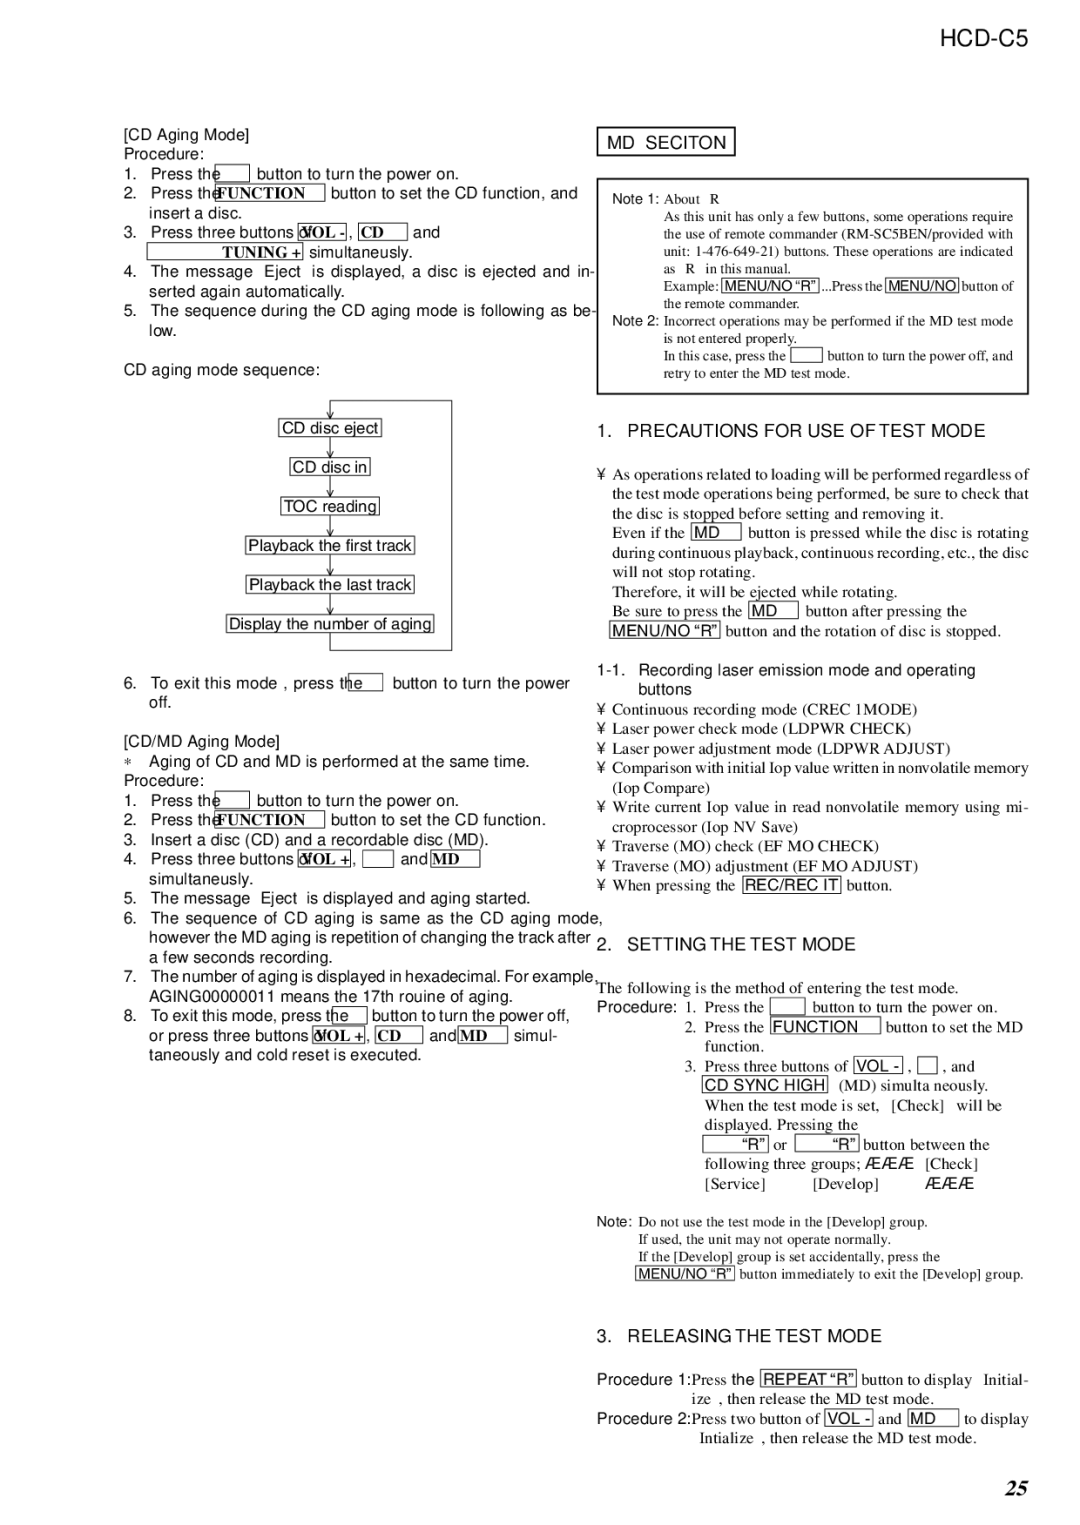
5.The sequence during the CD aging mode is following as be- low.
CD aging mode sequence:
CD disc eject
CD disc in
TOC reading
Playback the first track
Playback the last track
Display the number of aging
6.To exit this mode , press the ?/1 button to turn the power off.
[CD/MD Aging Mode]
∗Aging of CD and MD is performed at the same time.
Procedure:
1.Press the ?/1 button to turn the power on.
2.Press the FUNCTION z button to set the CD function.
3.Insert a disc (CD) and a recordable disc (MD).
4.Press three buttons of VOL + , u and MD Z simultaneusly.
5.The message “Eject” is displayed and aging started.
6.The sequence of CD aging is same as the CD aging mode, however the MD aging is repetition of changing the track after a few seconds recording.
7.The number of aging is displayed in hexadecimal. For example, AGING00000011 means the 17th rouine of aging.
8.To exit this mode, press the ?/1 button to turn the power off, or press three buttons of VOL + , CD Z and MD Z simul- taneously and cold reset is executed.
MD SECITON
Note 1: About “R”
As this unit has only a few buttons, some operations require the use of remote commander
Example: MENU/NO “R”...Press the MENU/NO button of the remote commander.
Note 2: Incorrect operations may be performed if the MD test mode is not entered properly.
In this case, press the ?/1 button to turn the power off, and retry to enter the MD test mode.
1. PRECAUTIONS FOR USE OF TEST MODE
•As operations related to loading will be performed regardless of the test mode operations being performed, be sure to check that the disc is stopped before setting and removing it.
Even if the MD Z button is pressed while the disc is rotating during continuous playback, continuous recording, etc., the disc will not stop rotating.
Therefore, it will be ejected while rotating.
Be sure to press the MD Z button after pressing the MENU/NO “R”button and the rotation of disc is stopped.
1-1. Recording laser emission mode and operating buttons
•Continuous recording mode (CREC 1MODE)
•Laser power check mode (LDPWR CHECK)
•Laser power adjustment mode (LDPWR ADJUST)
•Comparison with initial Iop value written in nonvolatile memory (Iop Compare)
•Write current Iop value in read nonvolatile memory using mi- croprocessor (Iop NV Save)
•Traverse (MO) check (EF MO CHECK)
•Traverse (MO) adjustment (EF MO ADJUST)
•When pressing the REC/REC IT button.
2. SETTING THE TEST MODE
The following is the method of entering the test mode. Procedure: 1. Press the ?/1 button to turn the power on.
2.Press the FUNCTION z button to set the MD function.
3.Press three buttons of VOL
. “R”or > “R”button between the following three groups; ··· Tt [Check] Tt [Service] Tt [Develop] Tt ···.
Note: Do not use the test mode in the [Develop] group. If used, the unit may not operate normally.
If the [Develop] group is set accidentally, press the
MENU/NO “R”button immediately to exit the [Develop] group.
3. RELEASING THE TEST MODE
Procedure 1: Press the REPEAT “R”button to display “Initial-
ize”, then release the MD test mode.
Procedure 2: Press two button of VOL - and MD Z to display “Intialize”, then release the MD test mode.
25