AdjustingYour SET UP (menus) (continued)
 Using the Ajustes Menu
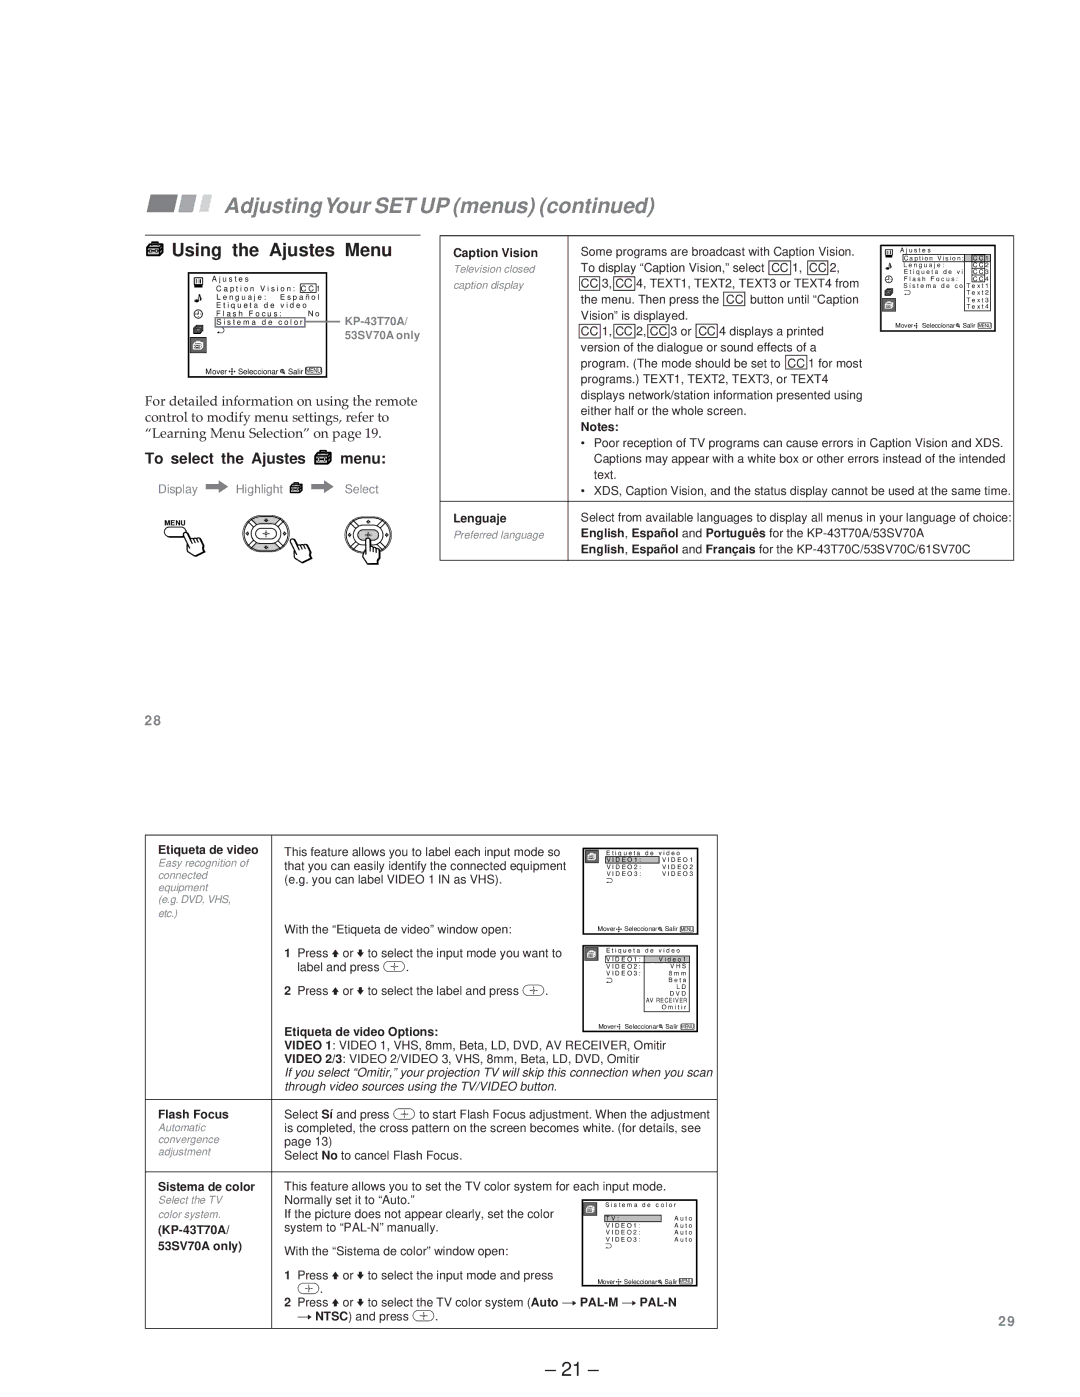
A j u s t e s |
|
| |
C a p t i o n V i s i o n : C C 1 | |||
L e n g u a j e : | E s p a ñ o l | ||
E t i q u e t a d e v i d e o |
| ||
F l a s h F o c u s : | N o | ||
S i s t e m a d e | c o l o r | ||
ch |
|
| 53SV70A only |
|
|
| |
Mover | Seleccionar | Salir MENU | |
For detailed information on using the remote control to modify menu settings, refer to “Learning Menu Selection” on page 19.
To select the Ajustes  menu:
menu:
Display /Highlight ![]() / Select
/ Select
MENU
Caption Vision | Some programs are broadcast with Caption Vision. | A j u s t e s |
|
| To display “Caption Vision,” select CC 1, CC 2, | C a p t i o n V i s i o n : C C 1 | |
Television closed | L e n g u a j e : | C C 2 | |
E t i q u e t a d e v i d eCoC 3 | |||
caption display | CC 3, CC 4, TEXT1, TEXT2, TEXT3 or TEXT4 from | F l a s h F o c u s : | C CN 4o |
S i s t e m a d e c o lToer x t 1 | |||
| the menu. Then press the CC button until “Caption | ch | T e x t 2 |
|
| T e x t 3 | |
| Vision” is displayed. |
| T e x t 4 |
| Mover Seleccionar | Salir MENU | |
| CC 1, CC 2, CC 3 or CC 4 displays a printed | ||
|
|
| |
| version of the dialogue or sound effects of a |
|
|
| program. (The mode should be set to CC 1 for most |
|
|
programs.) TEXT1, TEXT2, TEXT3, or TEXT4 displays network/station information presented using either half or the whole screen.
Notes:
•Poor reception of TV programs can cause errors in Caption Vision and XDS. Captions may appear with a white box or other errors instead of the intended text.
•XDS, Caption Vision, and the status display cannot be used at the same time.
Lenguaje | Select from available languages to display all menus in your language of choice: | |
Preferred language | English, Español | and Português for the |
| English, Español | and Français for the |
2 8
Etiqueta de video | This feature allows you to label each input mode so |
|
|
|
|
|
|
|
| |||
|
| E t i q u e t a d e | v i d e o |
| ||||||||
Easy recognition of | that you can easily identify the connected equipment |
|
| V I D E O 1 : |
| V I D E O 1 |
| |||||
|
| V I D E O 2 : |
| V I D E O 2 |
| |||||||
connected | (e.g. you can label VIDEO 1 IN as VHS). |
|
|
|
| V I D E O 3 : |
| V I D E O 3 |
| |||
|
|
|
|
|
|
|
|
|
| |||
equipment |
|
|
|
|
|
|
|
|
|
| ||
|
|
|
|
|
|
|
|
|
|
|
| |
(e.g. DVD, VHS, |
|
|
|
|
|
|
|
|
|
|
|
|
etc.) |
|
|
|
|
|
|
|
|
|
|
|
|
| With the “Etiqueta de video” window open: |
|
|
| Mover Seleccionar |
| Salir MENU |
| ||||
| 1 Press Vor vto select the input mode you want to |
|
|
|
|
|
|
|
|
| ||
|
|
|
| E t i q u e t a d e v i d e o |
| |||||||
|
|
|
| V I D E O 1 : |
| V i d e o 1 |
|
| ||||
| label and press | . |
|
|
|
| V I D E O 2 : |
|
| V H S |
|
|
|
|
|
|
| V I D E O 3 : |
|
| 8 m m |
|
| ||
|
|
|
|
|
|
|
|
|
|
| ||
| 2 Press Vor vto select the label and press |
|
|
|
|
|
|
| B e t a |
|
| |
| . |
|
|
|
|
|
| L D |
|
| ||
|
|
|
|
|
|
| D V D |
|
| |||
|
|
|
|
|
|
|
| AV RECEIVER |
|
| ||
|
|
|
|
|
|
|
|
| O m i t i r |
|
| |
| Etiqueta de video Options: |
|
|
| Mover Seleccionar |
| Salir MENU |
| ||||
|
|
|
|
|
|
|
|
|
|
| ||
| VIDEO 1: VIDEO 1, VHS, 8mm, Beta, LD, DVD, AV RECEIVER, Omitir | |||||||||||
| VIDEO 2/3: VIDEO 2/VIDEO 3, VHS, 8mm, Beta, LD, DVD, Omitir |
|
|
|
| |||||||
| If you select “Omitir,” your projection TV will skip this connection when you scan | |||||||||||
| through video sources using the TV/VIDEO button. |
|
|
|
|
|
|
|
| |||
|
|
|
|
|
|
|
|
|
|
|
| |
Flash Focus | Select Sí and press | to start Flash Focus adjustment. When the adjustment | ||||||||||
Automatic | is completed, the cross pattern on the screen becomes white. (for details, see | |||||||||||
convergence | page 13) |
|
|
|
|
|
|
|
|
|
|
|
adjustment | Select No to cancel Flash Focus. |
|
|
|
|
|
|
|
|
|
| |
|
|
|
|
|
|
|
|
|
|
| ||
Sistema de color | This feature allows you to set the TV color system for each input mode. | |||||||||||
Select the TV | Normally set it to “Auto.” |
|
|
|
|
| ||||||
|
|
|
| S i s t e m a d e c o l o r |
| |||||||
color system. | If the picture does not appear clearly, set the color |
|
|
|
|
| A u t o |
| ||||
|
|
| T V : |
|
| |||||||
system to |
|
|
|
| V I D E O 1 : |
| A u t o |
| ||||
|
|
|
| V I D E O 2 : |
| A u t o |
| |||||
53SV70A only) |
|
|
|
|
|
| V I D E O 3 : |
| A u t o |
| ||
With the “Sistema de color” window open: |
|
|
|
|
|
|
|
|
|
| ||
|
|
|
|
|
|
|
|
|
|
| ||
| 1 Press Vor vto select the input mode and press |
|
| Mover Seleccionar |
| Salir MENU |
| |||||
| . |
|
|
|
|
|
| |||||
|
|
|
|
|
|
|
|
|
|
|
| |
2Press Vor vto select the TV color system (Auto
nNTSC) and press | . | 2 9 |
|
|
– 21 –