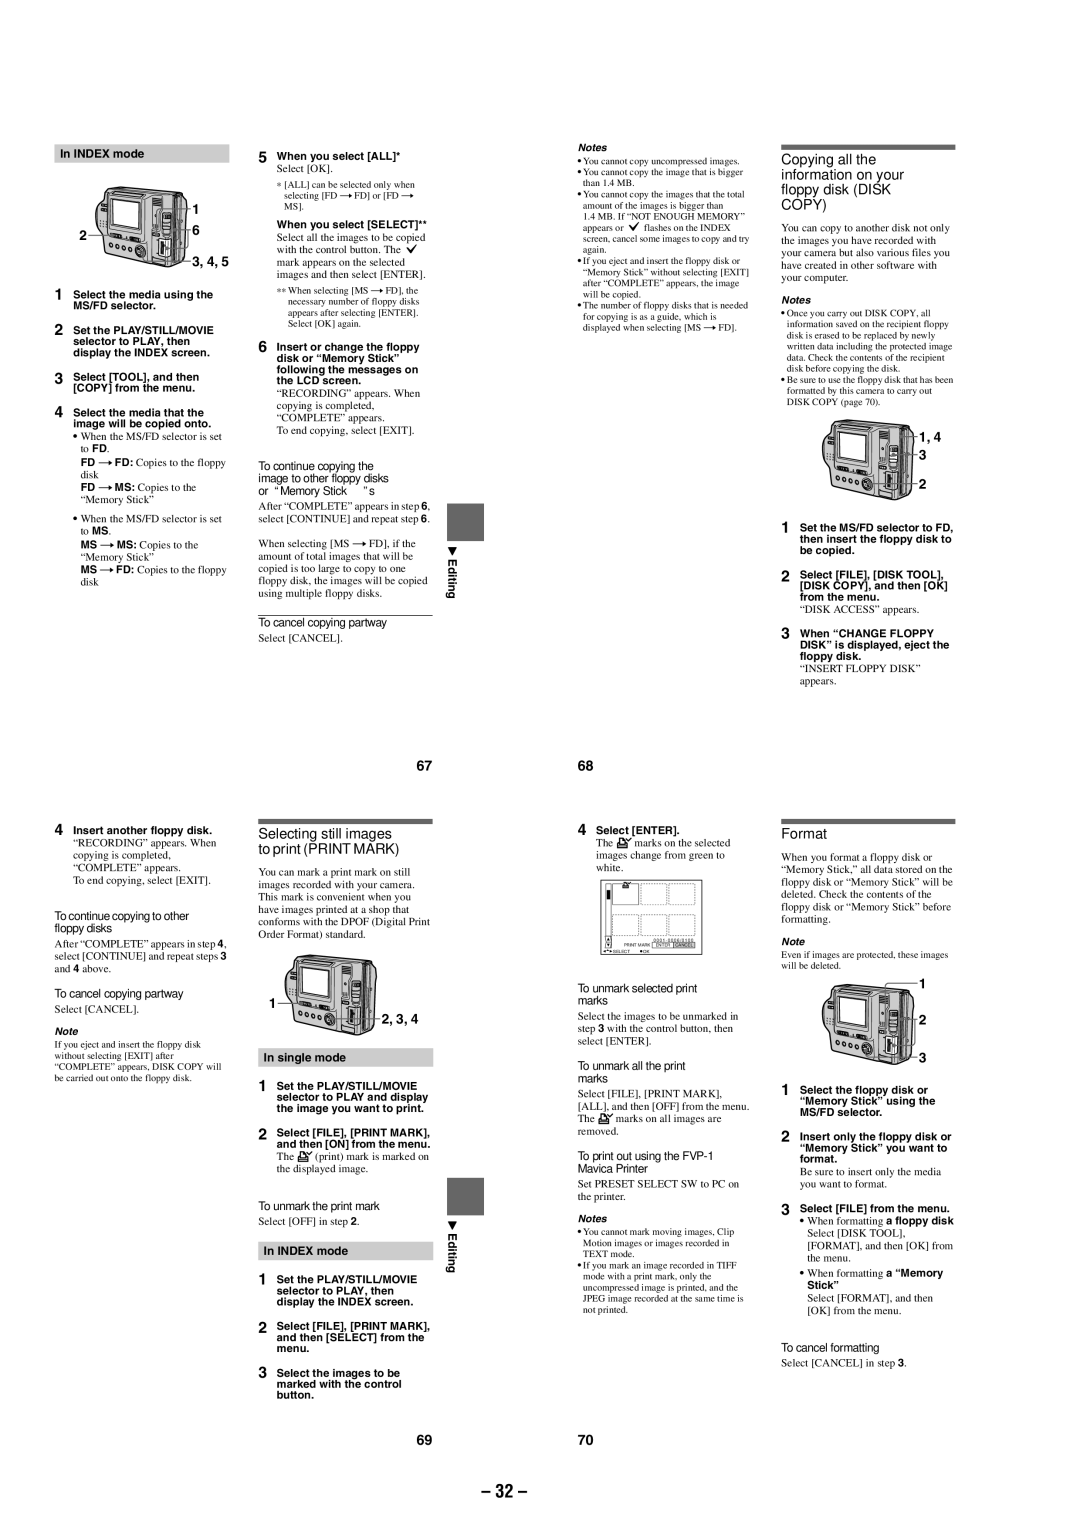
In INDEX mode
1
2 ![]()
![]()
![]() 6
6
3, 4, 5
1 | Select the media using the |
| MS/FD selector. |
2 | Set the PLAY/STILL/MOVIE |
| selector to PLAY, then |
| display the INDEX screen. |
3 | Select [TOOL], and then |
| [COPY] from the menu. |
4 | Select the media that the |
| image will be copied onto. |
5When you select [ALL]*
Select [OK].
∗[ALL] can be selected only when selecting [FD t FD] or [FD t MS].
When you select [SELECT]**
Select all the images to be copied with the control button. The ![]() mark appears on the selected images and then select [ENTER].
mark appears on the selected images and then select [ENTER].
∗∗When selecting [MS t FD], the necessary number of floppy disks appears after selecting [ENTER]. Select [OK] again.
6 Insert or change the floppy |
disk or “Memory Stick” |
following the messages on |
the LCD screen. |
“RECORDING” appears. When |
copying is completed, |
“COMPLETE” appears. |
To end copying, select [EXIT]. |
Notes
•You cannot copy uncompressed images.
•You cannot copy the image that is bigger than 1.4 MB.
•You cannot copy the images that the total amount of the images is bigger than
1.4 MB. If “NOT ENOUGH MEMORY”
appears or ![]() flashes on the INDEX screen, cancel some images to copy and try again.
flashes on the INDEX screen, cancel some images to copy and try again.
•If you eject and insert the floppy disk or “Memory Stick” without selecting [EXIT] after “COMPLETE” appears, the image will be copied.
•The number of floppy disks that is needed
for copying is as a guide, which is displayed when selecting [MS t FD].
Copying all the information on your floppy disk (DISK COPY)
You can copy to another disk not only the images you have recorded with your camera but also various files you have created in other software with your computer.
Notes
•Once you carry out DISK COPY, all information saved on the recipient floppy disk is erased to be replaced by newly written data including the protected image data. Check the contents of the recipient disk before copying the disk.
•Be sure to use the floppy disk that has been formatted by this camera to carry out DISK COPY (page 70).
• When the MS/FD selector is set |
to FD. |
FD t FD: Copies to the floppy |
disk |
FD t MS: Copies to the |
“Memory Stick” |
• When the MS/FD selector is set |
to MS. |
MS t MS: Copies to the |
“Memory Stick” |
MS t FD: Copies to the floppy |
disk |
To continue copying the image to other floppy disks or “Memory Stick ” s
After “COMPLETE” appears in step 6, select [CONTINUE] and repeat step 6.
When selecting [MS t FD], if the amount of total images that will be copied is too large to copy to one floppy disk, the images will be copied using multiple floppy disks.
To cancel copying partway
Select [CANCEL].
B Editing
![]() 1, 4 3
1, 4 3
2
1Set the MS/FD selector to FD, then insert the floppy disk to be copied.
2Select [FILE], [DISK TOOL], [DISK COPY], and then [OK] from the menu.
“DISK ACCESS” appears.
3When “CHANGE FLOPPY DISK” is displayed, eject the floppy disk.
“INSERT FLOPPY DISK” appears.
4Insert another floppy disk.
“RECORDING” appears. When copying is completed, “COMPLETE” appears.
To end copying, select [EXIT].
To continue copying to other floppy disks
After “COMPLETE” appears in step 4, select [CONTINUE] and repeat steps 3 and 4 above.
To cancel copying partway
Select [CANCEL].
Note
If you eject and insert the floppy disk without selecting [EXIT] after “COMPLETE” appears, DISK COPY will be carried out onto the floppy disk.
67
Selecting still images to print (PRINT MARK)
You can mark a print mark on still images recorded with your camera. This mark is convenient when you have images printed at a shop that conforms with the DPOF (Digital Print Order Format) standard.
1
2, 3, 4
In single mode
1Set the PLAY/STILL/MOVIE selector to PLAY and display the image you want to print.
2Select [FILE], [PRINT MARK], and then [ON] from the menu.
The ![]() (print) mark is marked on the displayed image.
(print) mark is marked on the displayed image.
To unmark the print mark
Select [OFF] in step 2. | B | |
| Editing | |
In INDEX mode | ||
| ||
|
|
1Set the PLAY/STILL/MOVIE selector to PLAY, then display the INDEX screen.
2Select [FILE], [PRINT MARK], and then [SELECT] from the menu.
3Select the images to be marked with the control button.
68
4Select [ENTER].
The ![]() marks on the selected images change from green to white.
marks on the selected images change from green to white.
|
| 0 0 0 1 - 0 0 0 6 / 0 1 0 0 | |
PRINT MARK | ENTER | CANCEL | |
SELECT | OK |
|
|
To unmark selected print marks
Select the images to be unmarked in step 3 with the control button, then select [ENTER].
To unmark all the print marks
Select [FILE], [PRINT MARK], [ALL], and then [OFF] from the menu.
The ![]() marks on all images are removed.
marks on all images are removed.
To print out using the FVP-1 Mavica Printer
Set PRESET SELECT SW to PC on the printer.
Notes
•You cannot mark moving images, Clip Motion images or images recorded in TEXT mode.
•If you mark an image recorded in TIFF mode with a print mark, only the uncompressed image is printed, and the JPEG image recorded at the same time is not printed.
Format
When you format a floppy disk or
“Memory Stick,” all data stored on the floppy disk or “Memory Stick” will be deleted. Check the contents of the floppy disk or “Memory Stick” before formatting.
Note
Even if images are protected, these images will be deleted.
1
2
3
1Select the floppy disk or “Memory Stick” using the MS/FD selector.
2Insert only the floppy disk or “Memory Stick” you want to format.
Be sure to insert only the media you want to format.
3Select [FILE] from the menu.
•When formatting a floppy disk Select [DISK TOOL], [FORMAT], and then [OK] from the menu.
•When formatting a “Memory Stick”
Select [FORMAT], and then [OK] from the menu.
To cancel formatting
Select [CANCEL] in step 3.
69
70
– 32 –