BEditing
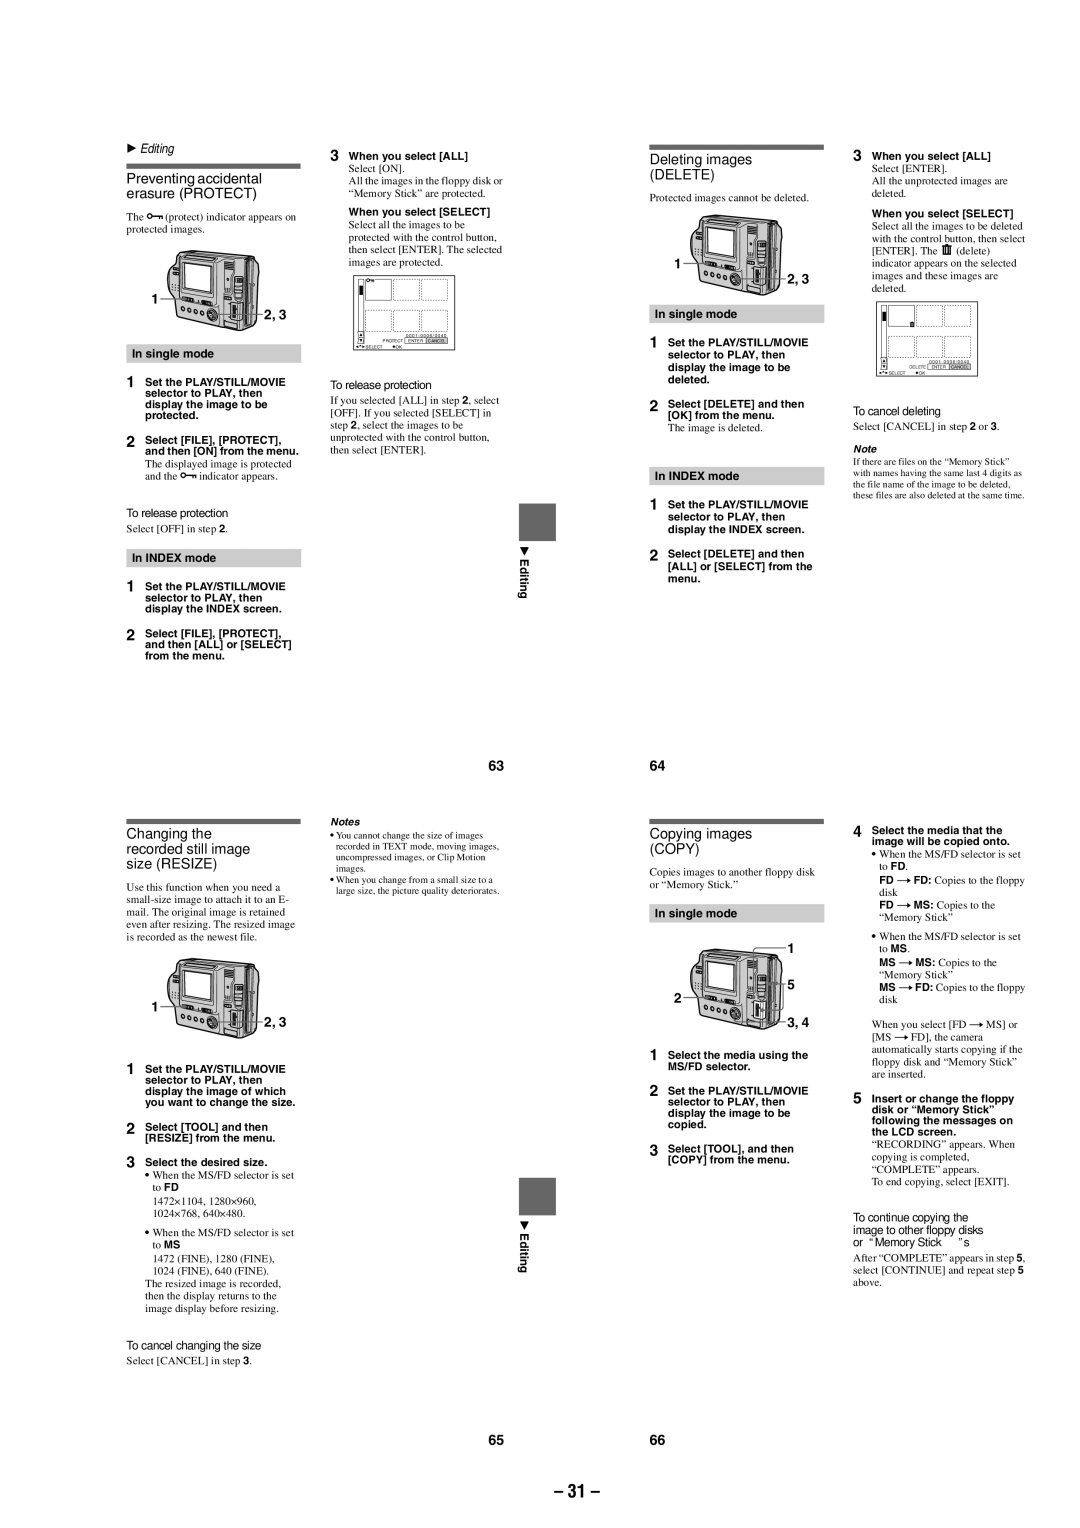
Preventing accidental erasure (PROTECT)
The
1
2, 3
In single mode
1Set the PLAY/STILL/MOVIE selector to PLAY, then display the image to be protected.
2Select [FILE], [PROTECT], and then [ON] from the menu.
The displayed image is protected and the
To release protection
Select [OFF] in step 2.
In INDEX mode
1Set the PLAY/STILL/MOVIE selector to PLAY, then display the INDEX screen.
2Select [FILE], [PROTECT], and then [ALL] or [SELECT] from the menu.
Changing the recorded still image size (RESIZE)
Use this function when you need a
3When you select [ALL]
Select [ON].
All the images in the floppy disk or “Memory Stick” are protected.
When you select [SELECT]
Select all the images to be protected with the control button, then select [ENTER]. The selected images are protected.
|
| 0 0 0 1 - 0 0 0 6 / 0 0 4 0 | |
| PROTECT | ENTER | CANCEL |
SELECT | OK |
|
|
To release protection
If you selected [ALL] in step 2, select [OFF]. If you selected [SELECT] in step 2, select the images to be unprotected with the control button, then select [ENTER].
B Editing
63
Notes
•You cannot change the size of images recorded in TEXT mode, moving images, uncompressed images, or Clip Motion images.
•When you change from a small size to a large size, the picture quality deteriorates.
Deleting images (DELETE)
Protected images cannot be deleted.
1
2, 3
In single mode
1Set the PLAY/STILL/MOVIE selector to PLAY, then display the image to be deleted.
2Select [DELETE] and then [OK] from the menu.
The image is deleted.
In INDEX mode
1Set the PLAY/STILL/MOVIE selector to PLAY, then display the INDEX screen.
2Select [DELETE] and then [ALL] or [SELECT] from the menu.
64
Copying images (COPY)
Copies images to another floppy disk or “Memory Stick.”
In single mode
1
5
3When you select [ALL]
Select [ENTER].
All the unprotected images are deleted.
When you select [SELECT]
Select all the images to be deleted
with the control button, then select
[ENTER]. The ![]() (delete) indicator appears on the selected images and these images are deleted.
(delete) indicator appears on the selected images and these images are deleted.
|
| 0 0 0 1 - 0 0 0 6 / 0 0 4 0 | |
| DELETE | ENTER | CANCEL |
SELECT | OK |
|
|
To cancel deleting
Select [CANCEL] in step 2 or 3.
Note
If there are files on the “Memory Stick” with names having the same last 4 digits as the file name of the image to be deleted, these files are also deleted at the same time.
4 Select the media that the |
image will be copied onto. |
• When the MS/FD selector is set |
to FD. |
FD t FD: Copies to the floppy |
disk |
FD t MS: Copies to the |
“Memory Stick” |
• When the MS/FD selector is set |
to MS. |
MS t MS: Copies to the |
“Memory Stick” |
MS t FD: Copies to the floppy |
1
2, 3
1 Set the PLAY/STILL/MOVIE selector to PLAY, then display the image of which you want to change the size.
2 Select [TOOL] and then [RESIZE] from the menu.
3 Select the desired size.
• When the MS/FD selector is set to FD
1472×1104, 1280×960,
1024×768, 640×480.
• When the MS/FD selector is set | B | ||
Editing | |||
to MS | |||
1472 | (FINE), 1280 (FINE), |
| |
1024 | (FINE), 640 (FINE). |
| |
The resized image is recorded, then the display returns to the image display before resizing.
To cancel changing the size
Select [CANCEL] in step 3.
2
3, 4
1Select the media using the MS/FD selector.
2Set the PLAY/STILL/MOVIE selector to PLAY, then display the image to be copied.
3Select [TOOL], and then [COPY] from the menu.
disk |
When you select [FD t MS] or [MS t FD], the camera automatically starts copying if the floppy disk and “Memory Stick” are inserted.
5Insert or change the floppy disk or “Memory Stick” following the messages on the LCD screen.
“RECORDING” appears. When copying is completed, “COMPLETE” appears.
To end copying, select [EXIT].
To continue copying the image to other floppy disks or “Memory Stick ” s
After “COMPLETE” appears in step 5, select [CONTINUE] and repeat step 5 above.
65
66
– 31 –