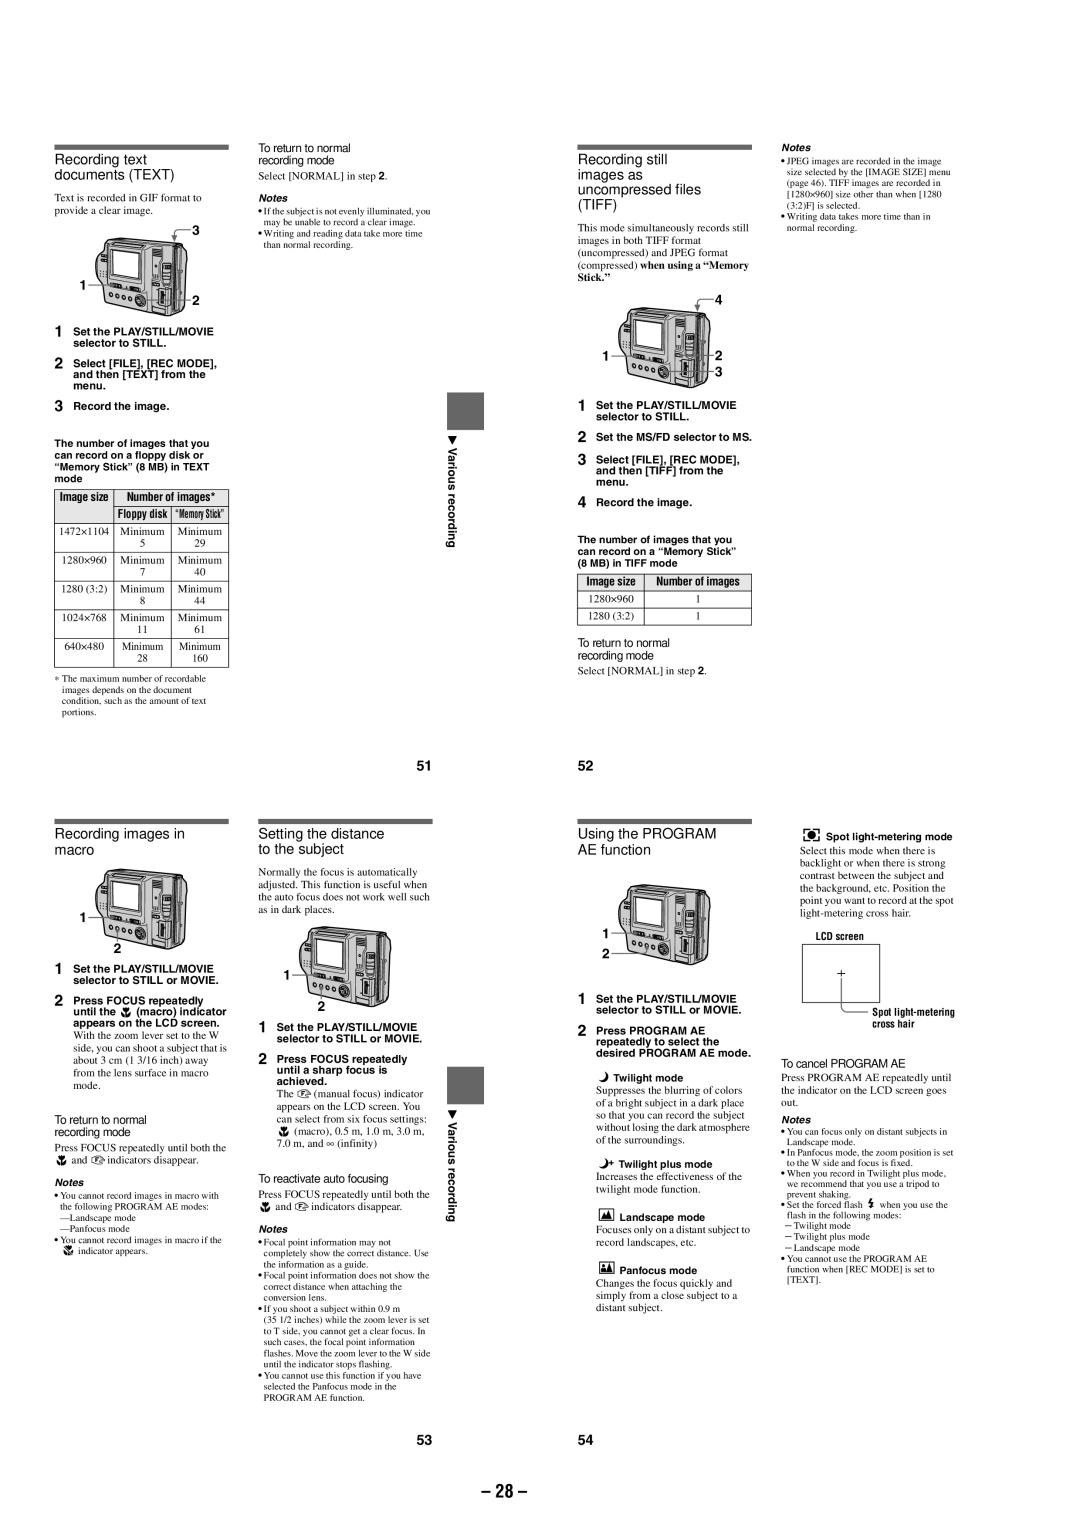
Recording text documents (TEXT)
Text is recorded in GIF format to provide a clear image.
![]() 3
3
1
2
1Set the PLAY/STILL/MOVIE selector to STILL.
2Select [FILE], [REC MODE], and then [TEXT] from the menu.
3Record the image.
The number of images that you can record on a floppy disk or “Memory Stick” (8 MB) in TEXT mode
Image size | Number of images* | |
| Floppy disk | “Memory Stick” |
1472×1104 | Minimum | Minimum |
| 5 | 29 |
|
|
|
1280×960 | Minimum | Minimum |
| 7 | 40 |
|
|
|
1280 (3:2) | Minimum | Minimum |
| 8 | 44 |
|
|
|
1024×768 | Minimum | Minimum |
| 11 | 61 |
|
|
|
640×480 | Minimum | Minimum |
| 28 | 160 |
|
|
|
∗The maximum number of recordable images depends on the document condition, such as the amount of text portions.
To return to normal recording mode
Select [NORMAL] in step 2.
Notes
•If the subject is not evenly illuminated, you may be unable to record a clear image.
•Writing and reading data take more time than normal recording.
B Various recording
Recording still images as uncompressed files (TIFF)
This mode simultaneously records still images in both TIFF format (uncompressed) and JPEG format (compressed) when using a “Memory Stick.”
![]() 4
4
1 ![]()
![]()
![]()
![]() 2
2
3
1Set the PLAY/STILL/MOVIE selector to STILL.
2Set the MS/FD selector to MS.
3Select [FILE], [REC MODE], and then [TIFF] from the menu.
4Record the image.
The number of images that you can record on a “Memory Stick” (8 MB) in TIFF mode
Image size | Number of images |
1280×960 | 1 |
|
|
1280 (3:2) | 1 |
|
|
To return to normal recording mode
Select [NORMAL] in step 2.
Notes
•JPEG images are recorded in the image size selected by the [IMAGE SIZE] menu (page 46). TIFF images are recorded in [1280×960] size other than when [1280 (3:2)F] is selected.
•Writing data takes more time than in normal recording.
Recording images in macro
1
2![]()
1Set the PLAY/STILL/MOVIE selector to STILL or MOVIE.
2Press FOCUS repeatedly
until the ![]() (macro) indicator appears on the LCD screen.
(macro) indicator appears on the LCD screen.
With the zoom lever set to the W side, you can shoot a subject that is about 3 cm (1 3/16 inch) away from the lens surface in macro mode.
To return to normal recording mode
Press FOCUS repeatedly until both the and 9indicators disappear.
Notes
•You cannot record images in macro with the following PROGRAM AE modes:
•You cannot record images in macro if the
![]() indicator appears.
indicator appears.
51
Setting the distance to the subject
Normally the focus is automatically adjusted. This function is useful when the auto focus does not work well such as in dark places.
| 1 |
| |
| 2 |
| |
1 | Set the PLAY/STILL/MOVIE |
| |
| selector to STILL or MOVIE. |
| |
2 | Press FOCUS repeatedly |
| |
| until a sharp focus is |
| |
| achieved. |
| |
| The 9(manual focus) indicator |
| |
| appears on the LCD screen. You | B | |
| can select from six focus settings: | ||
| Various | ||
| (macro), 0.5 m, 1.0 m, 3.0 m, | ||
| 7.0 m, and ∞ (infinity) | recording | |
To reactivate auto focusing | |||
| |||
Press FOCUS repeatedly until both the ![]() and 9indicators disappear.
and 9indicators disappear.
Notes
•Focal point information may not completely show the correct distance. Use the information as a guide.
•Focal point information does not show the correct distance when attaching the conversion lens.
•If you shoot a subject within 0.9 m
(35 1/2 inches) while the zoom lever is set to T side, you cannot get a clear focus. In such cases, the focal point information flashes. Move the zoom lever to the W side until the indicator stops flashing.
•You cannot use this function if you have selected the Panfocus mode in the PROGRAM AE function.
52
Using the PROGRAM AE function
1
2![]()
1Set the PLAY/STILL/MOVIE selector to STILL or MOVIE.
2Press PROGRAM AE repeatedly to select the desired PROGRAM AE mode.
![]() Twilight mode
Twilight mode
Suppresses the blurring of colors of a bright subject in a dark place so that you can record the subject without losing the dark atmosphere of the surroundings.
![]() Twilight plus mode
Twilight plus mode
Increases the effectiveness of the twilight mode function.
Landscape mode
Focuses only on a distant subject to record landscapes, etc.
Panfocus mode
Changes the focus quickly and simply from a close subject to a distant subject.
Spot light-metering mode
Select this mode when there is backlight or when there is strong contrast between the subject and the background, etc. Position the point you want to record at the spot
LCD screen
Spot
To cancel PROGRAM AE
Press PROGRAM AE repeatedly until the indicator on the LCD screen goes out.
Notes
•You can focus only on distant subjects in Landscape mode.
•In Panfocus mode, the zoom position is set to the W side and focus is fixed.
•When you record in Twilight plus mode, we recommend that you use a tripod to prevent shaking.
•Set the forced flash ![]() when you use the flash in the following modes:
when you use the flash in the following modes:
–Twilight mode
–Twilight plus mode
–Landscape mode
•You cannot use the PROGRAM AE function when [REC MODE] is set to [TEXT].
53
54
– 28 –
