Tips
Under normal recording conditions, the camera automatically makes various adjustments, such as those for the focus, iris, exposure, and white balance, as it shoots. However, you may not be able to carry out your desired shooting depending on shooting conditions. The program AE function provides you with
B Various recording
Adjusting the exposure (EXPOSURE)
1
2, 3
1Set the PLAY/STILL/MOVIE selector to STILL or MOVIE.
2Select [CAMERA] and then [EXPOSURE] from the menu.
3Select the desired exposure value.
Adjust the exposure value while checking the brightness of the background. You can select values ranging from +2.0 EV to
Note
If a subject is under extremely bright or dark situations, or the flash is used, the exposure adjustment may not be effective.
Tips
Normally, the camera automatically adjusts the exposure. If the color of the image is too dark or bright as illustrated below, we recommend that you adjust the exposure manually. When the color of the image is too dark, set it toward +, and when it is too bright, set it toward
Set the exposure toward +
Set the exposure toward –
Adjusting the white balance (WHITE BALANCE)
Normally the white balance is automatically adjusted.
1
2, 3
1Set the PLAY/STILL/MOVIE selector to STILL or MOVIE.
2Select [CAMERA] and then [WHITE BALANCE] from the menu.
3Select the desired white balance setting.
IN DOOR (n)
•Places where the lighting condition changes quickly
•Under bright lighting such as photography studios
•Under sodium or mercury lamps
OUT DOOR ( ![]()
![]()
![]() )
)
Recording a sunrise/sunset, night scene, neon signs, or fireworks
HOLD (HOLD)
Retains the adjusted white balance value
AUTO (No indicator)
Adjusts the white balance automatically
To reactivate auto adjustment
Select [AUTO] in step 3.
Note
Select [AUTO] when shooting with fluorescent lighting.
55
Tips
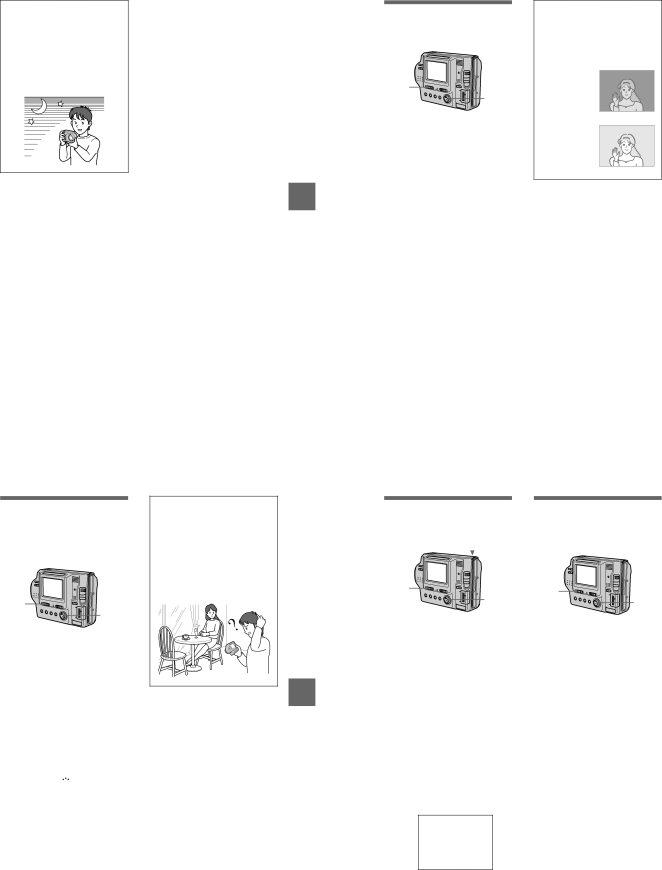
The image is susceptible to lighting conditions. The image looks white under sunlight in the summer, and looks red under mercury lamps. Human eyes can resolve these problems. However, the camera cannot resolve the problem by making adjustments. Normally, the camera adjusts it automatically, but, if the image appears in strange colors, we recommend that you change the white balance mode.
B Various recording
57
56
Recording the date and time on the still image (DATE/TIME)
![]() 4
4
1
2, 3
1Set the PLAY/STILL/MOVIE selector to STILL.
2Select [EFFECT] and then [DATE/TIME] from the menu.
3Select the date and time.
DAY & TIME
Imposes the date, hour, and minute.
DATE
Imposes the year, month, and day.
OFF
Does not impose the date and time.
4Record the image.
The date and time do not appear on the LCD screen during shooting. These appear during playback only.
2001 7 4
Notes
•When [DATE] is selected in step 3, the date is imposed in the order set by the CLOCK SET item (page 14).
•The date and time are not imposed onto Clip Motion images.
58
Enjoying picture effects (PICTURE EFFECT)
1
2, 3
1Set the PLAY/STILL/MOVIE selector to STILL or MOVIE.
2Select [EFFECT] and then [P. EFFECT] from the menu.
3Select the desired mode.
SOLARIZE
The light contrast is clearer and the picture looks like an illustration.
B&W
The picture is monochrome (black and white).
SEPIA
The picture is
NEG.ART
The color and brightness of the picture are reversed as in a negative.
OFF
Does not use the picture effect function.
To cancel picture effect
Select [OFF] in step 3.
– 29 –