For Machines Mfg. Since 8/09 | P R E P A R A T I O N | Model SB1029 |
Lifting & Moving
This machine and its parts are heavy! Serious personal injury may occur if safe moving methods are not used. To reduce the risk of a lifting or dropping injury, ask others for help and use power equipment.
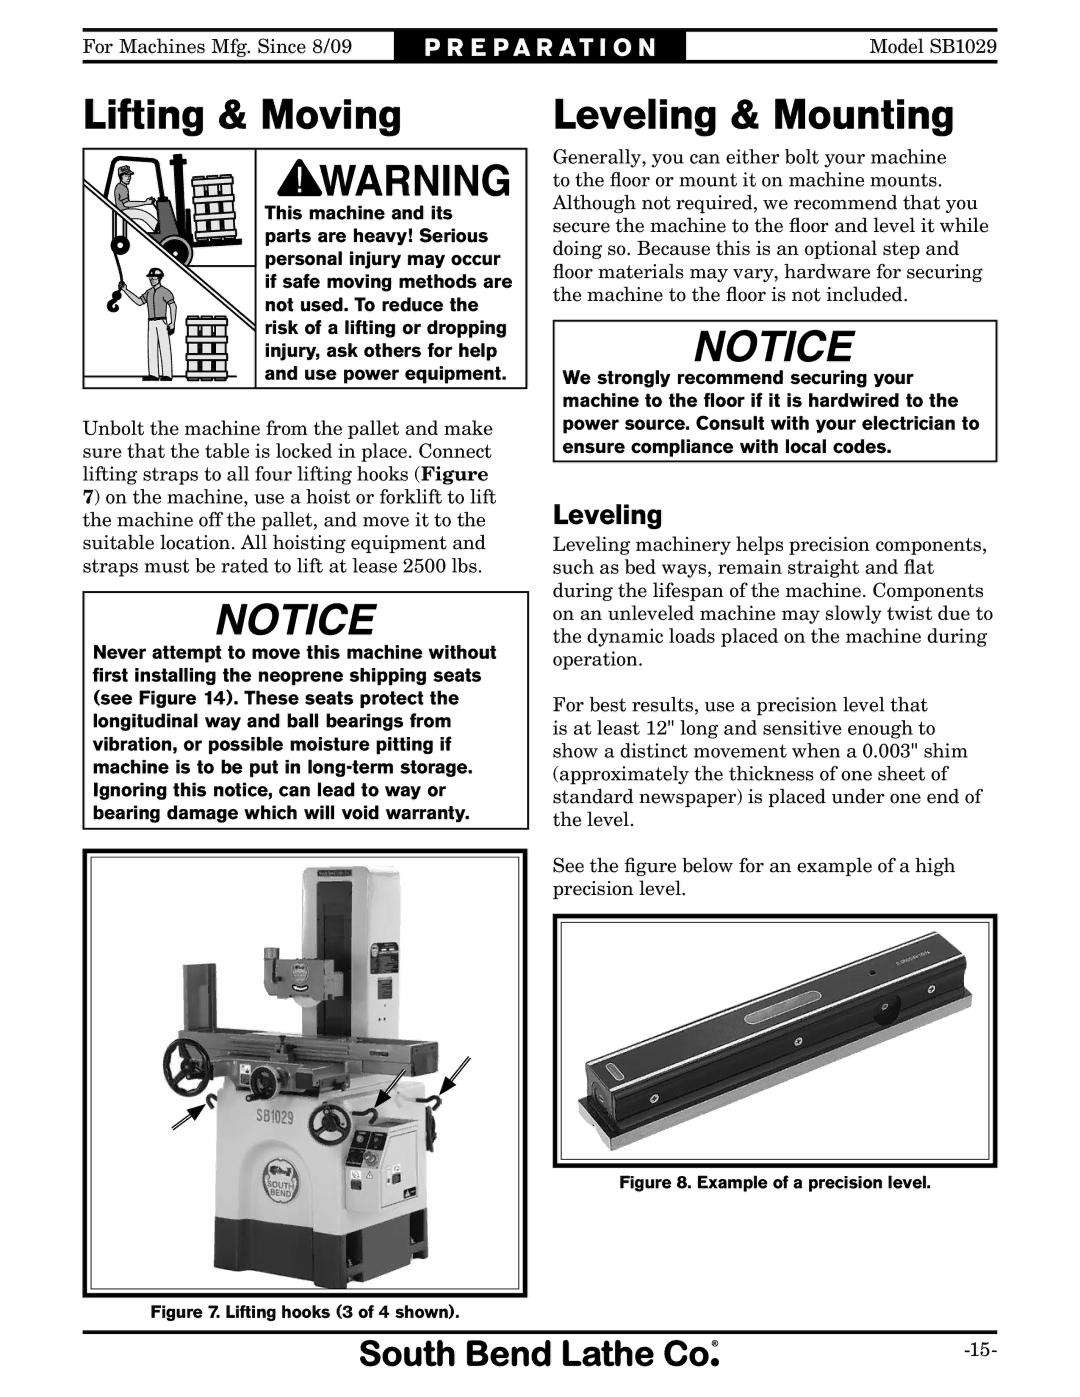
Unbolt the machine from the pallet and make sure that the table is locked in place. Connect lifting straps to all four lifting hooks (Figure 7) on the machine, use a hoist or forklift to lift the machine off the pallet, and move it to the suitable location. All hoisting equipment and straps must be rated to lift at lease 2500 lbs.
Never attempt to move this machine without first installing the neoprene shipping seats (see Figure 14). These seats protect the longitudinal way and ball bearings from vibration, or possible moisture pitting if machine is to be put in
Leveling & Mounting
Generally, you can either bolt your machine to the floor or mount it on machine mounts. Although not required, we recommend that you secure the machine to the floor and level it while doing so. Because this is an optional step and floor materials may vary, hardware for securing the machine to the floor is not included.
We strongly recommend securing your machine to the floor if it is hardwired to the power source. Consult with your electrician to ensure compliance with local codes.
Leveling
Leveling machinery helps precision components, such as bed ways, remain straight and flat during the lifespan of the machine. Components on an unleveled machine may slowly twist due to the dynamic loads placed on the machine during operation.
For best results, use a precision level that is at least 12" long and sensitive enough to show a distinct movement when a 0.003" shim (approximately the thickness of one sheet of standard newspaper) is placed under one end of the level.
See the figure below for an example of a high precision level.