TL H.264 DVR User’s Manual
3.4System Date / Time Setting
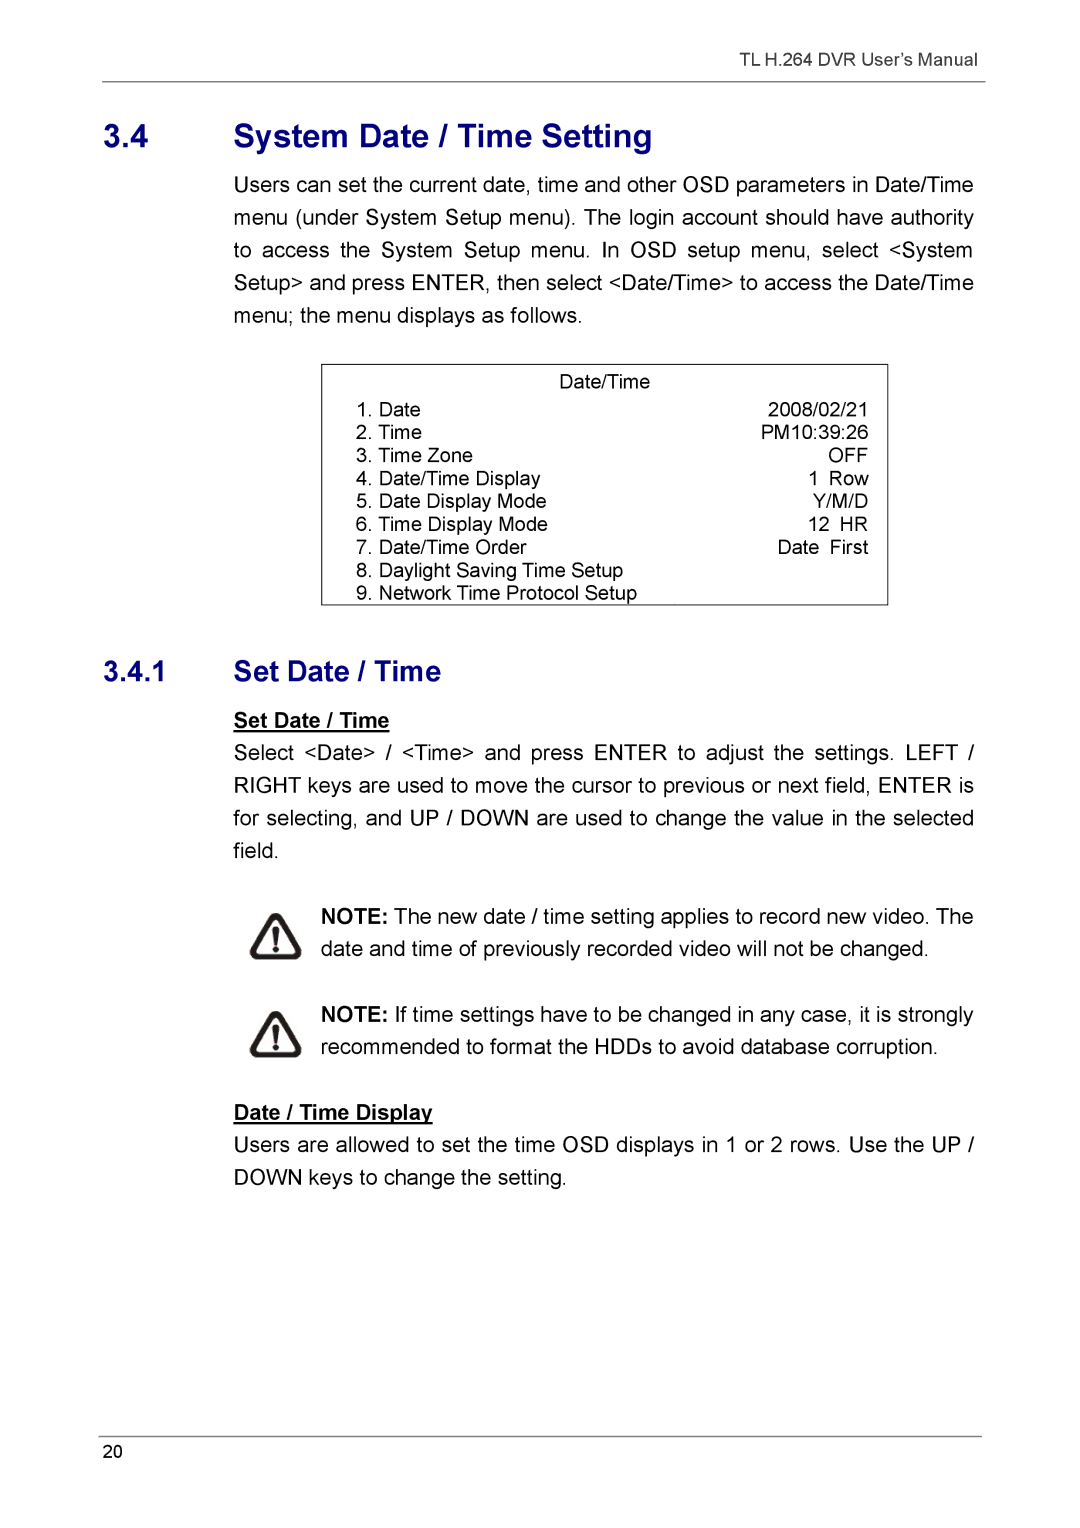
Users can set the current date, time and other OSD parameters in Date/Time menu (under System Setup menu). The login account should have authority to access the System Setup menu. In OSD setup menu, select <System Setup> and press ENTER, then select <Date/Time> to access the Date/Time menu; the menu displays as follows.
| Date/Time |
|
1. | Date | 2008/02/21 |
2. | Time | PM10:39:26 |
3. Time Zone | OFF | |
4. | Date/Time Display | 1 Row |
5. | Date Display Mode | Y/M/D |
6. | Time Display Mode | 12 HR |
7. | Date/Time Order | Date First |
8. | Daylight Saving Time Setup |
|
9. | Network Time Protocol Setup |
|
3.4.1Set Date / Time
Set Date / Time
Select <Date> / <Time> and press ENTER to adjust the settings. LEFT / RIGHT keys are used to move the cursor to previous or next field, ENTER is for selecting, and UP / DOWN are used to change the value in the selected field.
NOTE: The new date / time setting applies to record new video. The date and time of previously recorded video will not be changed.
NOTE: If time settings have to be changed in any case, it is strongly recommended to format the HDDs to avoid database corruption.
Date / Time Display
Users are allowed to set the time OSD displays in 1 or 2 rows. Use the UP / DOWN keys to change the setting.
20