Machine-Side Hopper Loaders
8.2.2.Adjusting the dump valve sensor
1.Stop the conveying cycle by disconnecting the dump valve sensor from the controller. With the dump valve sensor disabled, no demand will be indicated, and conveying will stop.
2.Connect an ohmmeter to PINS 2 and 3 of the dump valve sensor.
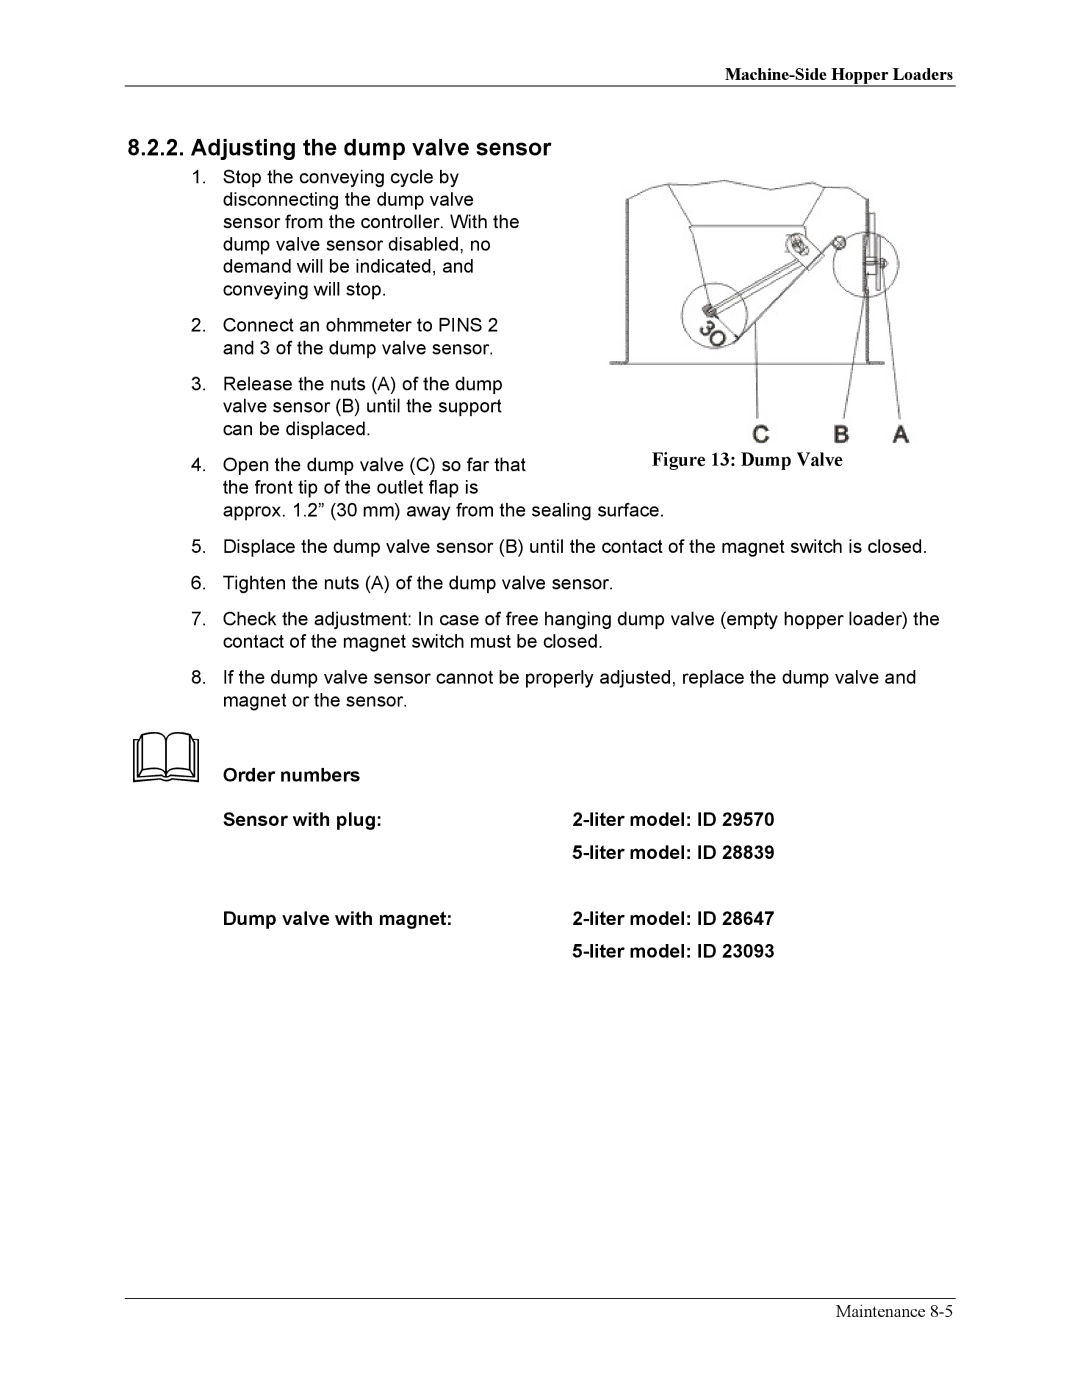
3.Release the nuts (A) of the dump valve sensor (B) until the support can be displaced.
4. Open the dump valve (C) so far that the front tip of the outlet flap is
approx. 1.2” (30 mm) away from the sealing surface.
5.Displace the dump valve sensor (B) until the contact of the magnet switch is closed.
6.Tighten the nuts (A) of the dump valve sensor.
7.Check the adjustment: In case of free hanging dump valve (empty hopper loader) the contact of the magnet switch must be closed.
8.If the dump valve sensor cannot be properly adjusted, replace the dump valve and magnet or the sensor.
&Order numbers
Sensor with plug: | |
| |
Dump valve with magnet: | |
|
Maintenance