A+ SERVER
Installing/Removing a Hard Drive
1.To remove a carrier, push the release button located beside the drive LEDs.
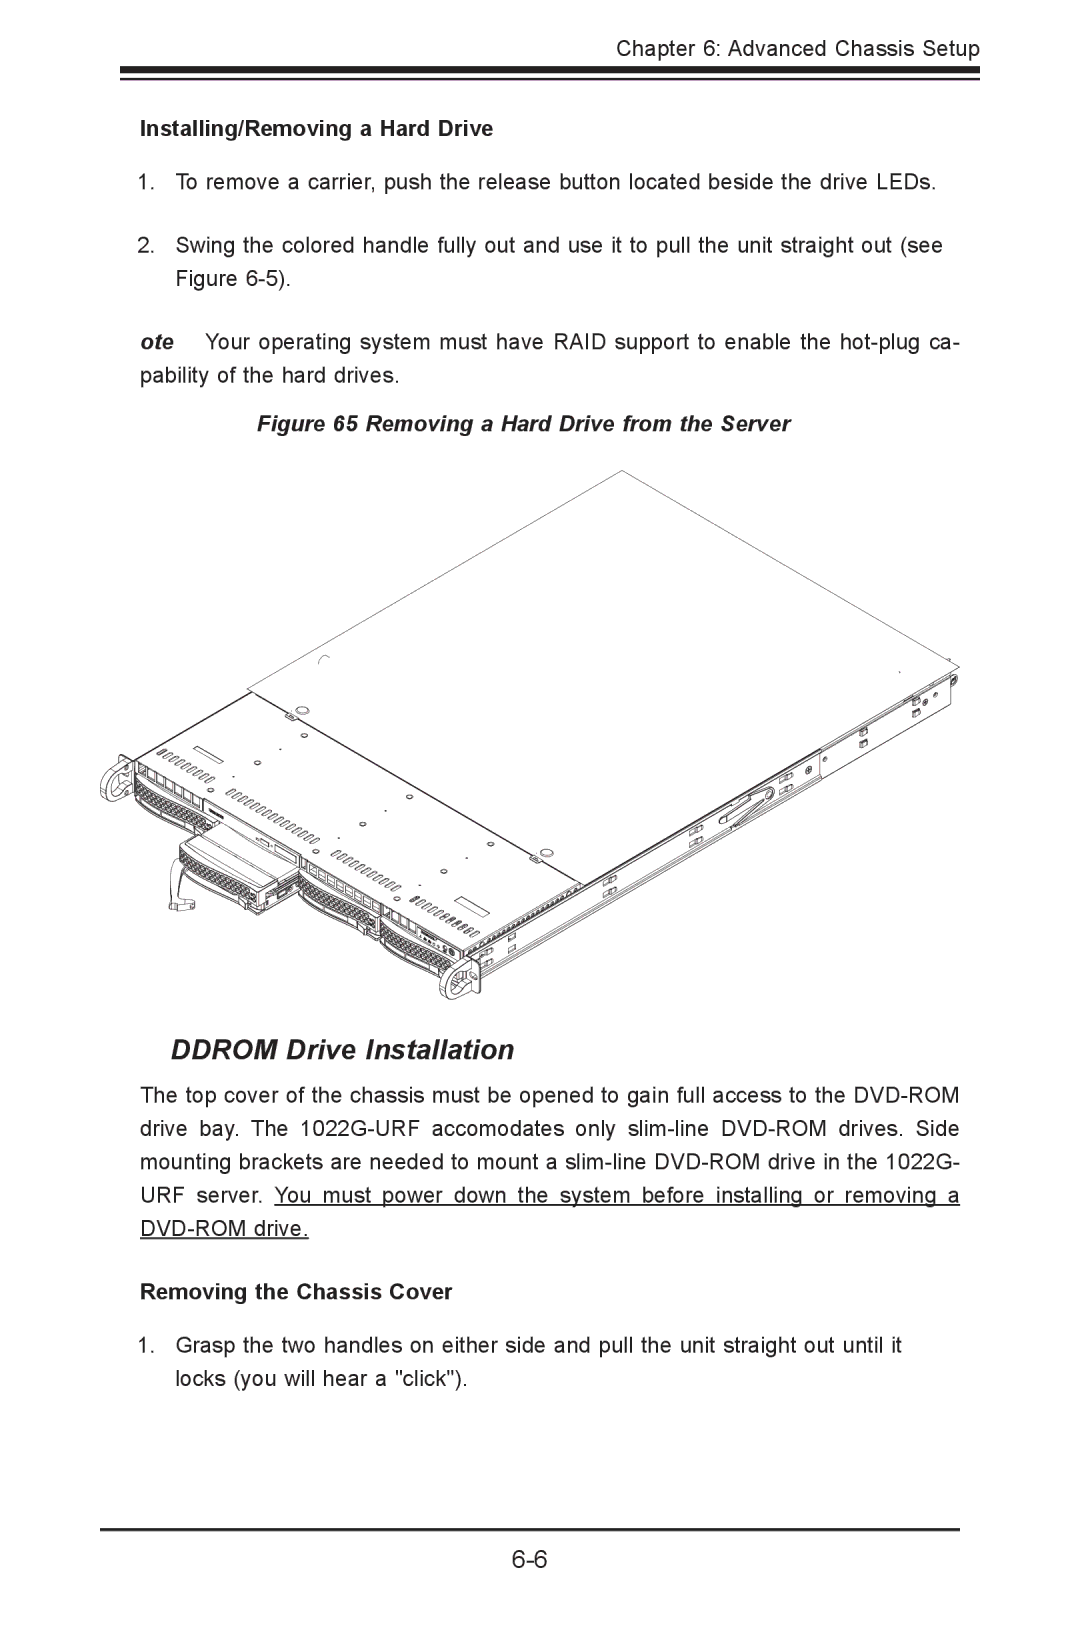
2.Swing the colored handle fully out and use it to pull the unit straight out (see Figure
Note: Your operating system must have RAID support to enable the
Figure 6-5. Removing a Hard Drive from the Server
DVD-ROM Drive Installation
The top cover of the chassis must be opened to gain full access to the
Removing the Chassis Cover
1.Grasp the two handles on either side and pull the unit straight out until it locks (you will hear a "click").