A+ SERVER
Enabling SATA RAID in the BIOS
Before installing the Windows operating system, you must change some settings in the BIOS. Boot up the system and hit the <Delete> key to enter the BIOS Setup Utlility. After the setup utility loads,
1.Use the arrow keys to move to the "Exit" menu. Scroll down using the arrow keys to "Load Optimal Defaults" and press <Enter>. Select "OK" to confirm, then <Enter> to load the default settings.
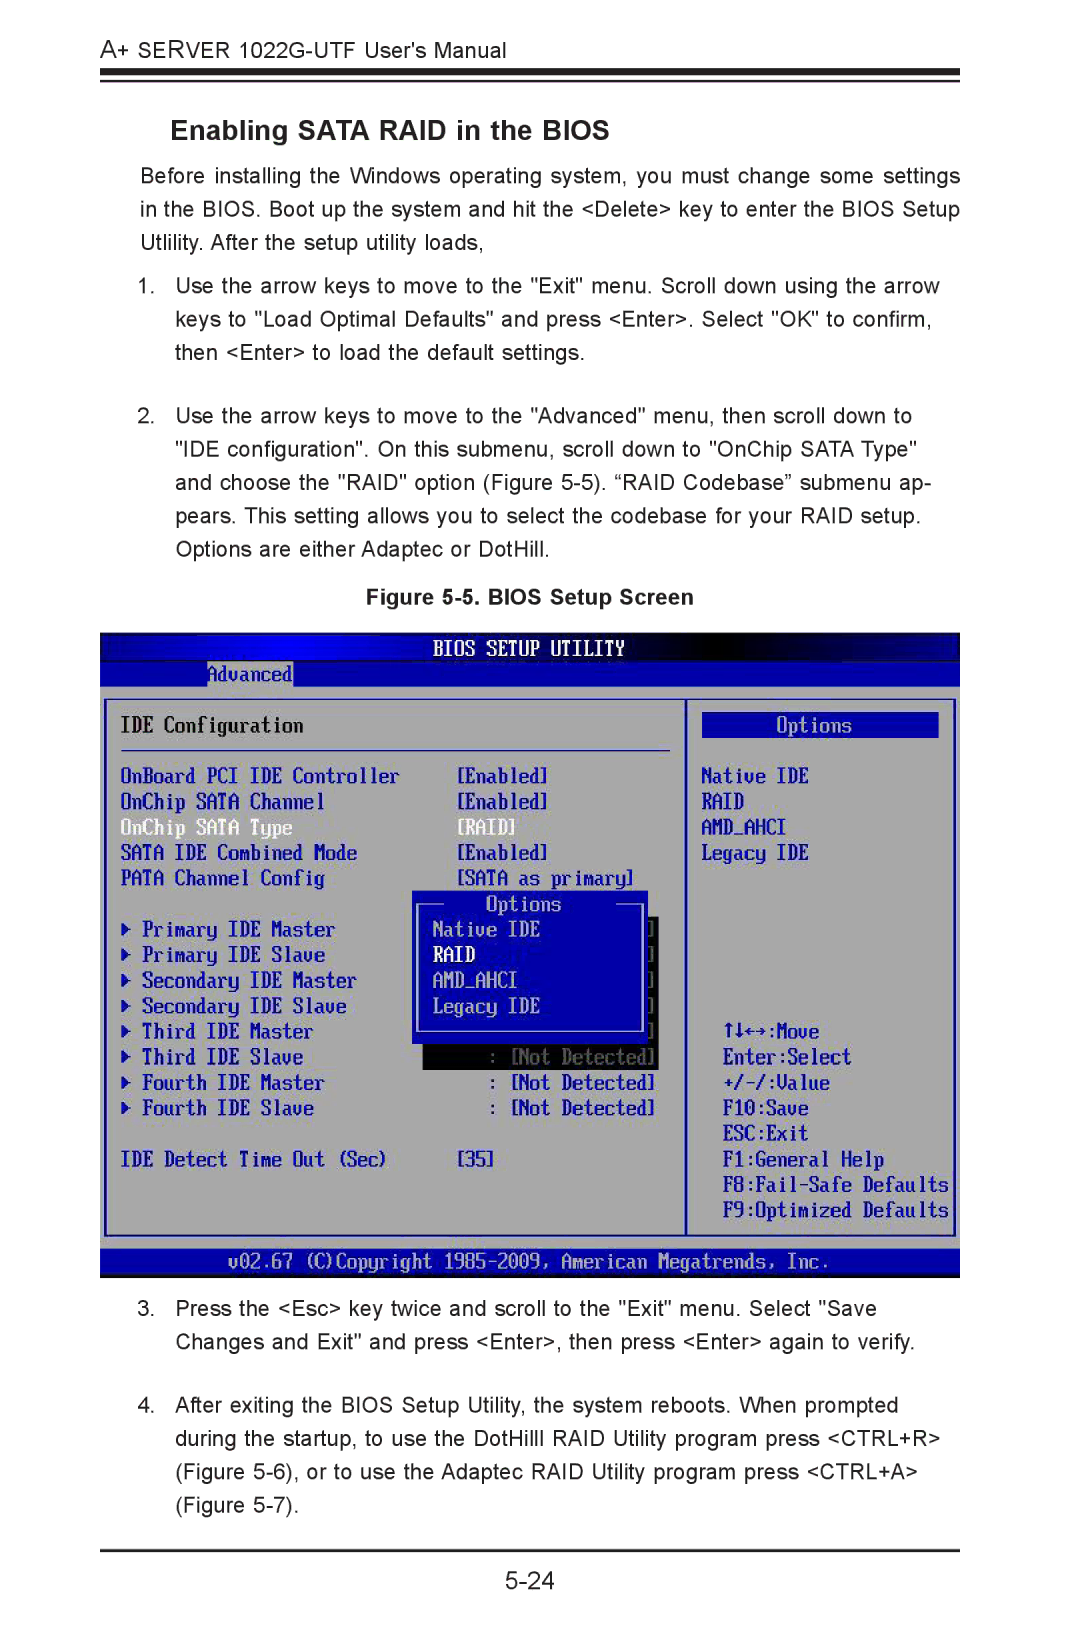
2.Use the arrow keys to move to the "Advanced" menu, then scroll down to
"IDE configuration". On this submenu, scroll down to "OnChip SATA Type" and choose the "RAID" option (Figure
Figure 5-5. BIOS Setup Screen
3.Press the <Esc> key twice and scroll to the "Exit" menu. Select "Save Changes and Exit" and press <Enter>, then press <Enter> again to verify.
4.After exiting the BIOS Setup Utility, the system reboots. When prompted during the startup, to use the DotHilll RAID Utility program press <CTRL+R> (Figure