SUPER MICRO Computer 6015B-T, 6015B-3 user manual Installing/removing hot-swap SAS/SATA drives

Models: 6015B-3 6015B-T

1 144
Download 144 pages 26.35 Kb
Page 65
Image 65

Chapter 6: Advanced Chassis Setup

2. Installing/removing hot-swap SAS/SATA drives

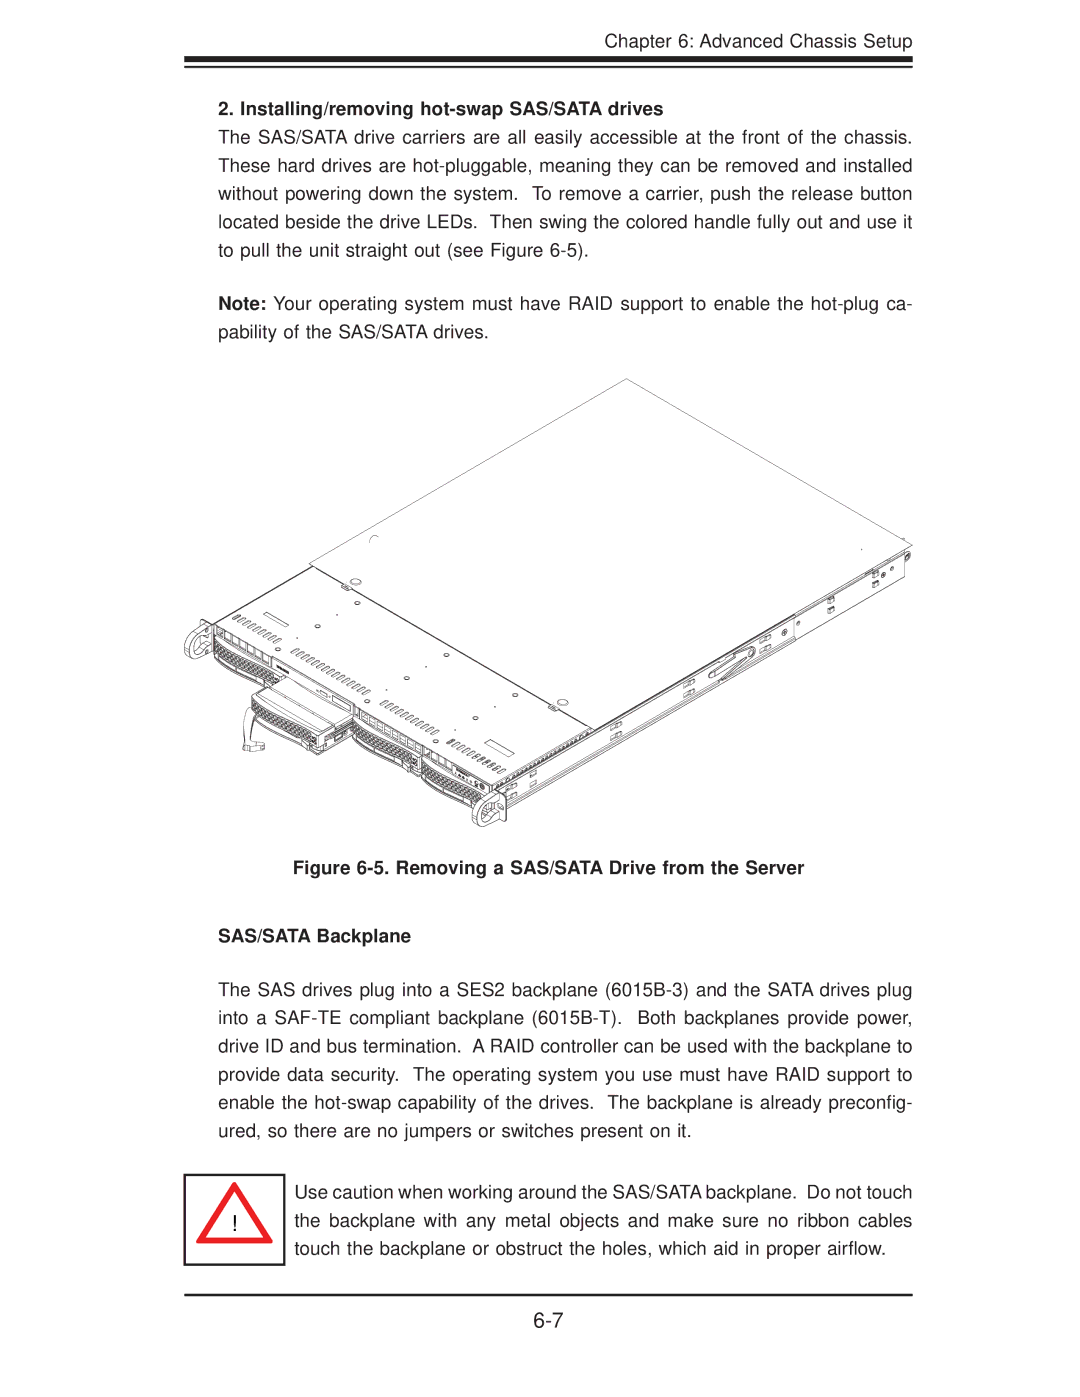
The SAS/SATA drive carriers are all easily accessible at the front of the chassis. These hard drives are hot-pluggable, meaning they can be removed and installed without powering down the system. To remove a carrier, push the release button located beside the drive LEDs. Then swing the colored handle fully out and use it to pull the unit straight out (see Figure 6-5).

Note: Your operating system must have RAID support to enable the hot-plug ca- pability of the SAS/SATA drives.

Figure 6-5. Removing a SAS/SATA Drive from the Server

SAS/SATA Backplane

The SAS drives plug into a SES2 backplane (6015B-3) and the SATA drives plug into a SAF-TE compliant backplane (6015B-T). Both backplanes provide power, drive ID and bus termination. A RAID controller can be used with the backplane to provide data security. The operating system you use must have RAID support to enable the hot-swap capability of the drives. The backplane is already preconfig- ured, so there are no jumpers or switches present on it.

!

Use caution when working around the SAS/SATA backplane. Do not touch the backplane with any metal objects and make sure no ribbon cables touch the backplane or obstruct the holes, which aid in proper airflow.

6-7

Page 65
Image 65
SUPER MICRO Computer 6015B-T, 6015B-3 user manual Installing/removing hot-swap SAS/SATA drives