Configuring Access Point Security 6-61
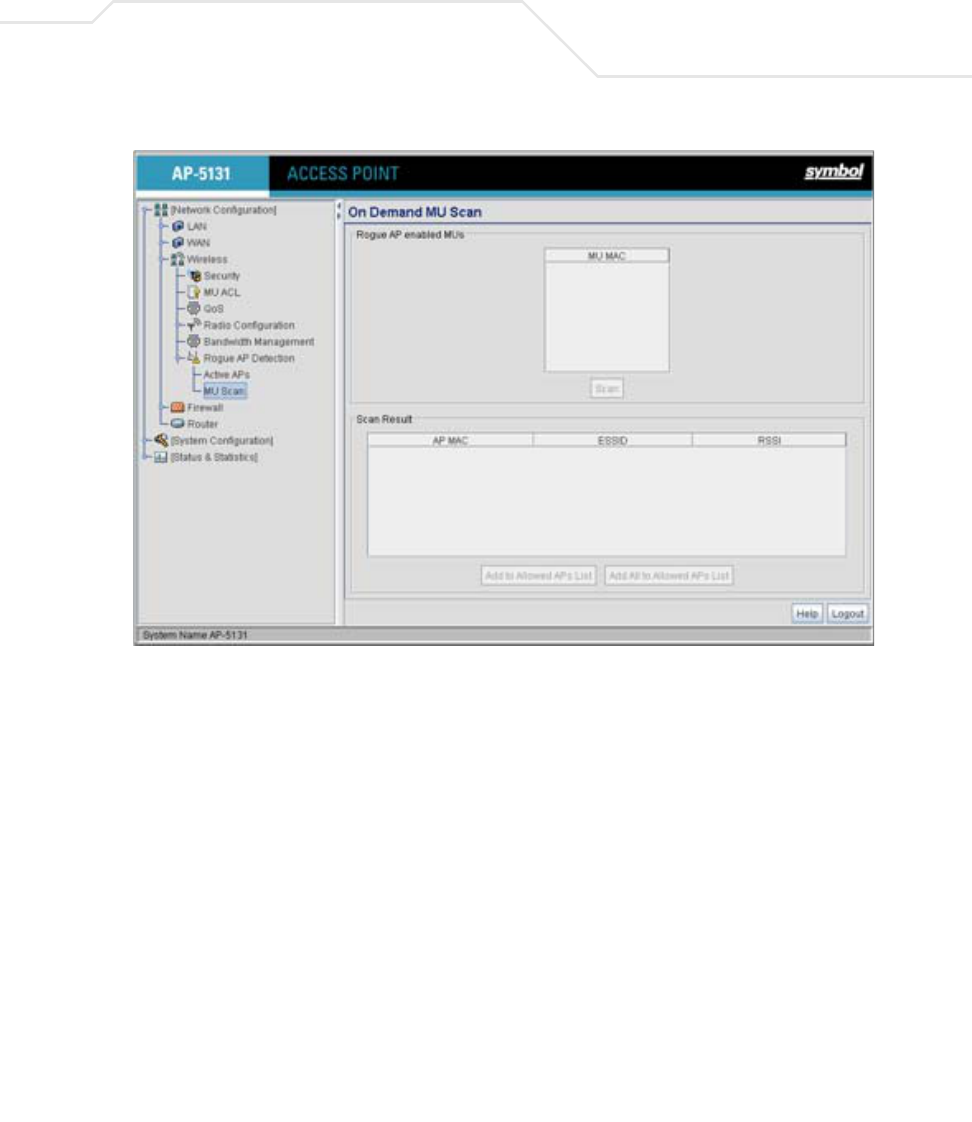
2. Highlight an MU from within the Rogue AP enabled MUs field and click the scan button.
The target MU begins scanning for rogue devices using the detection parameters defined
within the Rogue AP Detection screen. To modify the detection parameters, see
Configuring Rogue AP Detection on page 6-53.
Those devices detected as rogue APs display within the Scan Result table. Use the
displayed AP MAC, ESSID and RSSI values to determine the device listed in the table is truly
a rogue device or one inadvertently detected as a rogue AP.
3. If necessary, highlight an individual MU from within the Scan Result field and click the Add
to Allowed AP List button to move the AP into the Allowed APs table within the Active
APs screen.
4. Additionally, if necessary, click the Add All to Allowed APs List button to move every
device within the Scan Result table into the Allowed APs table within the Active APs
screen. Only use this option if you are sure all of the devices detected and displayed within
the Scan Results table are non-hostile APs.
5. Highlight a different MU from the Rogue AP enabled MUs field as needed to scan for
additional rogue APs.