CLONING P2’S
Cloning P2’s
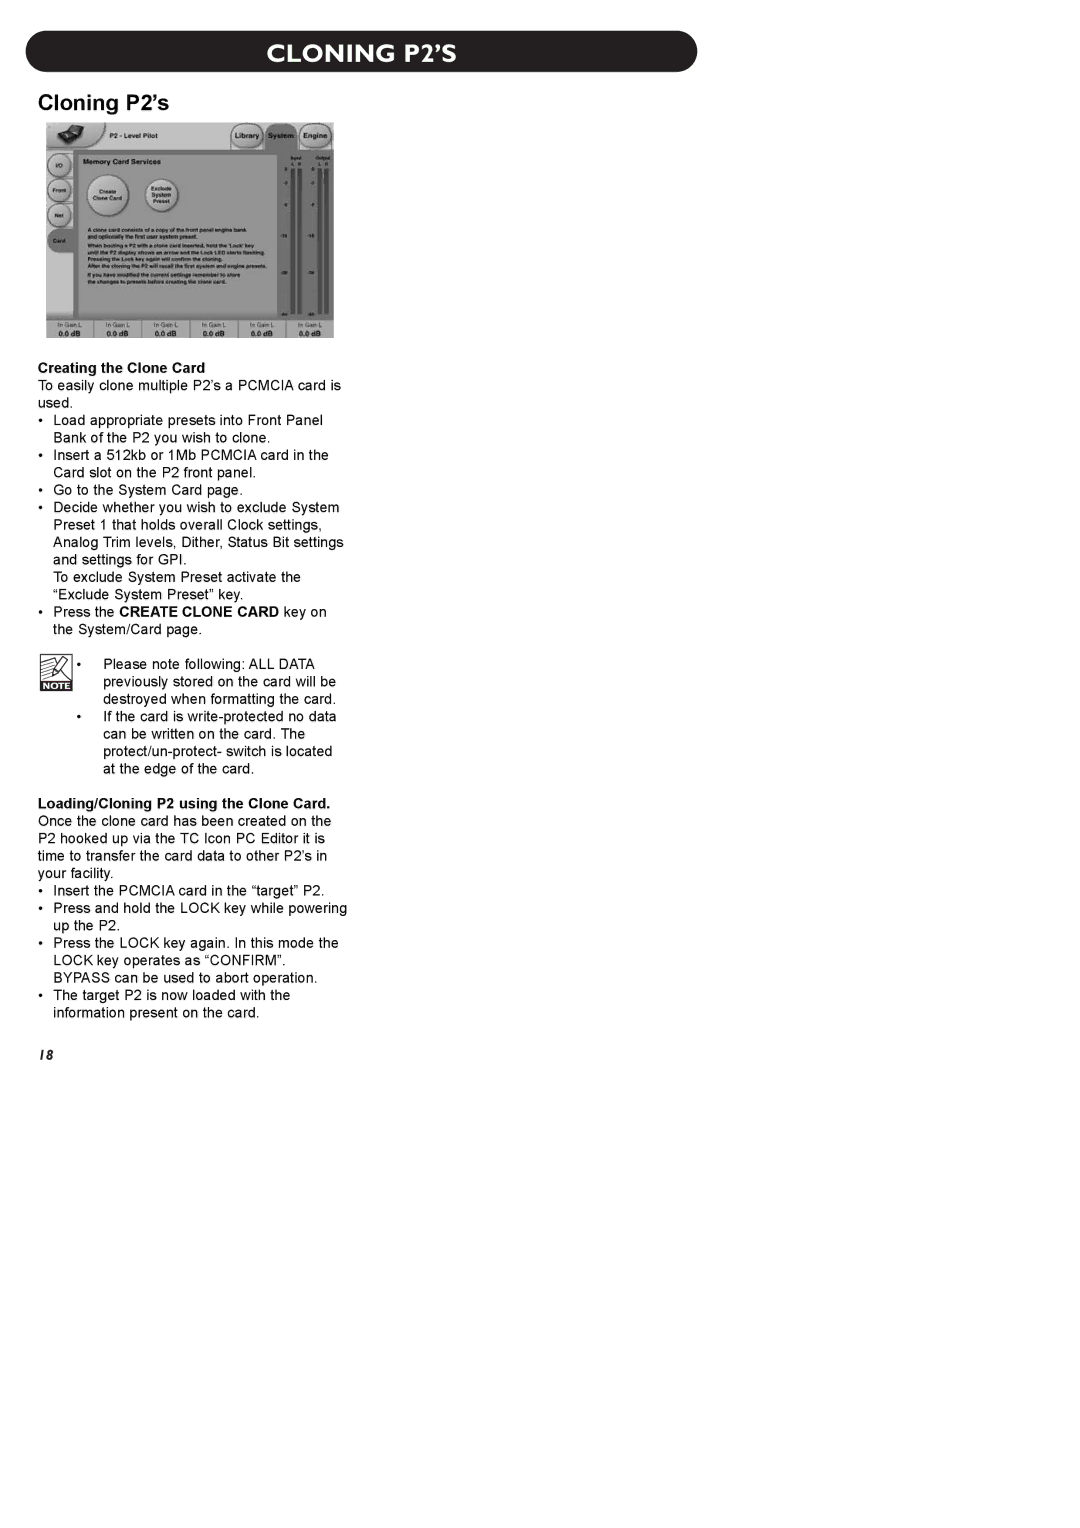
Creating the Clone Card
To easily clone multiple P2’s a PCMCIA card is used.
•Load appropriate presets into Front Panel Bank of the P2 you wish to clone.
•Insert a 512kb or 1Mb PCMCIA card in the Card slot on the P2 front panel.
•Go to the System Card page.
•Decide whether you wish to exclude System Preset 1 that holds overall Clock settings, Analog Trim levels, Dither, Status Bit settings and settings for GPI.
To exclude System Preset activate the “Exclude System Preset” key.
•Press the CREATE CLONE CARD key on the System/Card page.
•Please note following: ALL DATA
previously stored on the card will be destroyed when formatting the card.
•If the card is
Loading/Cloning P2 using the Clone Card. Once the clone card has been created on the P2 hooked up via the TC Icon PC Editor it is time to transfer the card data to other P2’s in your facility.
•Insert the PCMCIA card in the “target” P2.
•Press and hold the LOCK key while powering up the P2.
•Press the LOCK key again. In this mode the LOCK key operates as “CONFIRM”. BYPASS can be used to abort operation.
•The target P2 is now loaded with the information present on the card.
18