MODEL 2230R, Process Hydrogen Analyzer
5.4VERIFICATION
Verification Interval
Verification is a process to compare the sensor output to a known hydrogen concentration. Verifications do not cause any wear on the sensor and can be accomplished as often as desired. The recommended interval to perform Verification depends solely on the user’s desired tolerance for the specific application in question. If the user does not have a specific desired tolerance, TELEDYNE ANALYTICAL INSTRUMENTS recommends that Verification be performed every three months.
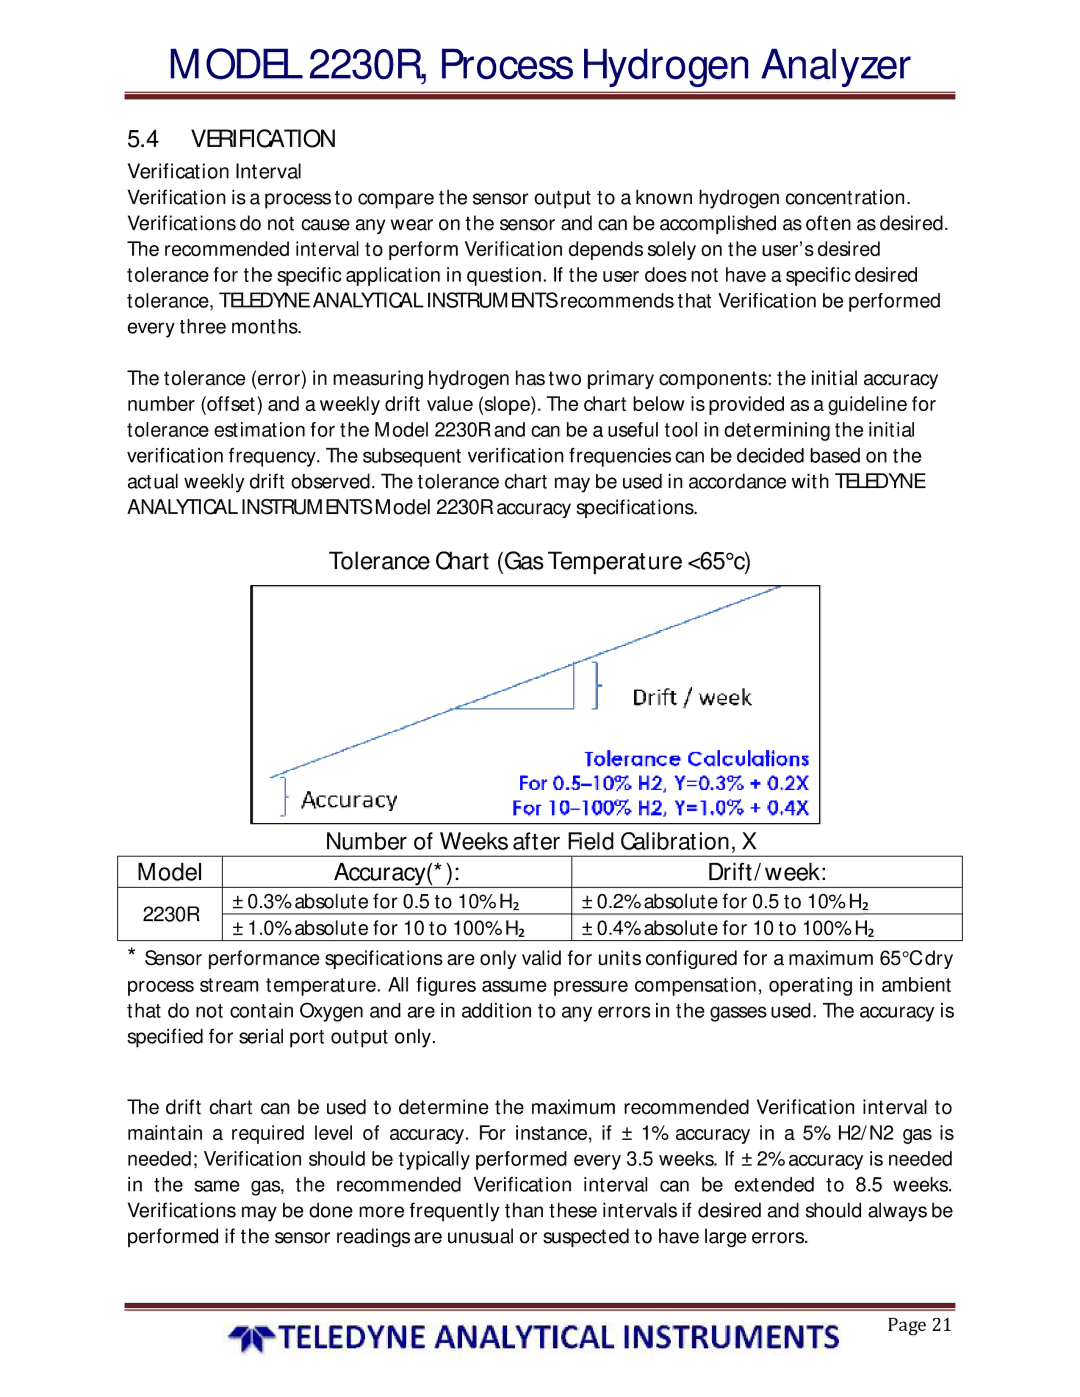
The tolerance (error) in measuring hydrogen has two primary components: the initial accuracy number (offset) and a weekly drift value (slope). The chart below is provided as a guideline for tolerance estimation for the Model 2230R and can be a useful tool in determining the initial verification frequency. The subsequent verification frequencies can be decided based on the actual weekly drift observed. The tolerance chart may be used in accordance with TELEDYNE ANALYTICAL INSTRUMENTS Model 2230R accuracy specifications.
Tolerance Chart (Gas Temperature <65°c)
Number of Weeks after Field Calibration, X
Model | Accuracy(*): | Drift/week: | |
2230R | ± 0.3% absolute for 0.5 to 10% H₂ | ± 0.2% absolute for 0.5 to 10% H₂ | |
± 1.0% absolute for 10 to 100% H₂ | ± 0.4% absolute for 10 to 100% H₂ | ||
|
*Sensor performance specifications are only valid for units configured for a maximum 65°C dry process stream temperature. All figures assume pressure compensation, operating in ambient that do not contain Oxygen and are in addition to any errors in the gasses used. The accuracy is specified for serial port output only.
The drift chart can be used to determine the maximum recommended Verification interval to maintain a required level of accuracy. For instance, if ± 1% accuracy in a 5% H2/N2 gas is needed; Verification should be typically performed every 3.5 weeks. If ± 2% accuracy is needed in the same gas, the recommended Verification interval can be extended to 8.5 weeks. Verifications may be done more frequently than these intervals if desired and should always be performed if the sensor readings are unusual or suspected to have large errors.
Page 21
