INITIAL SETTING
When you turn on this unit for the first time, you need to follow these steps after you have completed all the connections.
OPEN/ | INPUT | HDMI |
|
CLOSE | SELECT |
| |
.@/: | ABC | DEF |
|
GHI | JKL | MNO | CH |
PQRS | TUV | WXYZ |
|
| SPACE |
| TIMER |
|
| PROG. | |
DTV/TV | SETUP | DISPLAY | AUDIO |
DISC MENU |
| TOP MENU |
ENTER |
| |
CLEAR |
| RETURN |
INSTANT 1.3x/0.8x | TIME SLIP | |
SKIP | PLAY | |
REV | PLAY | FWD |
SKIP | STOP | SKIP |
PAUSE | VCR | DVD |
DUBBING | REC MODE REC | |
REPEAT TIMER SET SEARCH | ZOOM | |
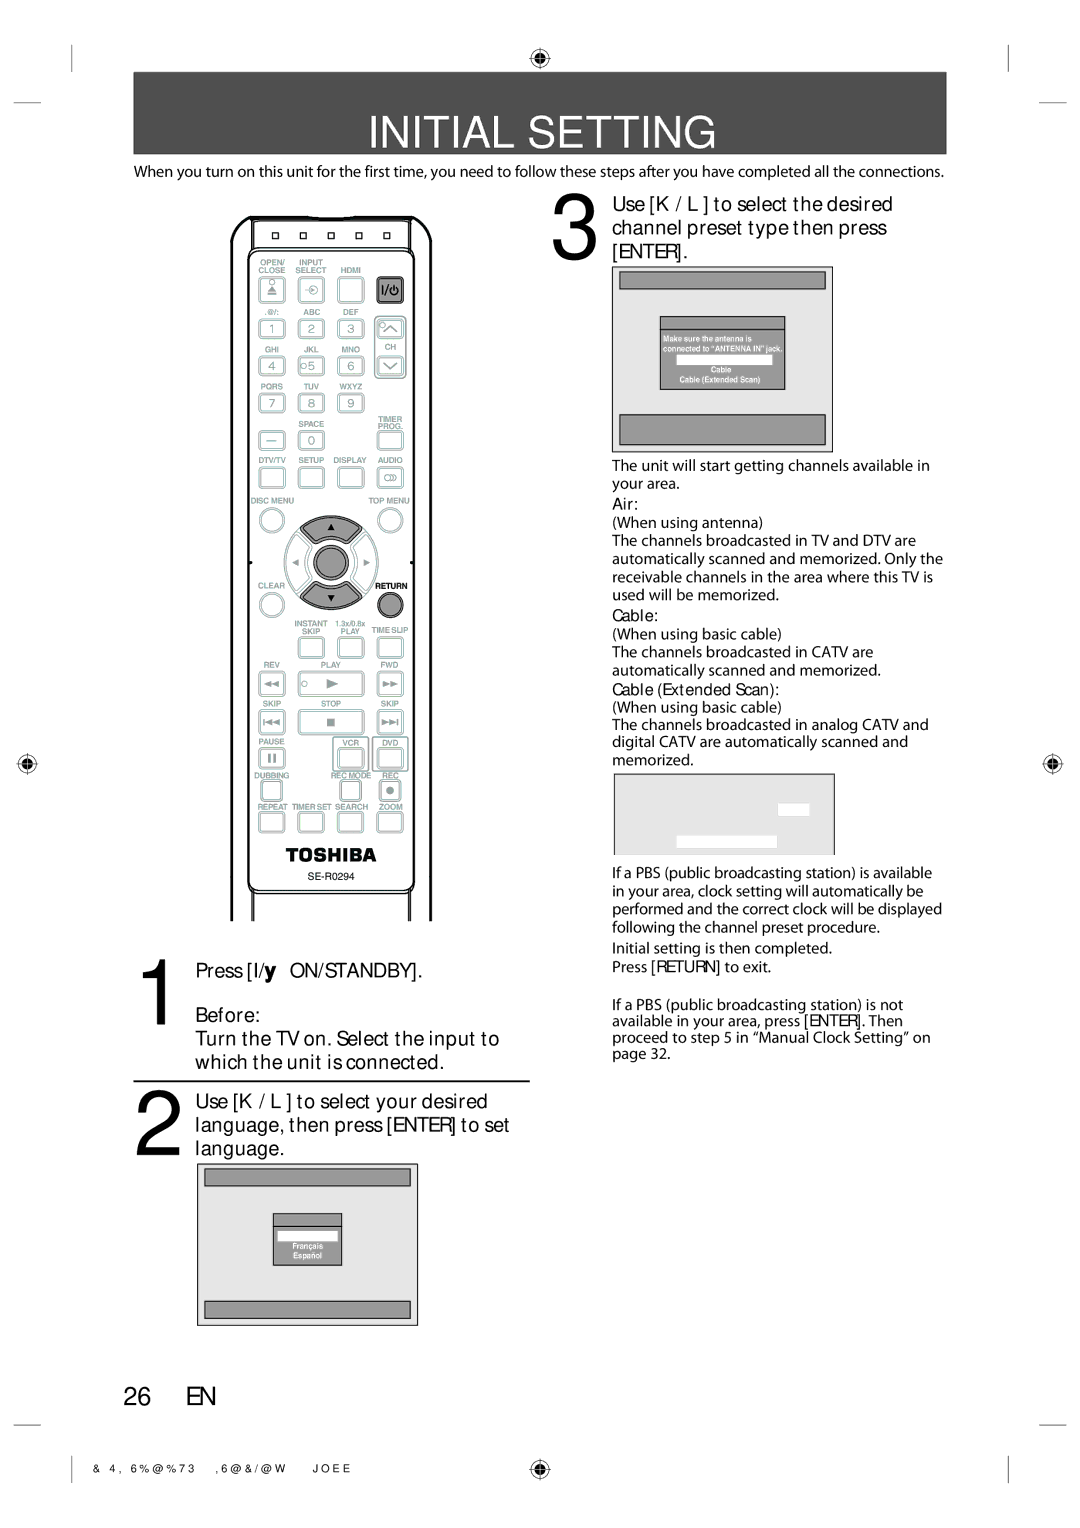
1Press [I/y ON/STANDBY].
Before:
Turn the TV on. Select the input to which the unit is connected.
2Use [K / L] to select your desired language, then press [ENTER] to set language.
Initial Setting
OSD Language
English
Français
Español
3Use [K / L] to select the desired channel preset type then press [ENTER].
Initial Setting
Channel Preset
Make sure the antenna is connected to “ANTENNA IN” jack.
Air
Cable
Cable (Extended Scan)
Auto Preset will scan all terrestrial channels.
This may take a while to complete.
The unit will start getting channels available in your area.
Air:
(When using antenna)
The channels broadcasted in TV and DTV are automatically scanned and memorized. Only the receivable channels in the area where this TV is used will be memorized.
Cable:
(When using basic cable)
The channels broadcasted in CATV are automatically scanned and memorized.
Cable (Extended Scan):
(When using basic cable)
The channels broadcasted in analog CATV and digital CATV are automatically scanned and memorized.
CH 1
Auto Presetting Now
If a PBS (public broadcasting station) is available in your area, clock setting will automatically be performed and the correct clock will be displayed following the channel preset procedure.
Initial setting is then completed. Press [RETURN] to exit.
If a PBS (public broadcasting station) is not available in your area, press [ENTER]. Then proceed to step 5 in “Manual Clock Setting” on page 32.
Select the language for Setup display.
26 EN
E9SK0UD_DVR670KU_EN_v1.1.indd 26
2009/04/03 15:37:18