Using the document camera (Continued)
3Press the CAMERA button, and select camera input.
• The input returns to the previous input when the CAMERA button | LOCK | W.BALANCE OVERLAY | ARM LIGHT |
is pressed again. | STORE | CAMERA | CAMERA |
• Camera input can also be selected by pressing the remote | IMAGE | GAIN |
|
|
|
| |
control or camera’s INPUT button. |
|
|
|
4Move the camera head up and down to adjust the image size.
Farther: Smaller image ![]()
Closer: Larger image ![]()
123 | - |
■Using the overlay function
The overlay function can be used to write over computer or video input images. Have a piece of white paper, and a red or blue pen ready.
1 Place the piece of white paper on a flat surface, photograph it with the document camera, and display it on the screen.
Adjust the camera head and arm so that the white paper fills | - |
the screen. |
|
2Select the input that the overlay function is performed.
Press the INPUT button, use the ![]()
![]() buttons to select an input other than Camera input, then press the
buttons to select an input other than Camera input, then press the ![]() button.
button.
5Use the camera head’s focusing ring to adjust the focus.
3 Press the OVERLAY button. | LOCK | W.BALANCE OVERLAY | ARM LIGHT |
The overlay function comes on. | STORE | CAMERA | CAMERA |
(Press it again to turn off the function.) | IMAGE | GAIN |
|
|
|
|
Turn the focusing ring to adjust the focus.
6If the screen is too dark or too bright, use the CAMERA GAIN
The Sharpness of the camera image can also be adjusted using the Image adjustment menu p.54 .
| W.BALANCE OVERLAY | ARM LIGHT |
LOCK |
|
|
STORE | CAMERA | CAMERA |
IMAGE | GAIN |
|
4Write on the paper with a red or blue pen.
Before writing, check the position of the pen tip on the screen. The line written overlays the input source’s image on the screen.
5Use the CAMERA GAIN
![]() Notes
Notes
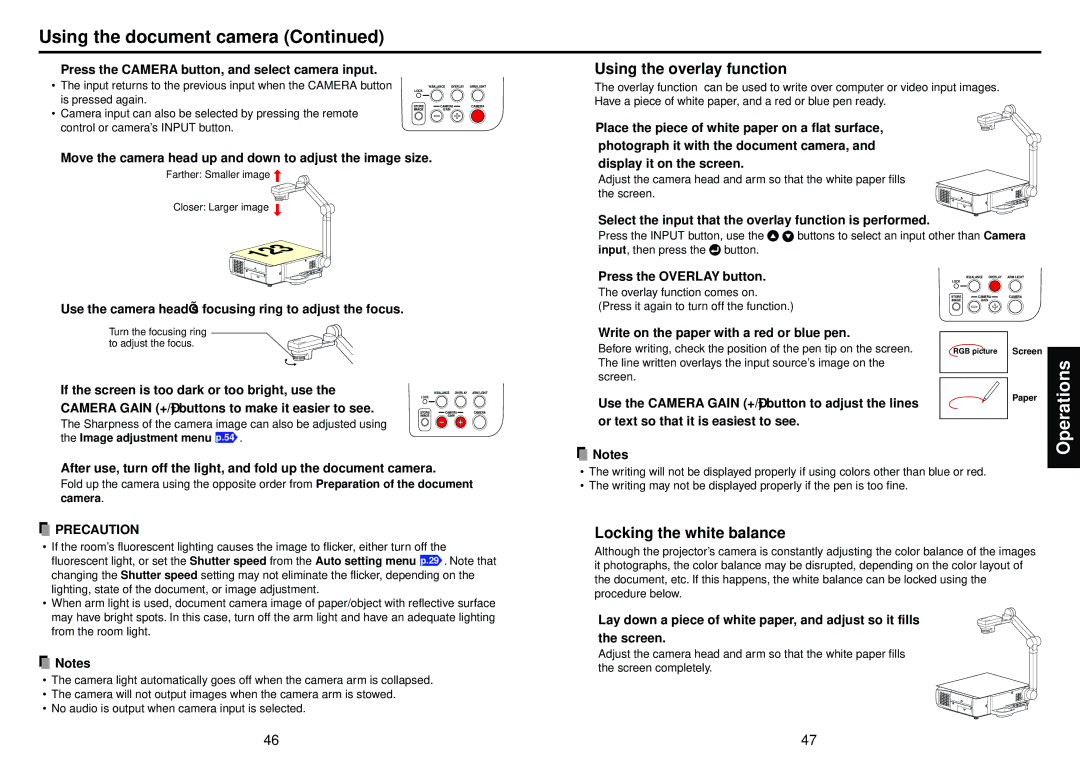
RGB picture
Screen
Paper
Operations
7After use, turn off the light, and fold up the document camera.
Fold up the camera using the opposite order from Preparation of the document camera.
 PRECAUTION
•If the room’s fluorescent lighting causes the image to flicker, either turn off the fluorescent light, or set the Shutter speed from the Auto setting menu p.29 . Note that changing the Shutter speed setting may not eliminate the flicker, depending on the lighting, state of the document, or image adjustment.
•When arm light is used, document camera image of paper/object with reflective surface may have bright spots. In this case, turn off the arm light and have an adequate lighting from the room light.
![]() Notes
Notes
•The camera light automatically goes off when the camera arm is collapsed.
•The camera will not output images when the camera arm is stowed.
•No audio is output when camera input is selected.
•The writing will not be displayed properly if using colors other than blue or red.
•The writing may not be displayed properly if the pen is too fine.
■Locking the white balance
Although the projector’s camera is constantly adjusting the color balance of the images it photographs, the color balance may be disrupted, depending on the color layout of the document, etc. If this happens, the white balance can be locked using the procedure below.
1 Lay down a piece of white paper, and adjust so it fills the screen.
Adjust the camera head and arm so that the white paper fills the screen completely.
-
46 | 47 |