The remote control may fail to operate if the infrared remote sensor is exposed to bright sunlight or fluorescent lighting.
In rare cases, ambient conditions could impede the operation of the remote control. If this happens, point the remote control at the main unit again, and repeat the operation.
Due to some functions are not available for certain input signals, an icon ![]() will appear on the screen when the button press is not effective.
will appear on the screen when the button press is not effective.
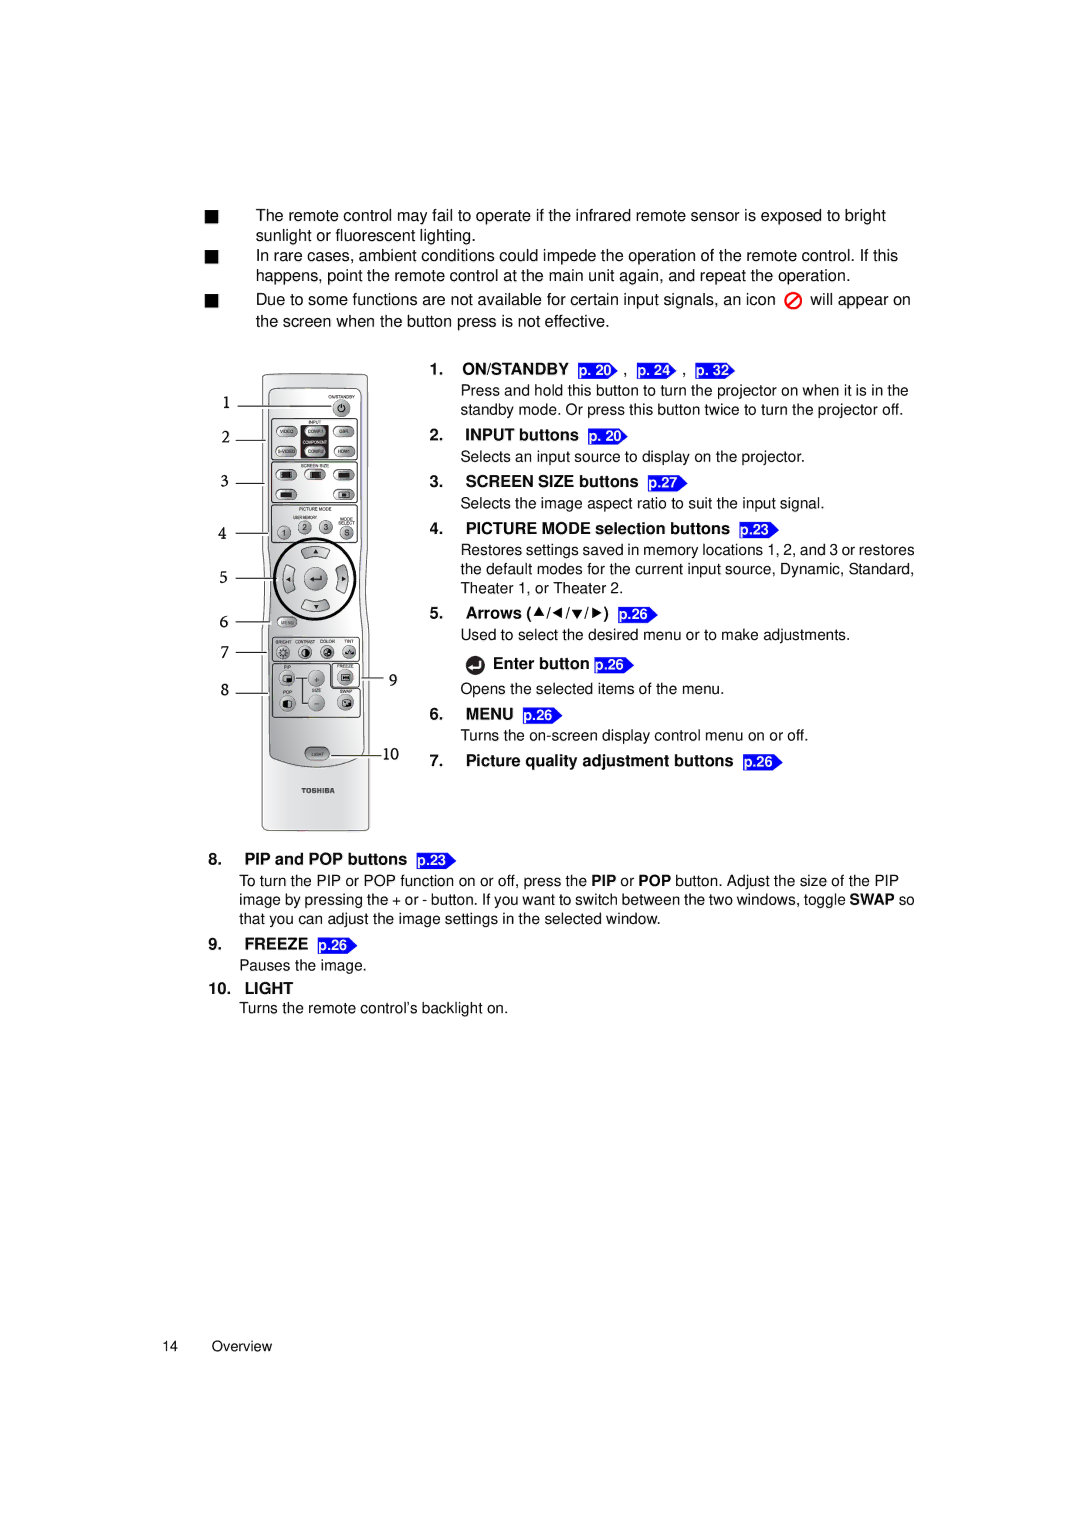
1. ON/STANDBY p. 20 , p. 24 , p. 32
1
2
3
4
5
6
7
8
MENU
+
-
9
10
Press and hold this button to turn the projector on when it is in the standby mode. Or press this button twice to turn the projector off.
2.INPUT buttons p. 20
Selects an input source to display on the projector.
3.SCREEN SIZE buttons p.27
Selects the image aspect ratio to suit the input signal.
4.PICTURE MODE selection buttons p.23
Restores settings saved in memory locations 1, 2, and 3 or restores the default modes for the current input source, Dynamic, Standard, Theater 1, or Theater 2.
5.Arrows (c/e/d/f) p.26
Used to select the desired menu or to make adjustments.
 Enter button p.26
Opens the selected items of the menu.
6.MENU p.26
Turns the
7. Picture quality adjustment buttons p.26
8.PIP and POP buttons
p.23
To turn the PIP or POP function on or off, press the PIP or POP button. Adjust the size of the PIP image by pressing the + or - button. If you want to switch between the two windows, toggle SWAP so that you can adjust the image settings in the selected window.
9.FREEZE p.26
Pauses the image.
10.LIGHT
Turns the remote control’s backlight on.
14 Overview