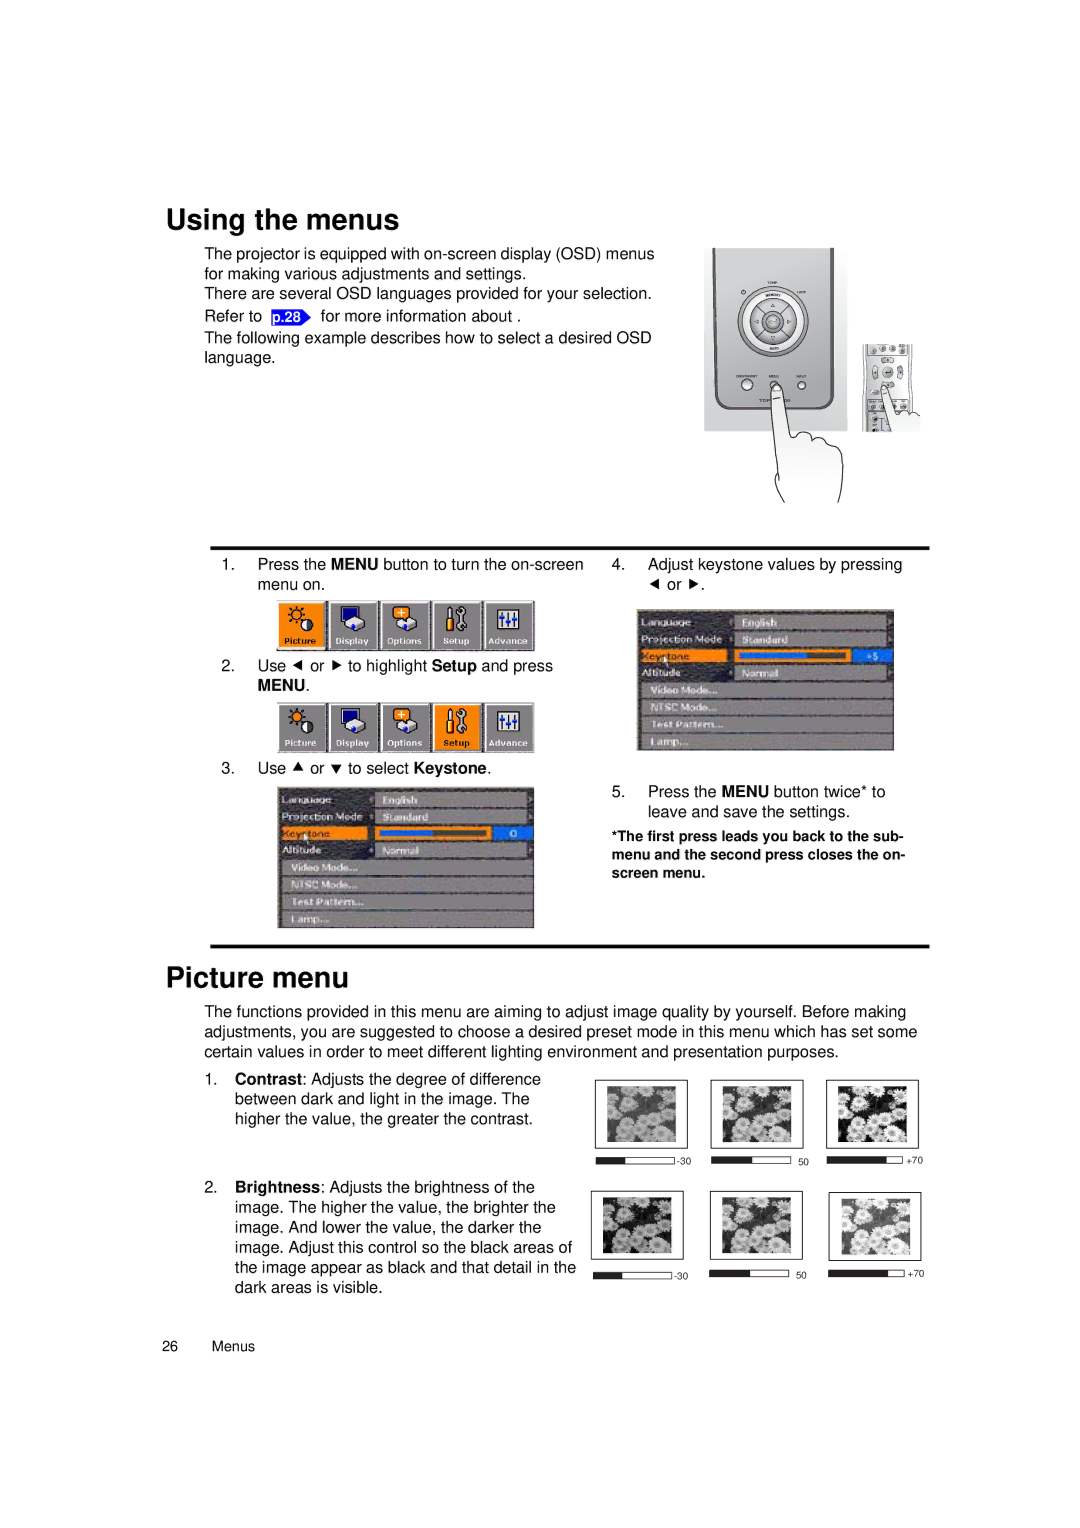
Using the menus
The projector is equipped with
There are several OSD languages provided for your selection.
Refer to
p.28 for more information about .
The following example describes how to select a desired OSD language.
MENU
+
-
1.Press the MENU button to turn the
2.Use e or f to highlight Setup and press MENU.
3.Use c or d to select Keystone.
4.Adjust keystone values by pressing e or f.
5.Press the MENU button twice* to leave and save the settings.
*The first press leads you back to the sub- menu and the second press closes the on- screen menu.
Picture menu
The functions provided in this menu are aiming to adjust image quality by yourself. Before making adjustments, you are suggested to choose a desired preset mode in this menu which has set some certain values in order to meet different lighting environment and presentation purposes.
1.Contrast: Adjusts the degree of difference between dark and light in the image. The higher the value, the greater the contrast.
50
+70
2.Brightness: Adjusts the brightness of the image. The higher the value, the brighter the image. And lower the value, the darker the image. Adjust this control so the black areas of the image appear as black and that detail in the dark areas is visible.
50
+70
26 Menus