English
Some picture adjustments are available only when certain input ports are in use. Unavailable adjustments are not shown on the screen.
Personalizing the projector menu display
The On Screen Display (OSD) menus can be set according to your preferences. These settings will not affect the projection settings, operation, or performance.
•Language in Setup menu sets your familiar language for the
•You can select projector’s Background Color from grey, black, or blue in Options menu.
•OSD Off (Secs) in Options Menu sets the length of time the OSD will remain active after your last button press.
•Sleep Timer (Min) in Options menu sets the length of time the projector will auto shutdown.
•OSD Position H and OSD Position V in Options menu adjust the OSD position on the screen.
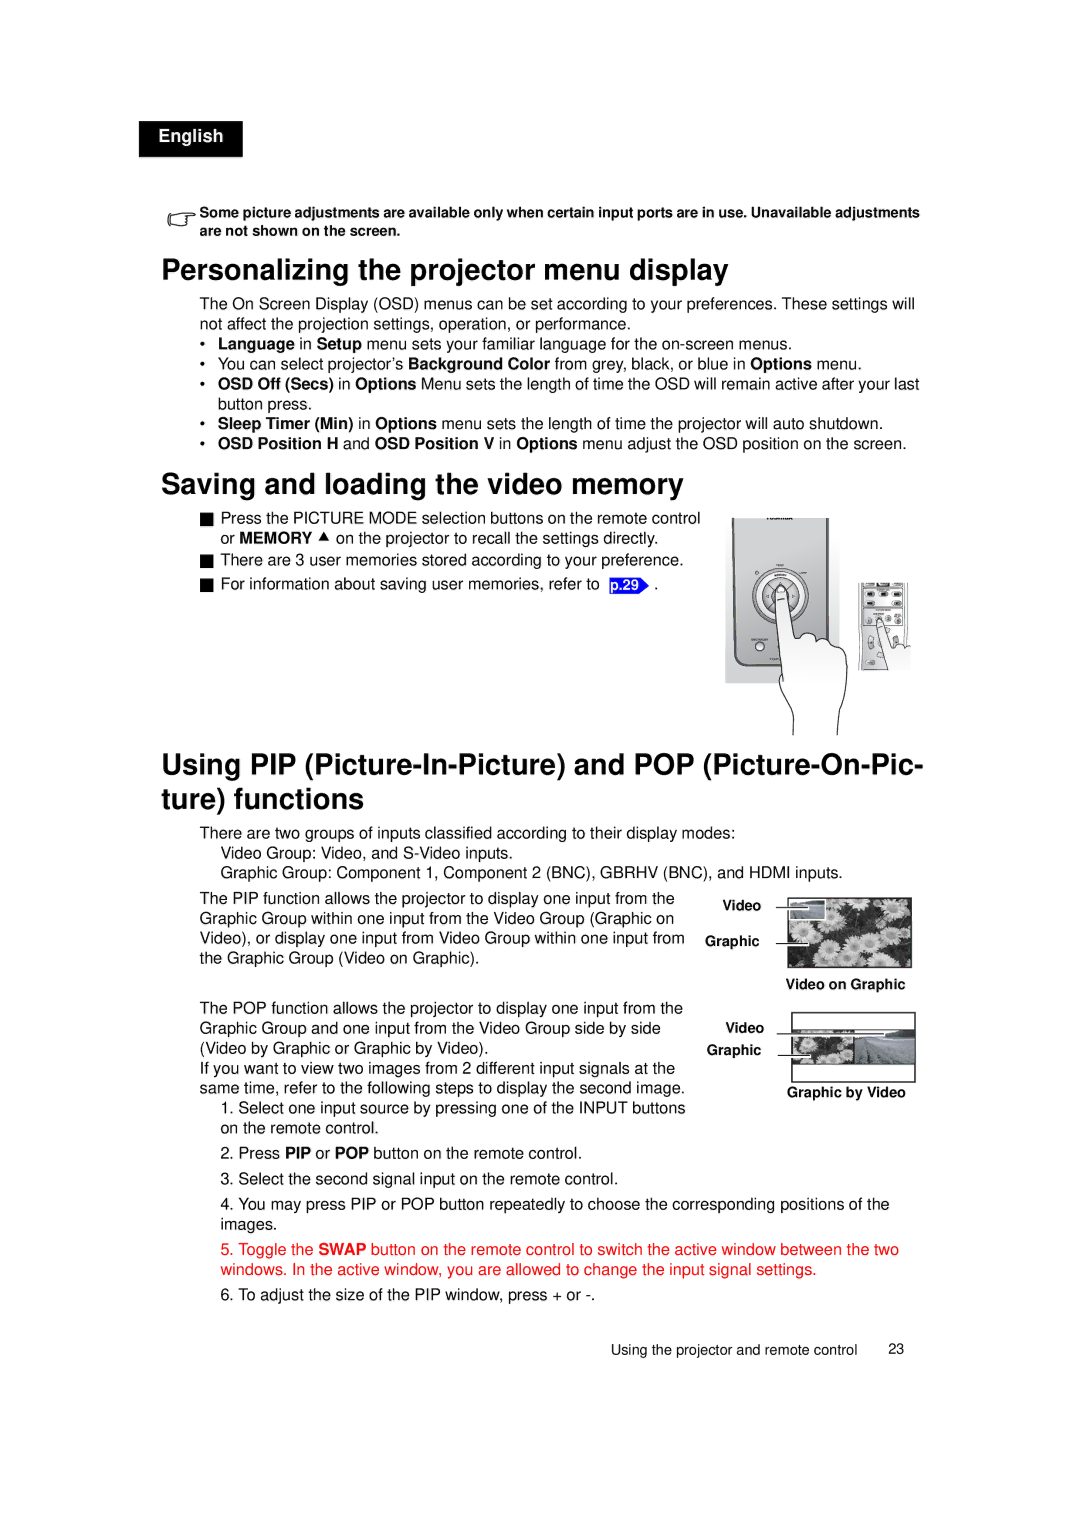
Saving and loading the video memory
Press the PICTURE MODE selection buttons on the remote control or MEMORY c on the projector to recall the settings directly. There are 3 user memories stored according to your preference.
For information about saving user memories, refer to
p.29 .
MENU
Using PIP
There are two groups of inputs classified according to their display modes: Video Group: Video, and
Graphic Group: Component 1, Component 2 (BNC), GBRHV (BNC), and HDMI inputs.
The PIP function allows the projector to display one input from the Graphic Group within one input from the Video Group (Graphic on Video), or display one input from Video Group within one input from the Graphic Group (Video on Graphic).
Video
Graphic
Video on Graphic
The POP function allows the projector to display one input from the Graphic Group and one input from the Video Group side by side (Video by Graphic or Graphic by Video).
If you want to view two images from 2 different input signals at the same time, refer to the following steps to display the second image.
1.Select one input source by pressing one of the INPUT buttons on the remote control.
2.Press PIP or POP button on the remote control.
3.Select the second signal input on the remote control.
Video
Graphic
Graphic by Video
4.You may press PIP or POP button repeatedly to choose the corresponding positions of the images.
5.Toggle the SWAP button on the remote control to switch the active window between the two windows. In the active window, you are allowed to change the input signal settings.
6.To adjust the size of the PIP window, press + or
Using the projector and remote control | 23 |