| 24 Port Stackable Managed Switch – User Guide | Page | 8 |
Installation
Before starting the hardware installation, make sure the installation environment has the below items:
•PC with 10/100Mbps
•UTP/STP cable with RJ45 connectors. Ensure that the cable has been tested
•AC Power: 100 to 240V AC at 50/60 Hz: Make sure that the power is accessible and the AC power can be connected easily.
•Dedicated power supply: Use a dedicated AC supply to power the Switch.
•A dry cool place: Keep the Switch away from moisture. Avoid direct sunlight, sources of heat, and a high amount of electromagnetic interference.
•Mounting tools: If you intend to mount the Switch in a rack, make sure you have all the tools, mounting brackets, screws etc
Caution:
Cabling must be away from sources of electrical noise such as radio, computers, transmitters, broadband amplifiers, power lines etc.
Mounting the Switch
The 24 Port Stackable Managed Switch is suitable for use in an office environment where it can be
Desktop Mounting
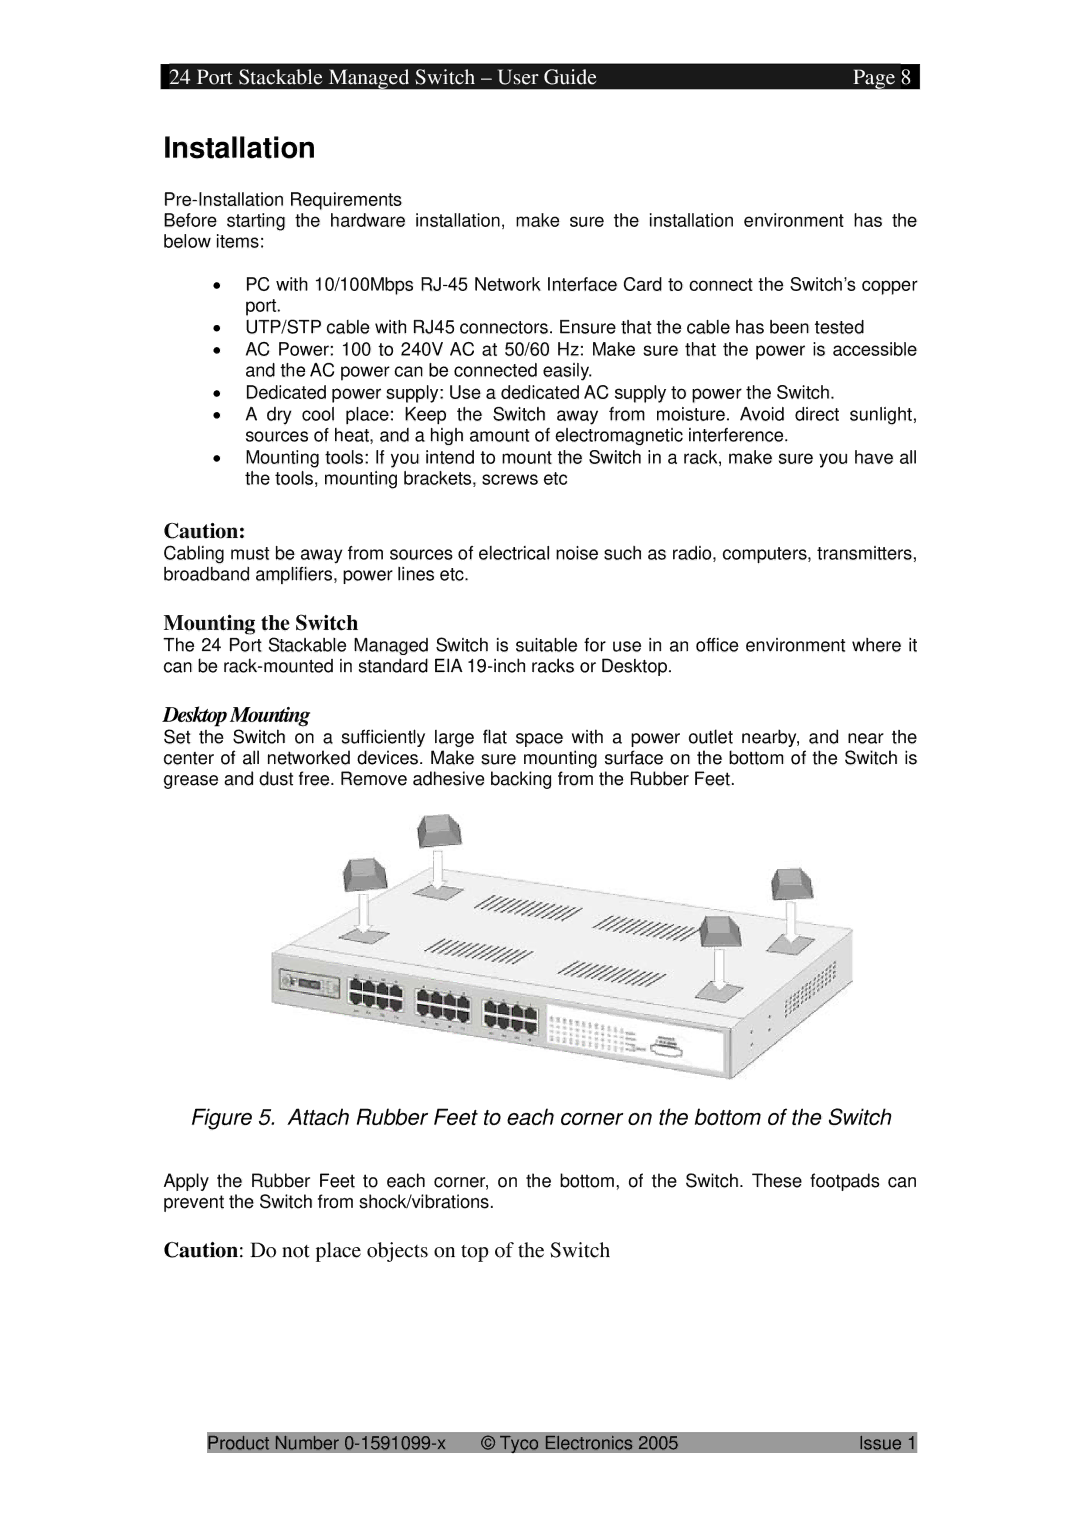
Set the Switch on a sufficiently large flat space with a power outlet nearby, and near the center of all networked devices. Make sure mounting surface on the bottom of the Switch is grease and dust free. Remove adhesive backing from the Rubber Feet.
Figure 5. Attach Rubber Feet to each corner on the bottom of the Switch
Apply the Rubber Feet to each corner, on the bottom, of the Switch. These footpads can prevent the Switch from shock/vibrations.
Caution: Do not place objects on top of the Switch
Product Number | © Tyco Electronics 2005 | Issue 1 |