FULL SIZE ELECTRIC CONVECTION OVEN - REMOVAL AND REPLACEMENT OF PARTS
NOTE: When installing probe guard, the probe should not extend beyond the guard.
4.Remove the thermostat bulb from the oven cavity by pushing it through the oven wall and into the control panel area.
NOTE: The hole in the oven cavity wall does not line up straight with the oven cavity outer shell, therefore the probe must be removed at an angle.
5.Reverse the procedure to install.
6.Adjust the thermostat as outlined under
"MECHANICAL (KX) THERMOSTAT CALIBRATION " in "SERVICE PROCEDURES AND ADJUSTMENTS".
HIGH LIMIT THERMOSTAT
WARNING: DISCONNECT THE ELECTRICAL POWER TO THE MACHINE AT THE MAIN CIRCUIT BOX. PLACE A TAG ON THE CIRCUIT BOX INDICATING THE CIRCUIT IS BEING SERVICED.
1.Take out racks from the oven.
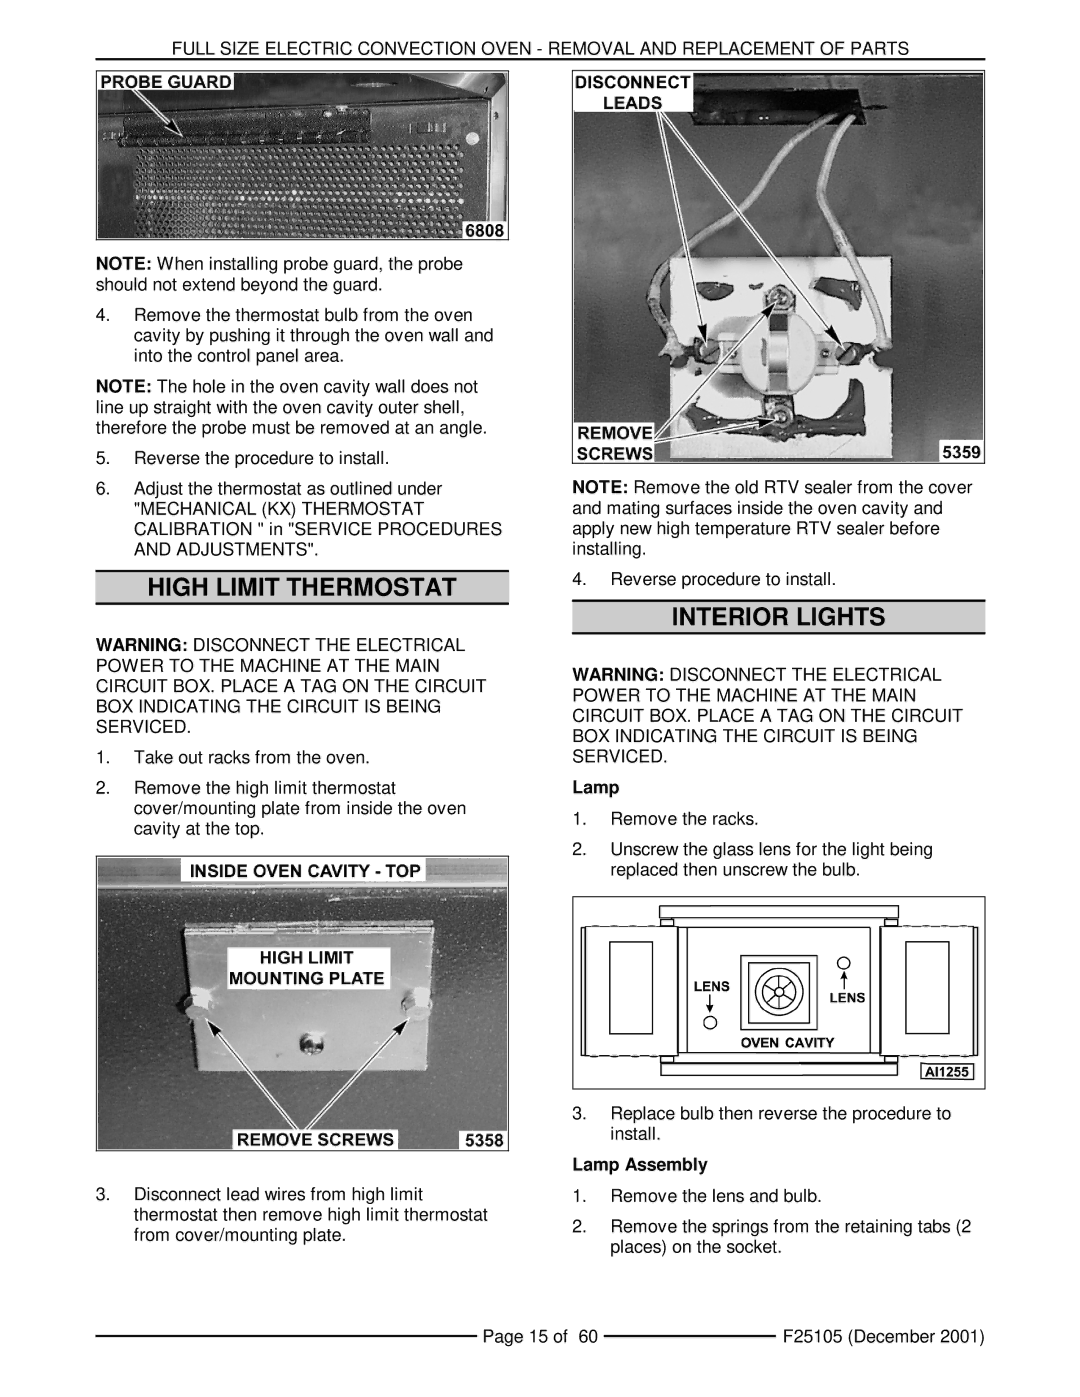
2.Remove the high limit thermostat cover/mounting plate from inside the oven cavity at the top.
3.Disconnect lead wires from high limit thermostat then remove high limit thermostat from cover/mounting plate.
NOTE: Remove the old RTV sealer from the cover and mating surfaces inside the oven cavity and apply new high temperature RTV sealer before installing.
4.Reverse procedure to install.
INTERIOR LIGHTS
WARNING: DISCONNECT THE ELECTRICAL POWER TO THE MACHINE AT THE MAIN CIRCUIT BOX. PLACE A TAG ON THE CIRCUIT BOX INDICATING THE CIRCUIT IS BEING SERVICED.
Lamp
1.Remove the racks.
2.Unscrew the glass lens for the light being replaced then unscrew the bulb.
3.Replace bulb then reverse the procedure to install.
Lamp Assembly
1.Remove the lens and bulb.
2.Remove the springs from the retaining tabs (2 places) on the socket.
Page 15 of 60 |
| F25105 (December 2001) |
|