FULL SIZE ELECTRIC CONVECTION OVEN - REMOVAL AND REPLACEMENT OF PARTS
4.Reverse procedure to install the replacement switch and check for proper adjustment as outlined under "DOOR SWITCH ADJUSTMENT" in "SERVICE PROCEDURES AND ADJUSTMENTS".
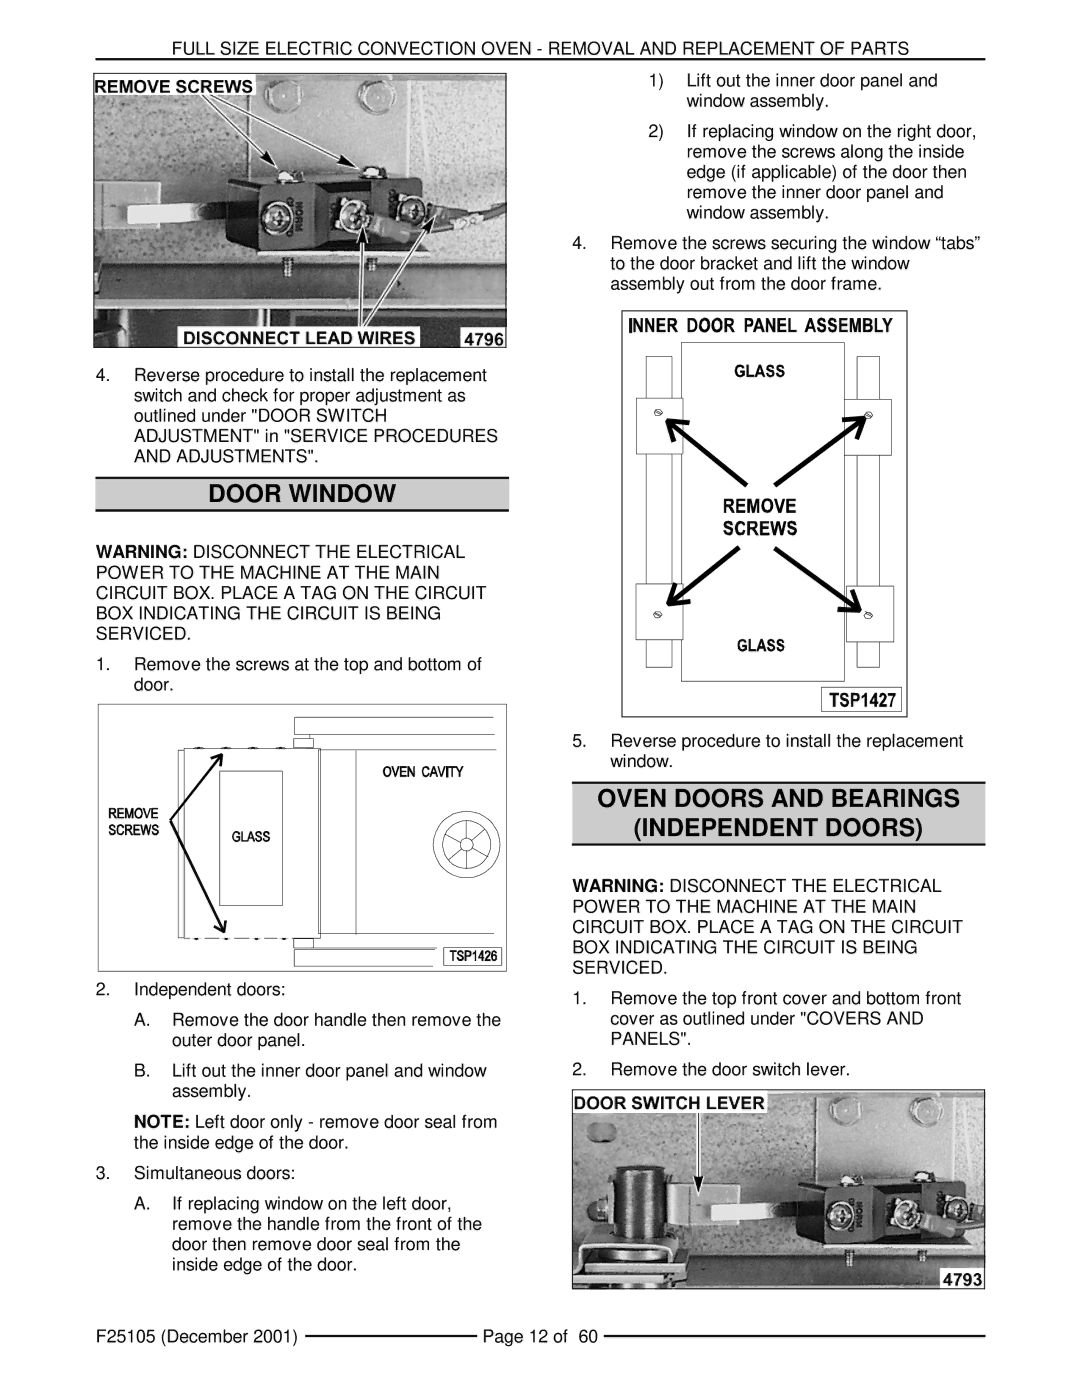
DOOR WINDOW
WARNING: DISCONNECT THE ELECTRICAL POWER TO THE MACHINE AT THE MAIN CIRCUIT BOX. PLACE A TAG ON THE CIRCUIT BOX INDICATING THE CIRCUIT IS BEING SERVICED.
1.Remove the screws at the top and bottom of door.
2.Independent doors:
A.Remove the door handle then remove the outer door panel.
B.Lift out the inner door panel and window assembly.
NOTE: Left door only - remove door seal from the inside edge of the door.
3.Simultaneous doors:
A.If replacing window on the left door, remove the handle from the front of the door then remove door seal from the inside edge of the door.
1)Lift out the inner door panel and window assembly.
2)If replacing window on the right door, remove the screws along the inside edge (if applicable) of the door then remove the inner door panel and window assembly.
4.Remove the screws securing the window “tabs” to the door bracket and lift the window assembly out from the door frame.
5.Reverse procedure to install the replacement window.
OVEN DOORS AND BEARINGS
(INDEPENDENT DOORS)
WARNING: DISCONNECT THE ELECTRICAL POWER TO THE MACHINE AT THE MAIN CIRCUIT BOX. PLACE A TAG ON THE CIRCUIT BOX INDICATING THE CIRCUIT IS BEING SERVICED.
1.Remove the top front cover and bottom front cover as outlined under "COVERS AND PANELS".
2.Remove the door switch lever.
F25105 (December 2001) |
| Page 12 of 60 |
|