SENSOR – Press  button to set <ON> or <OFF>.
<ON>: Video will be recorded when the sensor is activated.
Please refer to
MOTION – Press  button to set <ON> or <OFF>.
<ON>: Video will be recorded when the motion is detected.
Please refer to
MANUAL - Press ![]() button to set <ON> or <OFF>
button to set <ON> or <OFF>
<ON>: Video will be recorded when the user press RECORD button.
CONTINUOUS - Press ![]() button to set <ON> or <OFF>
button to set <ON> or <OFF>
<ON>: Video will be ALWAYS recorded when DVR is in operation.
AUDIO – Move the cursor on the one of <1>, <2>, <3>, and <4> audio inputs and press SEL button to select the audio port that will be recorded. The selected audio channels will be highlighted in Yellow.
4-3-3-3. SENSOR Setup
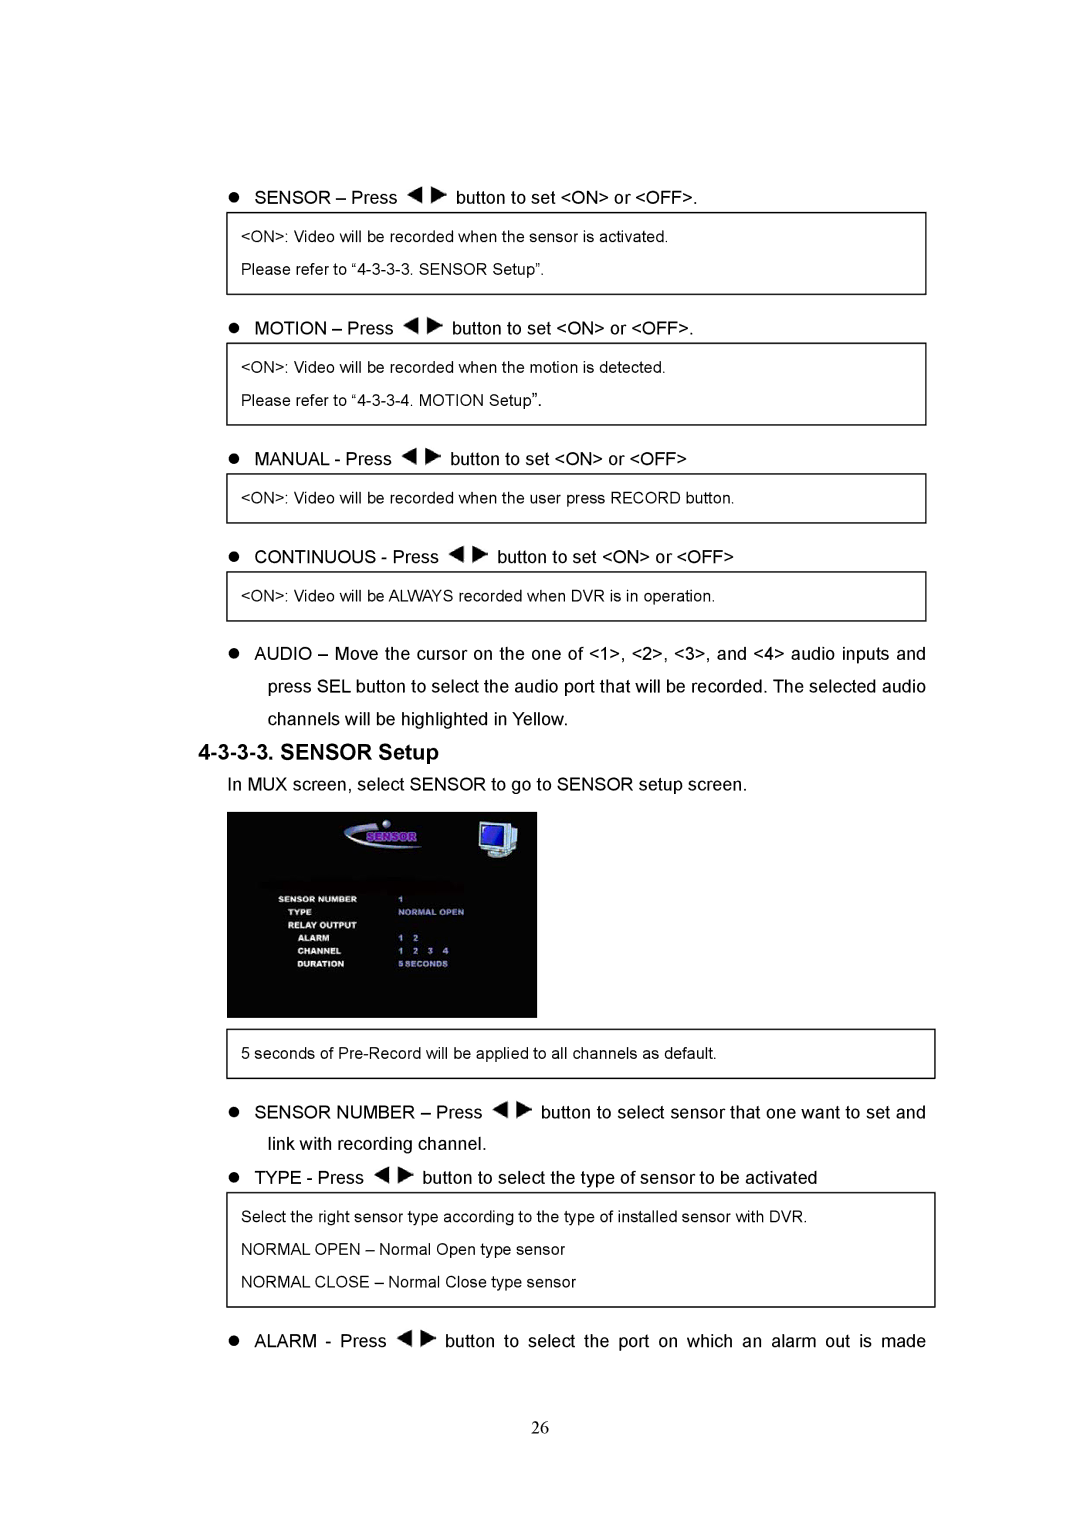
In MUX screen, select SENSOR to go to SENSOR setup screen.
5 seconds of
SENSOR NUMBER – Press ![]() button to select sensor that one want to set and link with recording channel.
button to select sensor that one want to set and link with recording channel.
TYPE - Press ![]() button to select the type of sensor to be activated
button to select the type of sensor to be activated
Select the right sensor type according to the type of installed sensor with DVR. NORMAL OPEN – Normal Open type sensor
NORMAL CLOSE – Normal Close type sensor
ALARM - Press ![]() button to select the port on which an alarm out is made
button to select the port on which an alarm out is made
26